How to create Subdomain and activate it on Cloudflare? [STEP BY STEP]☑️
Today in this tutorial we will describe you how to create a Subdomain and activate it on Cloudflare.You can also watch here tutorial on How to create a Subdomain and activate it on Cloudflare.
If you don’t want to watch the video tutorial, skip and proceed with the text version mentioned below.
Follow the steps to create a Subdomain while using Cloudflare:
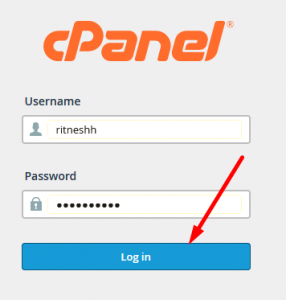
Step::1 Login to cPanel
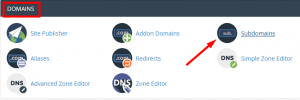
Step::2 Navigate to Subdomains in DOMAINS section
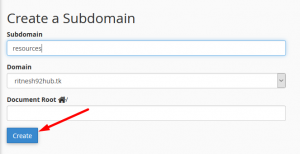
Step::3 Create a Subdomain
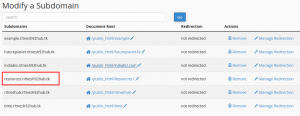
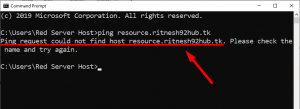
Step::4 After creating Subdomain, open Command prompt and ping the Subdomain. If the Ping result says something like “request could not find host” then jump on to the next step.
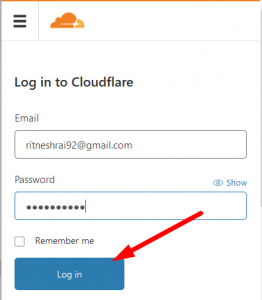
Step::5 Log into your Cloudflare account.
Step::6 Select the DNS icon
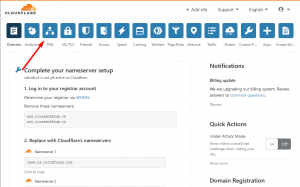
Step::7 In the next page Click on “Add Record”
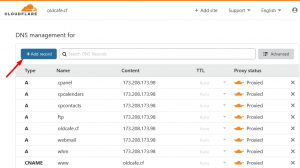
Step::8 Specify an “A-Record”, a Subdomain name and IP address and Click “Save” button to finish.
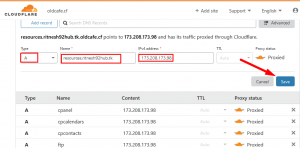
That’s all you are done!!!
We hope this video helped you learn How to create Subdomain while using Cloudflare
For more information, kindly follow us on social media like Twitter and Facebook and for video tutorials, subscribe to our YouTube channel –https://youtube.com/redserverhost.com
Facebook Page- https://facebook.com/redserverhost
Twitter Page- https://twitter.com/redserverhost.com
If you have any query, feel free to let us know via the comments section below.
Thanks for Reading!!!
Tags: cheap linux hosting, buy linux hosting, cheap reseller hosting, buy reseller hosting, best reseller hosting, cheap web hosting, cheapest web hosting, cheapest reseller hosting, cheap reseller host, cheap linux host, cheapest linux hosting, best linux hosting, best web hosting


