How do i change the Backend logo in WHMCS? [STEP BY STEP]
This tutorial will help you in to illustrate the steps to change the default backend WHMCS logo and replace it with your own company logo:
WHMCS (WebHost Manager Complete Solution) is a fully-fledged client management and billing software that is very popular for reseller hosting businesses. The client area of WHMCS is created in a way through which the user can change the look and feel of everything.
There is no doubt that every user would like to see his/her own company logo in place of the WHMCS logo. The process of replacing the WHMCS logo is extremely easy; here are the steps:
NOTE: Before going on to the steps you must know how to find the exact location of your WHMCS Logo. For that you have to simply right click on the Default WHMCS logo and click on view image. This will help you to find the right path and the exact location of your WHMCS logo.
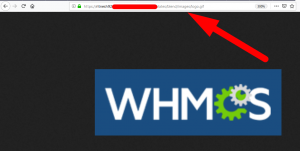
Step::1 Login to cPanel and go to ‘WHMCS installation directory’
Step::2 Open the ‘templates’ folder; in this folder you will find the already existing WHMCS templates for the client area
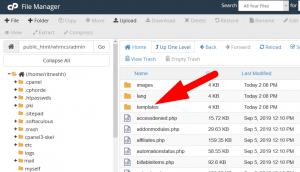
Step::3 Open the template directory and then Double click on Blend directory to open
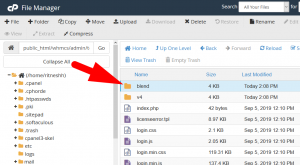
Step::4 Then click on images directory and look for the logo.gif
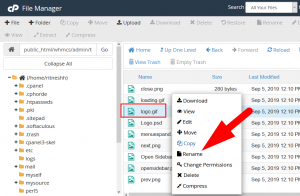
Step::5 Now rename the existing logo.gif file
Step::6 Upload the new logo file and change its name to logo.gif
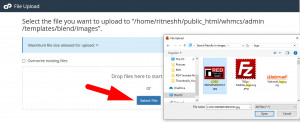
Step::7 Refresh the WHMCS client portal to view your new logo.
Hence, it is done!!!
We hope this article was clear enough to make you understand how to change the backt end logo in WHMCS.
If you have any questions or queries, feel free to leave them in the comments section below.

Thanks for Reading!!!


