How to install WHMCS automatically via Softaculous? [STEP BY STEP]
What is WHMCS? [OVERVIEW]

WHMCS is an all-in-one client management, billing & support solution for online businesses. Handling everything from signup to termination, WHMCS is a powerful automation & support tool. This tutorial explains how to use Softaculous to install a WHMCS application on your site. It takes only few minutes and no advanced skills to have a fully functional WHMCS instance in your hosting account.
How to install WHMCS automatically? [EXPLAINED]
First, log in to your cPanel account and find the Softaculous icon under the Software and Services section.
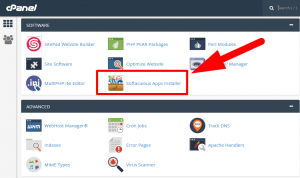
Once you click on the Softaculous button, you will be redirected to a page where you have to choose the application you want to install. Search for WHMCS and then select it once it shows up.
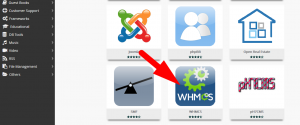
On the next page, click the Install tab at the top of the page to specify that you want to install a brand new WHMCS installation.
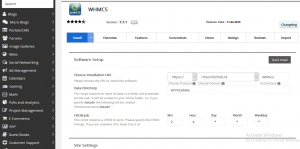
Then, enter the required fields for your site. Make sure to enter your WHMCS license key. If you do not have one, you can purchase a license key directly from whmcs.com or from any other third-party provider.
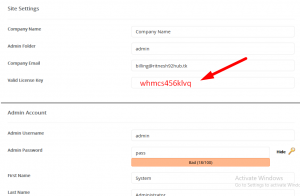
Once all the fields are correctly filled out, click on the Install button. You should use a strong password to make sure your admin area is secure from brute-force attacks.
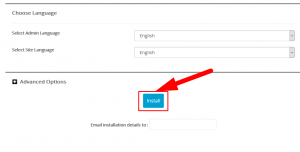
The automated installation process will proceed, and, once done, you will see a page informing you of the successful completion of the installation. You can use the Administrative URL link to automatically log in your newly installed WHMCS application.
NOTE: Keep in mind that unless you provide a valid WHMCS license key
Getting started with WHMCS [IMPORTANT]
- Login to your WHMCS
NOTE: When you log into WHMCS (for the first time) the Getting Started Wizard should display automatically.
- Click Next to begin the Setup Wizard.
- Fill in each field with the details pertaining to your business. When you have completed the form, click the Next button.
- Select your desired Payment Gateway options and deselect any options you do not wish to enable. Then, click the Next button.
- Select the Domain TLD extensions you would like to offer to your customers. Click the Next button to proceed.
- Enter the details in this form to setup your cPanel server with WHMCS. Then click the Next button.
- Finally, click the Finish button.
We hope this article was clear enough to make you understand What is WHMCS and how to install it automatically via Softaculous.
If you have any questions or queries, feel free to leave them in the comments section below.

Thanks for Reading!!!


