HOW TO INSTALL AND CONFIGURE CONFIG SERVER SECURITY & FIREWALL (CSF)? [STEP BY STEP]☑️
Today in this WHM tutorial you will learn how to install and configure ConfigServer Security and Firewall (CSF) at root level. Let us watch out the video first to quickly learn how to install and configure ConfigServer Security & Firewall in WHM root. Take care of every step so that you don’t miss anything.
Follow these instructions to complete a basic CSF installation:
Step::1 Install CSF:
Log into your server as root, using SSH, and run the script given below:
cd /usr/local/src/
wget https://download.configserver.com/csf.tgz
tar -xzf csf.tgz
cd csf
sh install.sh
Step::2 Configure CSF:
1. Login to your WHM as root

2. Scroll down to the bottom and click on Plugins

3. Now go to ConfigServer Security Firewall

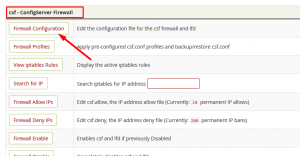
4. Then, in the “csf – ConfigServer Firewall” section (on the right panel), click on “Firewall Configuration”.
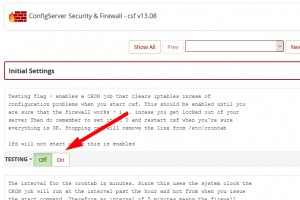
Once you are satisfied with the configuration and confirmed that it is working fine, you need to switch OFF “Testing mode”.
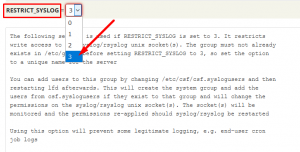
After switching OFF Testing mode scroll down to RESTRICT_SYSLOG and set the variable to 3
5. Go back in the “Firewall Configuration (“csf – ConfigServer Firewall” section)
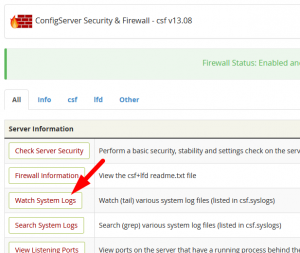
6. You can monitor the firewall activity by clicking the “Watch system Logs” button on the ConfigServer Security Firewall main page.
Follow the methods mentioned in this tutorial to Install and configure config server security and firewall (CSF) with root access.
If you enjoyed this tutorial, please consider following us on Facebook and Twitter.
Facebook Page- https://facebook.com/redserverhost
Twitter Page– https://twitter.com/redserverhost.com
If you have any query, feel free to let us know via the comments section below.
Thanks for Reading!!!
Tags: cheap linux hosting, buy linux hosting, cheap reseller hosting, buy reseller hosting, best reseller hosting, cheap web hosting, cheapest web hosting, cheapest reseller hosting, cheap reseller host, cheap linux host, cheapest linux hosting, best linux hosting, best web hosting


