HOW TO SET-UP AUTOMATED BACKUP IN WHM ROOT? [STEP BY STEP]☑️
Today in this blog you will learn how to setup automated backups in WHM root server. But before getting started let us quick watch this video. Take care of every steps so that you don’t miss anything.
Follow the steps given below to setup automated backups in WHM:
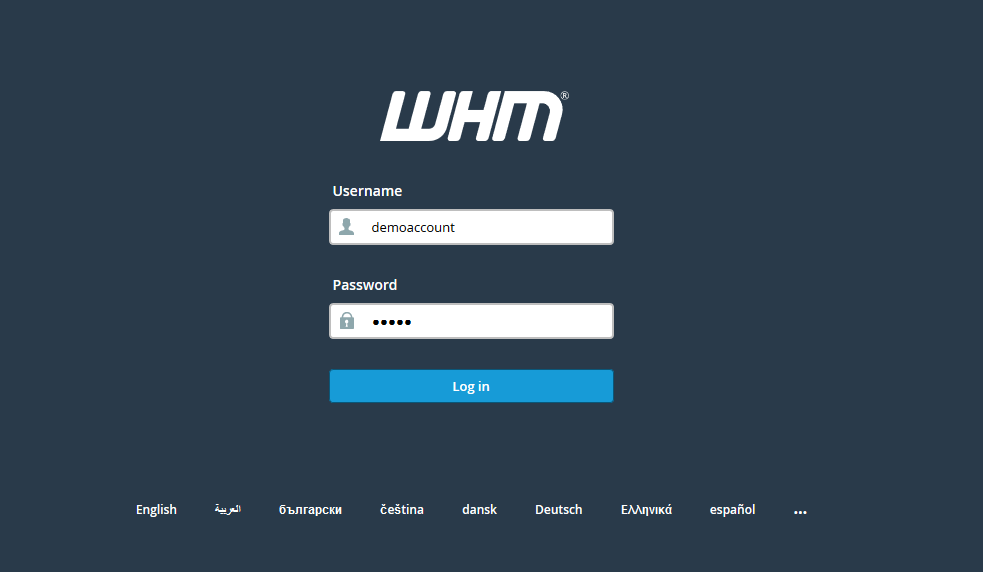
Step::1 Login to WHM root
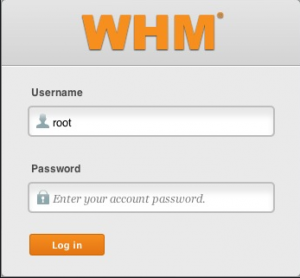
Step::2 Go to Backup section
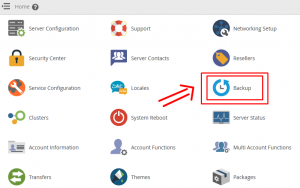
Step::3 Then go to Backup Configuration
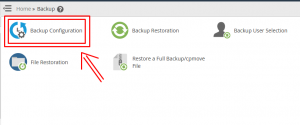
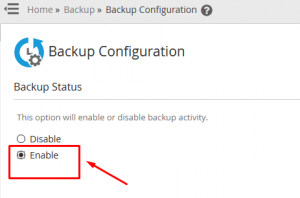
Step::4 Now click on Enable under the Backup status section and set the configuration as per your convenient
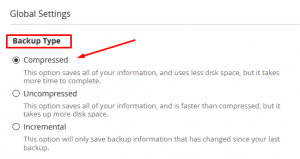
There are three backup types: Compressed, Uncompressed and Incremental. It is recommended to keep Compressed backups to save disk space and for quick and efficient data storage.
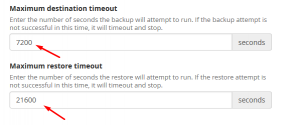
Another options in global settings are ‘Maximum destination timeout‘ and “Maximum restore timeout“In case backup and restore process stops or is unsuccessful, it will stop retries after the limit set with this option.
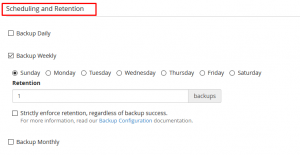
Scheduling and Retention of Backups
WHM offers 3 backup schedules:
Backup Daily – Create and save backups in the selected days in a week.
Backup Weekly – Create a single wekly backup every week in a selected day.
Backup Monthly – Create a monthly backup every month in a selected day.
Files and Databases
This option allows us to specify the files and databases that we need to backup. We can also specify users for which we need to take backups in case if we don’t wish to take backups of all the users/accounts in the server.
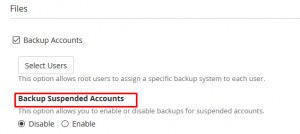
We can also choose to enable or disable backups of files like shown below:
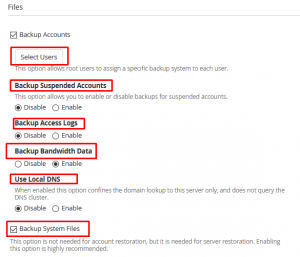
Another such options in Files section is shown below;
Backup Suspended Accounts
Backup Access Logs
Backup Bandwidth Data
Use Local DNS
Backup System Files
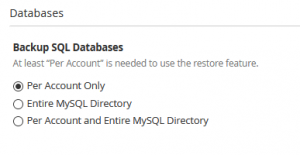
Database backup options are:
Per Account Only – Backup of all databases per account will be taken
Entire MySQL Directory – Backup of the entire MySQL data directory will be taken
Per Account and Entire MySQL Directory – This option is concatenation of both the above options.
Configure Backup Directory
This option is very important as we need to know where these backups are getting stored. We can customize the backup location or directory in this option.
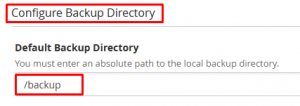
By default the backup directory location is ‘/backup’ in the local server (same server). You can change it if you want it to move the backups to some other directory.
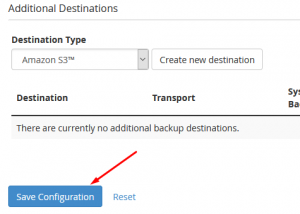
Once you specify all these options asked for, just click on “Save Configuration” and you’ll have the backups ready in your desired location.
That’s it!!!
We hope you have found this tutorial useful on how to configure backups on cPanel/WHM.
If you enjoyed this tutorial, please consider following us on Facebook and Twitter.
Facebook Page- https://facebook.com/redserverhost
Twitter Page- https://twitter.com/redserverhost.com
If you have any query, feel free to let us know via the comments section below.


