Columns can be used to create effective layouts for your posts and pages. Thus creating multi-column contents would improve your website presentation. You have observed that most of the websites have single column content but those having multi-columns are attractive to view. These multiple columns are mostly preferred in E-commerce website that help user to list more products in an effective manner.
Today, in this tutorial we are going to illustrate the procedure to create multi-column contents in WordPress.
Let us go through the procedure in detail.
- How to Create Multi-Column Content in Block Editor?
- How to Create Multi-Column Content in Classic Editor?
#1. How to Create Multi-Column Content in Block Editor?
In Block Editor, you can easily create multi-column-content by following the below mentioned steps.
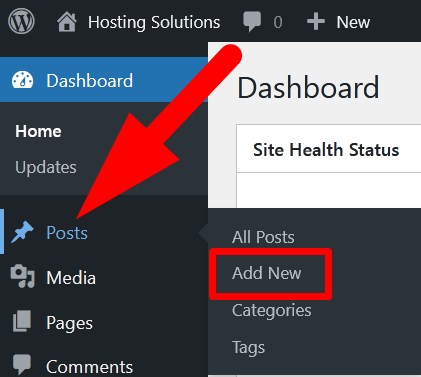
- Login to WordPress dashboard and go inside Posts section.

- Click over Add New to add a new post. You will be directed to next page to create a new post.
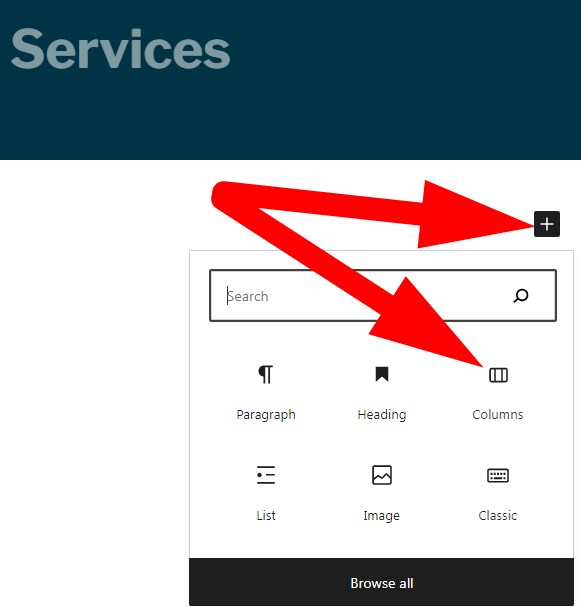
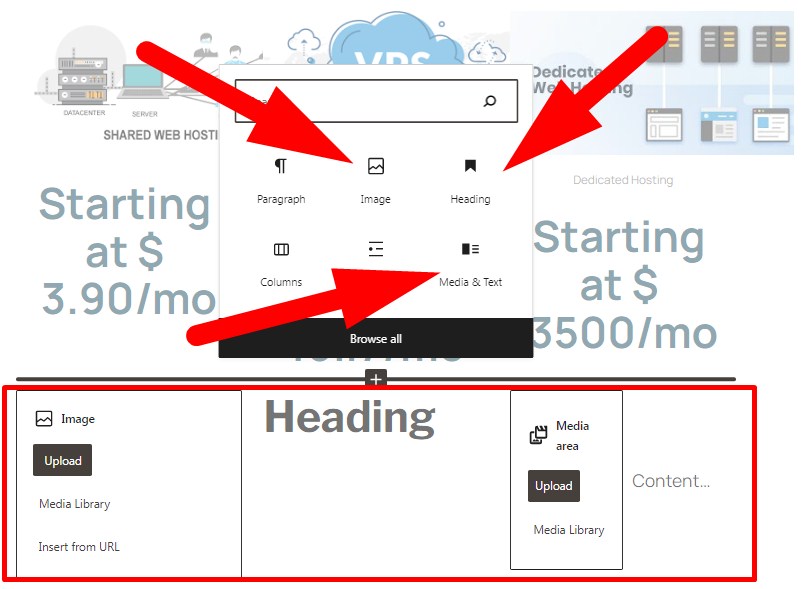
- On the next page, give a heading to your Post or Page. Then click over + icon and then select Columns.

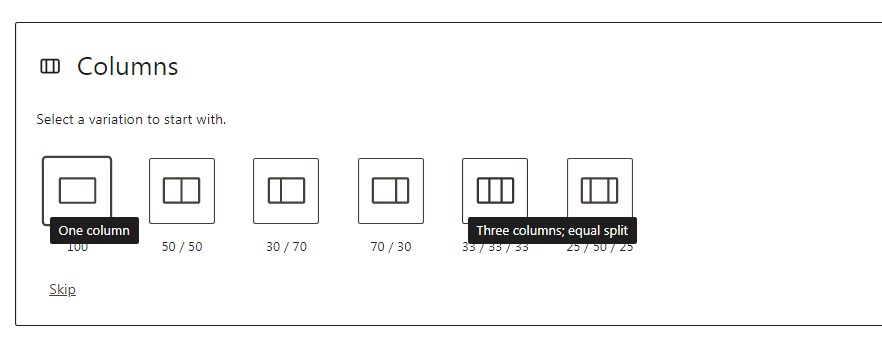
- A box will open having multiple column structure. Select one as per your choice. If you click over Skip then it will by-default selected the second one, i.e, 50/50.

- As per the selection, block will appear. I have selected three columns.
- Now, click over + icon to add text, image, heading etc to your column.

- Now, Edit your Post and Page and then Publish.
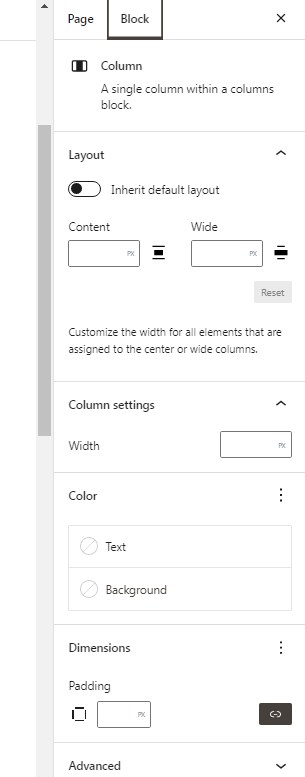
You can manage the Column Settings from the right panel. Here, you can manage the width, colour, dimensions and other column settings.
#2. How to Create Multi-Column Content in Classic Editor?
You can create multi-column content in WordPress even if you are using classic editor by using installing Plugin. Let us go through in detail procedure to create multi-column content in classic editor.
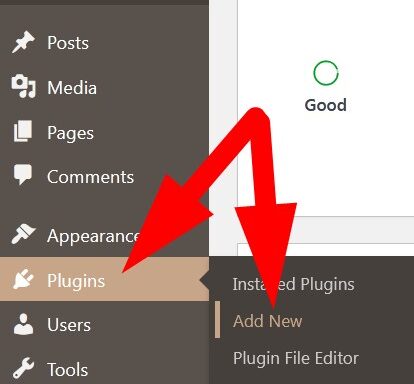
- Login to WordPress dashboard and get inside Plugins section.

- Click over Add New and then search for Lightweight Grid Columns.
- Install Now and then Activate the Plugin.

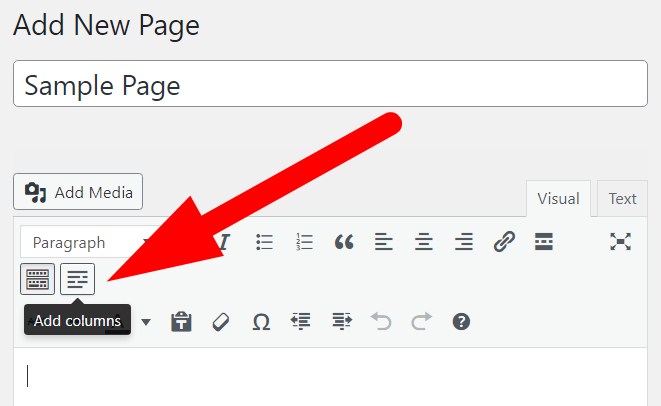
- Now, Add New post or page as required. On the new page, you will find an Add Column icon in the toolbar. Refer to below given image.

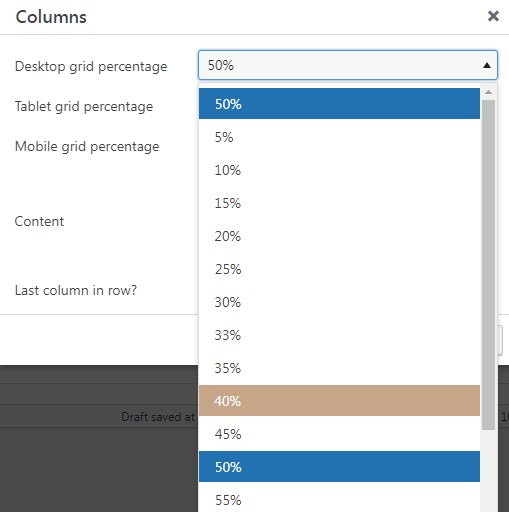
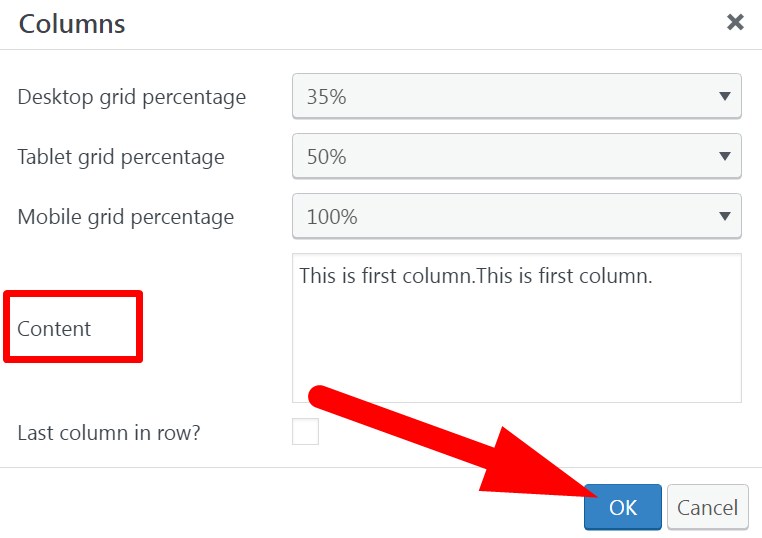
- Click over the icon. A window pop-up which asks you to set the area your column can cover in desktop, mobile & tablet. You can select accordingly from the drop down button.

- You can add content in the Content Box and then click over OK.

- Now, save and Publish your post or page.

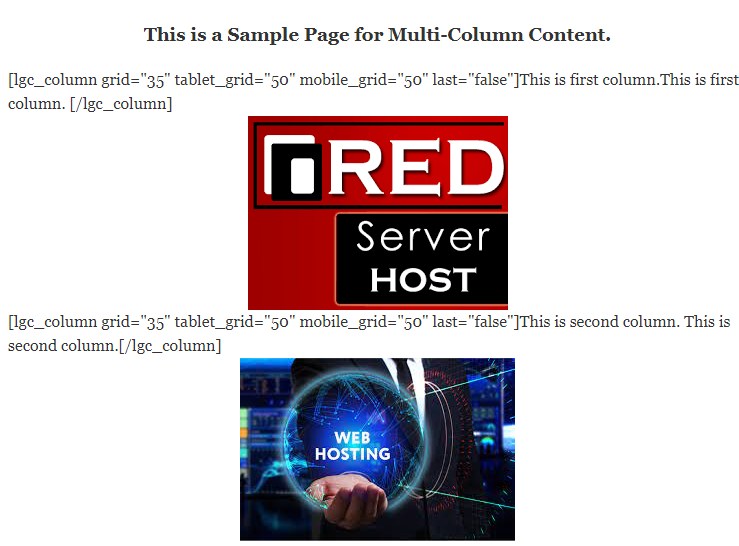
To add an image in column, add the column and content in it and then add media. Refer to below given image.
Now, you can Preview the changes you have made and then Publish.
That’s It !
Hope the article better describes the procedure to create multi-column content in WordPress. Do share it with your colleagues if you find it working. Also share your suggestions and drop your queries to start the discussion on the related topic. Lets connect on social media with the below links.
Facebook Page: https://facebook.com/redserverhost Twitter Page: https://twitter.com/redserverhost.com