How To Enable External SSL in cPanel?
SSL is essential for protecting your website, even if it doesn’t handle sensitive information like credit cards. It provides privacy, critical security, and data integrity for both your websites and user’s personal information.
Multiple providers provide free SSL with their hosting plans whereas, many hosting providers don’t offer this such as GoDaddy.
In this case, you have two choices whether you pay for SSL again, or you can freely install it from a third-party SSL provider such as ZEROSSL.
Here, in this tutorial, we’re gonna walk you “To Install Third-Party SSL On Your Website For Free”.
Install Third-Party SSL On Your Website
How do I enable free SSL on my website?
SSL certificates can be installed by shared hosting users, VPS users, and Dedicated server owners.
Follow these steps:
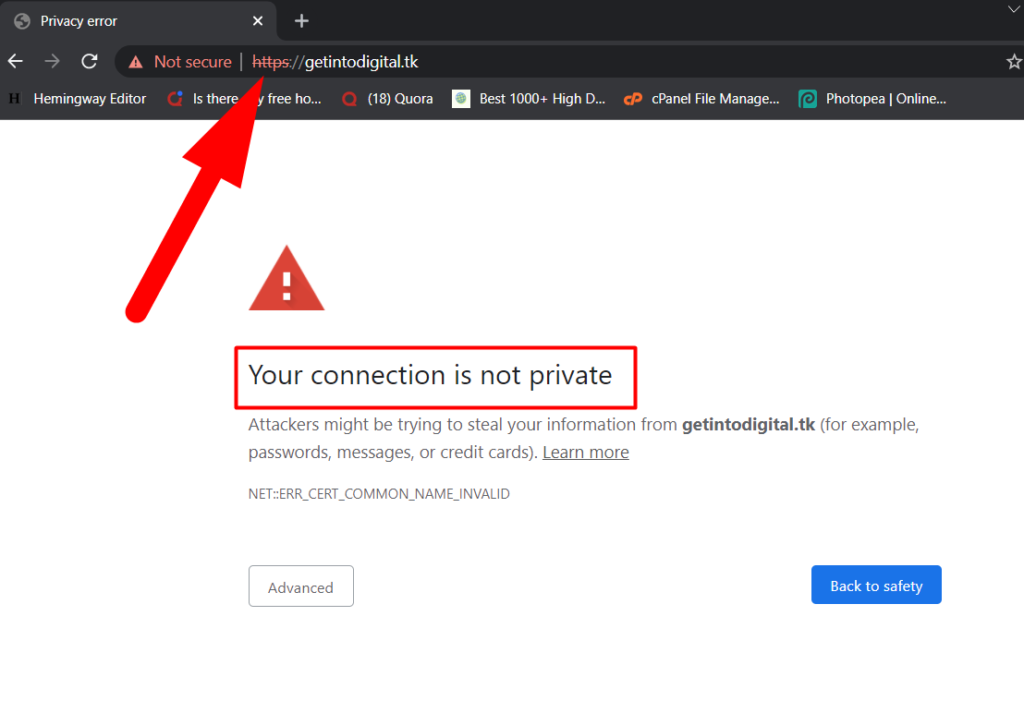
- Visit your website and you’ll see this SSL error.

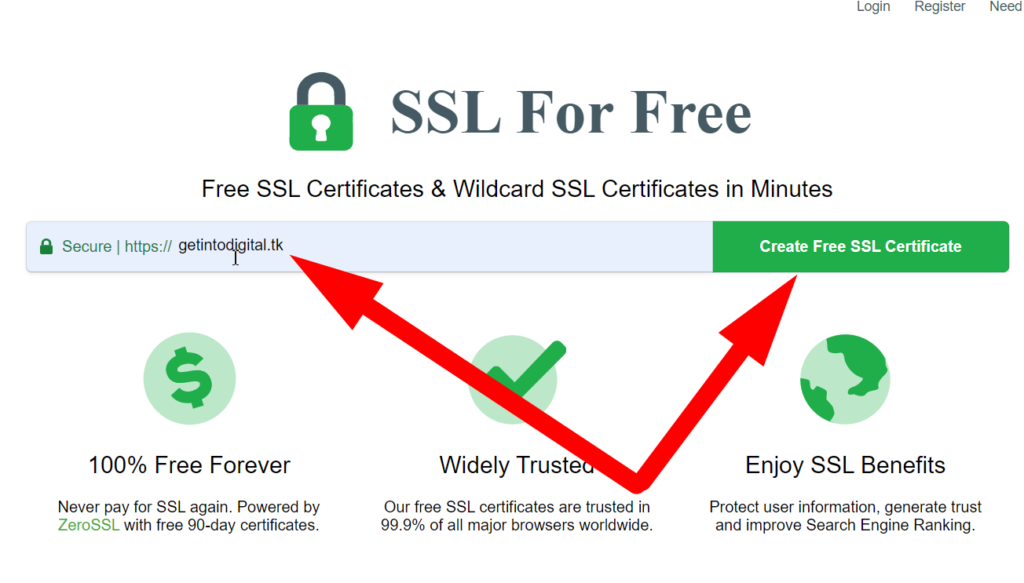
- Now click over this link or search for SSL For Free in a new tab.
- Type your website name and click over Create Free SSL Certificate button.

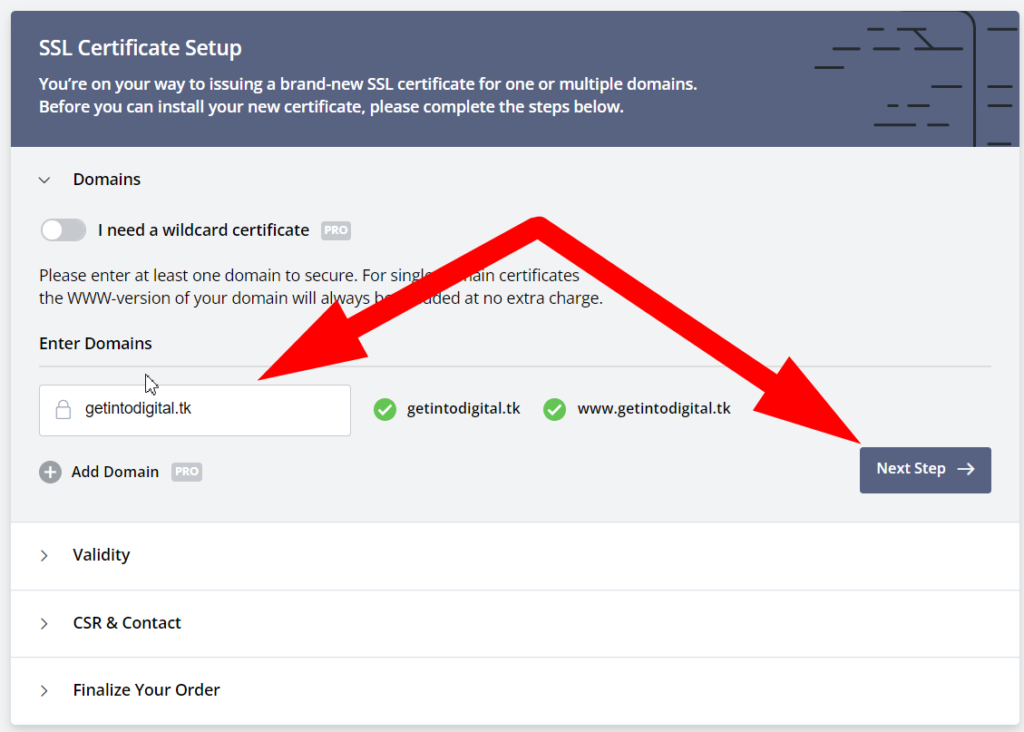
- Now you’ll jump to the SSL Certificate Setup page. Type your domain name again and click over Next Step.

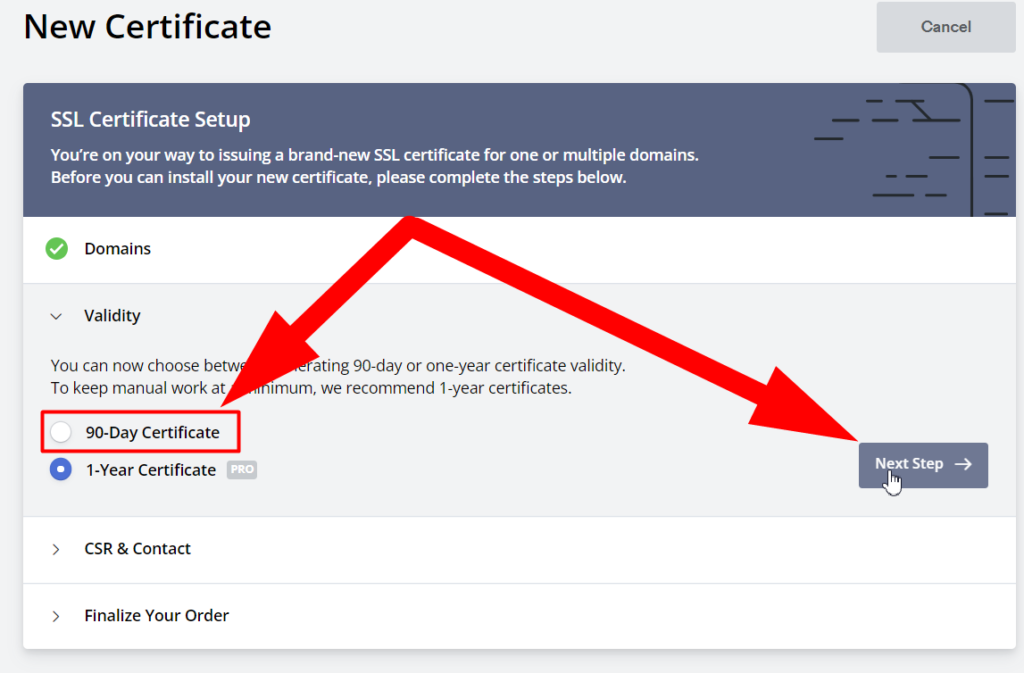
- Select 90-Day Certificate & click over Next Step.

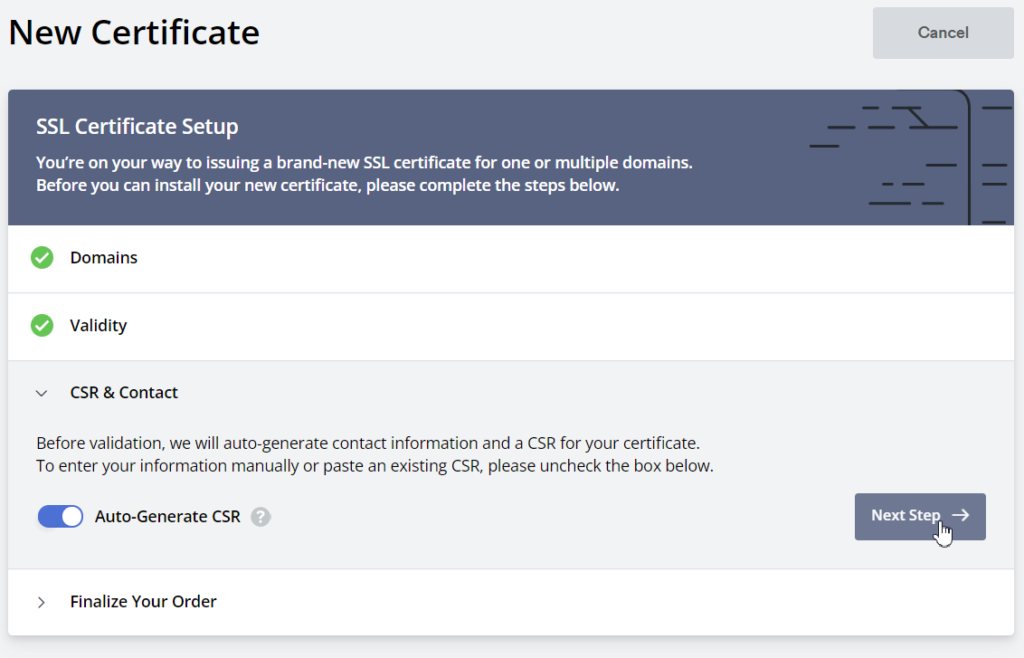
- Mark the Auto-Generate CSR button and move towards the Next Step.

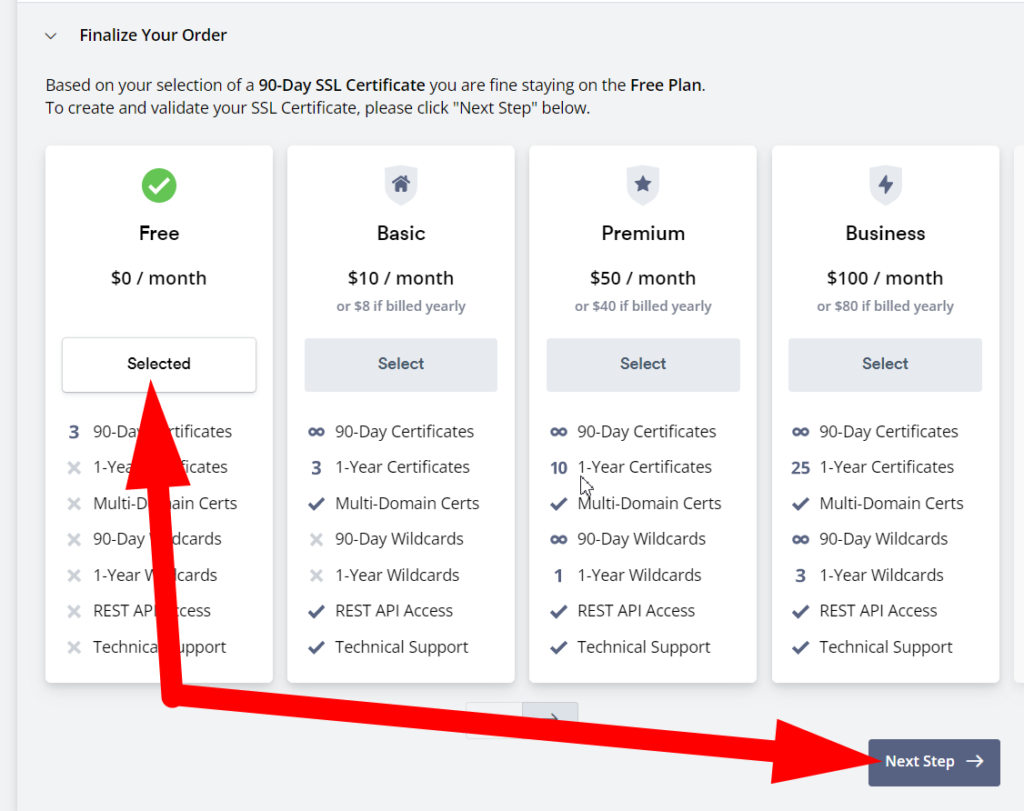
- Select the Free Plan and click over Next Step.

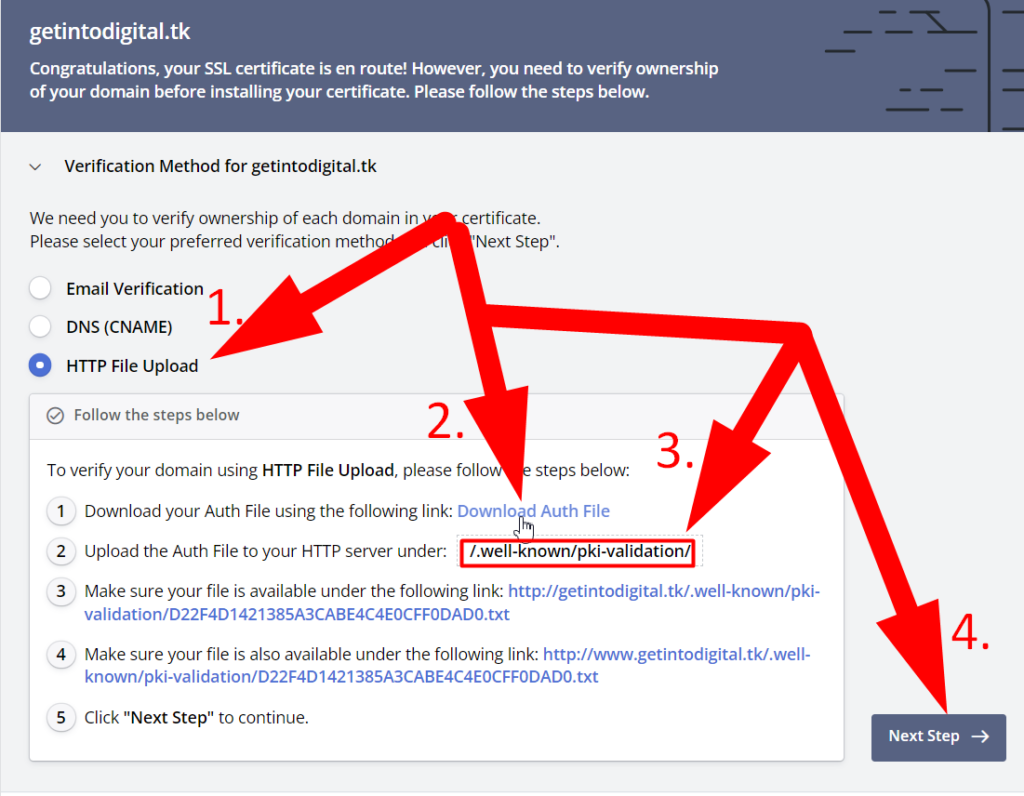
- Select the verification method as HTTP File Upload and then Download Auth File.
- Login to your cPanel. Upload Auth File inside your public_html/.well-known/pki-validation directory (you can create one if not present) and click over the Next Step button.

I’m using File Upload method as it is convenient to me. You can verify with other methods if you want.
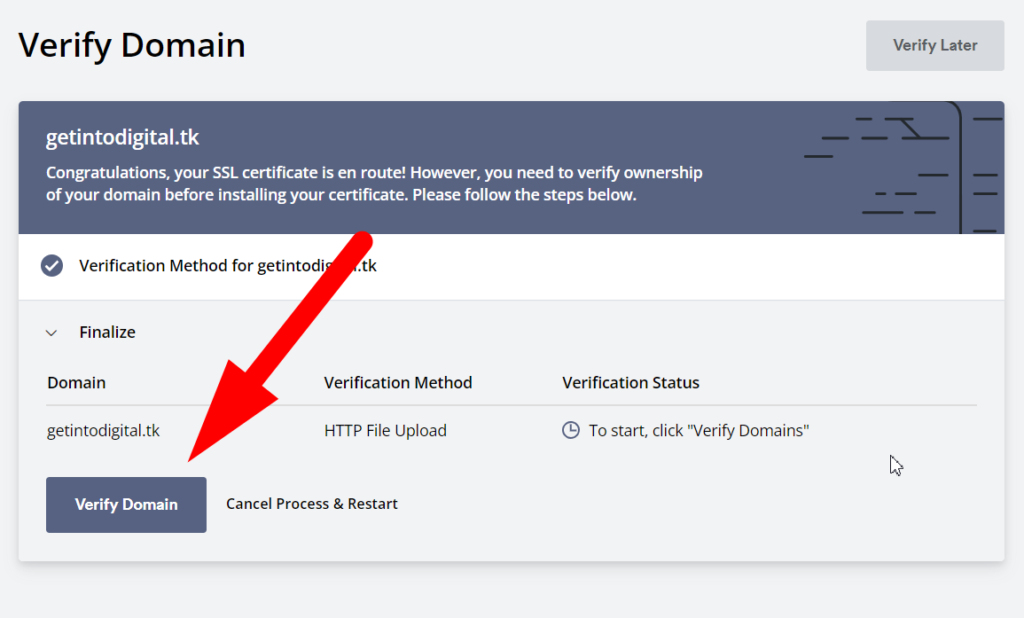
- Now click over the Verify Domain button.

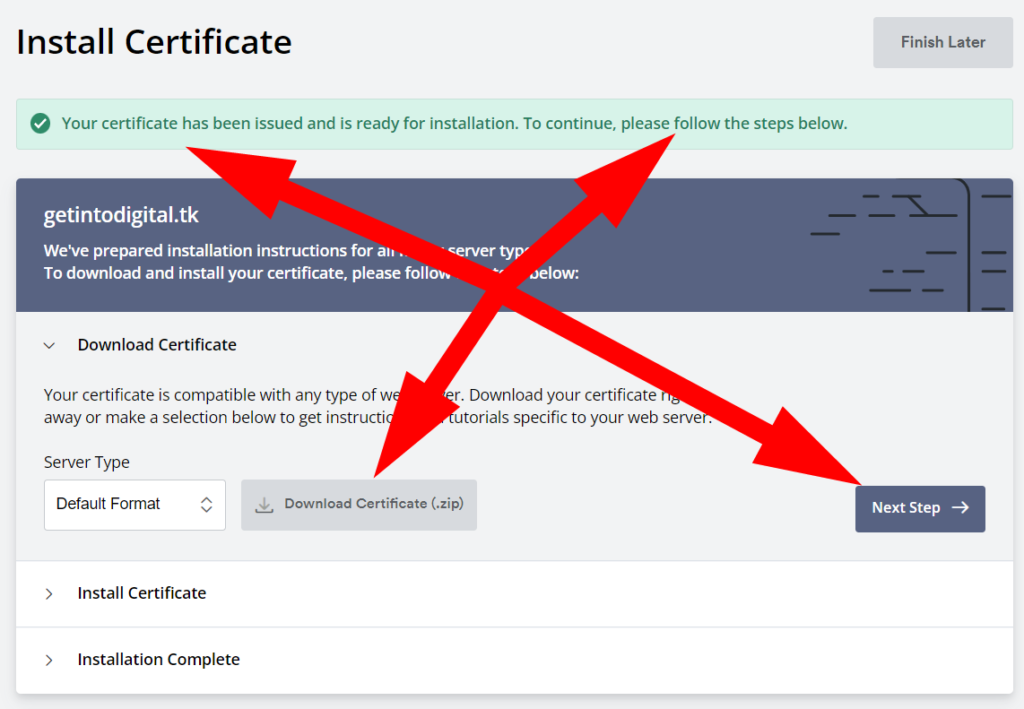
- Wait for a couple of seconds and a Download Certificate button will be visible to you.

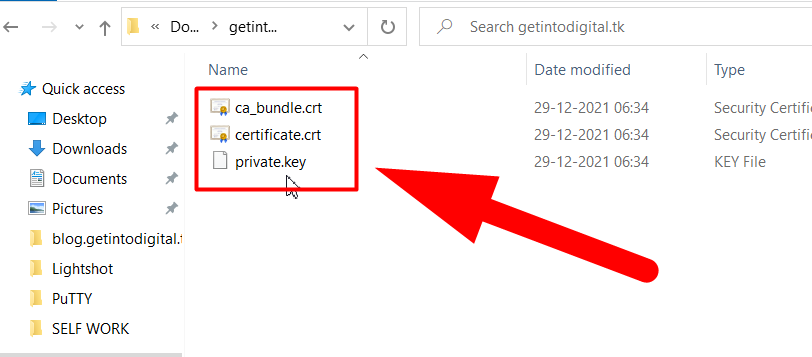
- Download & Extract the zip file and click over the Next Step button.
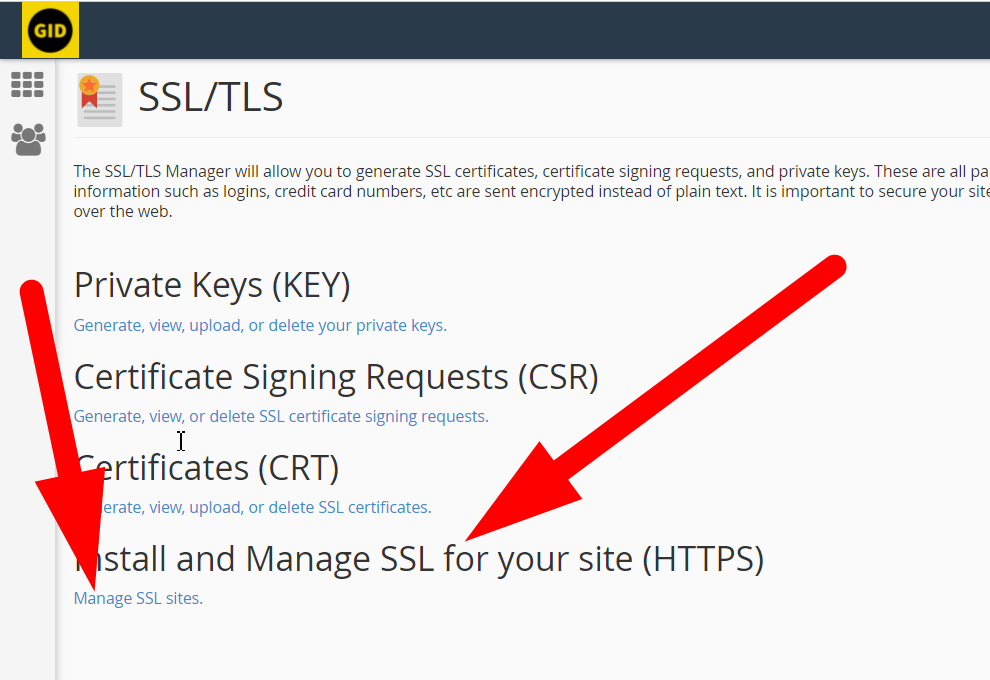
- Go back to your cPanel and search for SSL in the search box.

- Now click over the Manage SSL Sites button.

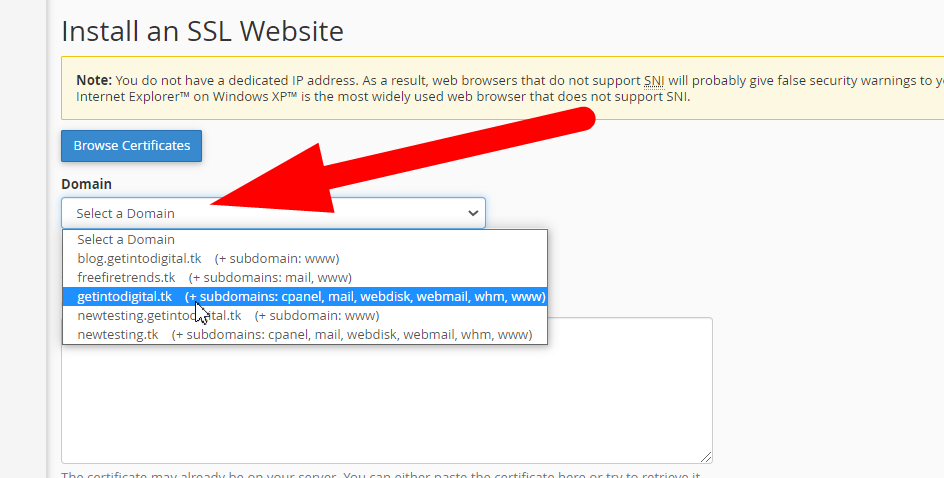
- Scroll to the Installation section and Select Your Domain.

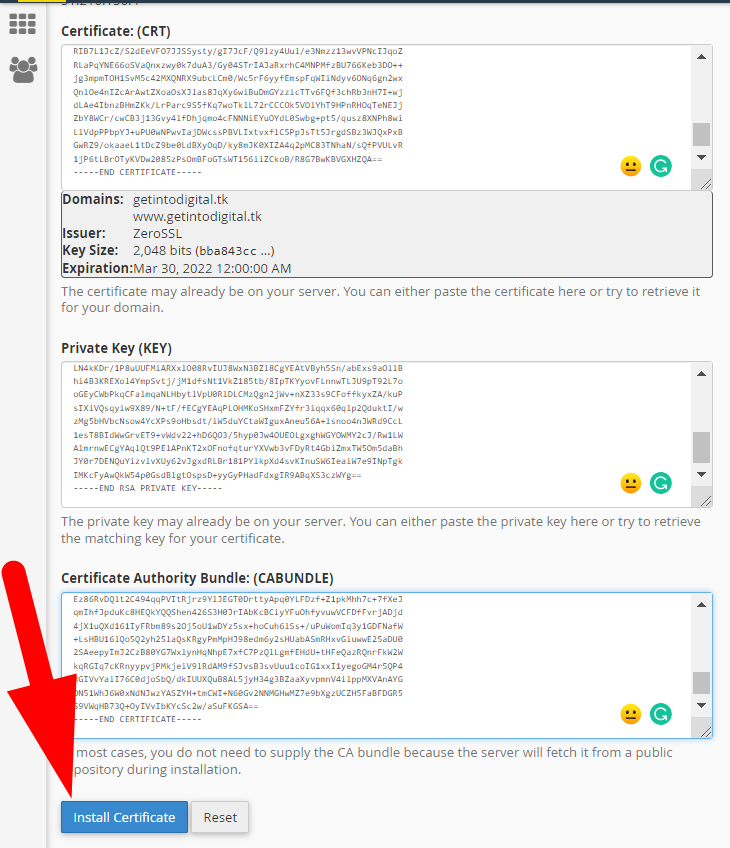
- Now open your recently extracted folder. Copy all the codes one by one and paste them into their respective section.

- Click over the Install Certificate button when you’re done.

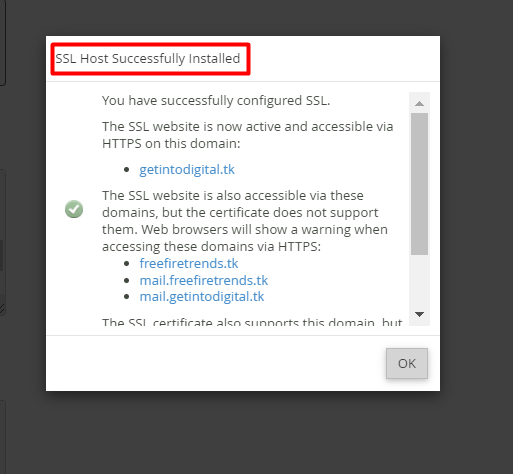
- You’ve successfully installed a Free SSL certificate on your website. You can install free SSL certificates on multiple domains.

This SSL is valid for 90 days only. After that, you can simply re-install it by repeating the same process if you don’t want to pay for it.
You can check out our Shared Hosting Plans. We committed to providing unlimited FREE SSL CERTIFICATES to our users.
