Elementor has multiple features that can be used to create website pages. In this tutorial, we will go through the detailed procedure to create templates with Elementor.
In its free version, you can easily create any template but to select any template and theme it is required the you must upgrade to Elementor Pro. Let us go through the detailed procedure to create template with Elementor.

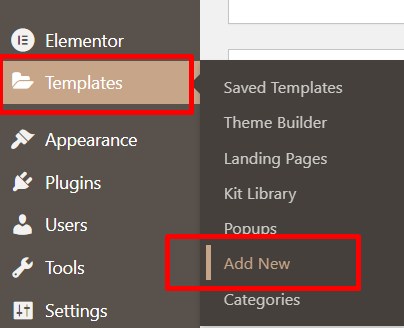
- Login to WordPress dashboard and click over Templates and then Add New.
- A window pops-up. From here, select the type of template from the drop down button, i.e, Page, Section or Landing Page.
- Then, Name your Template.
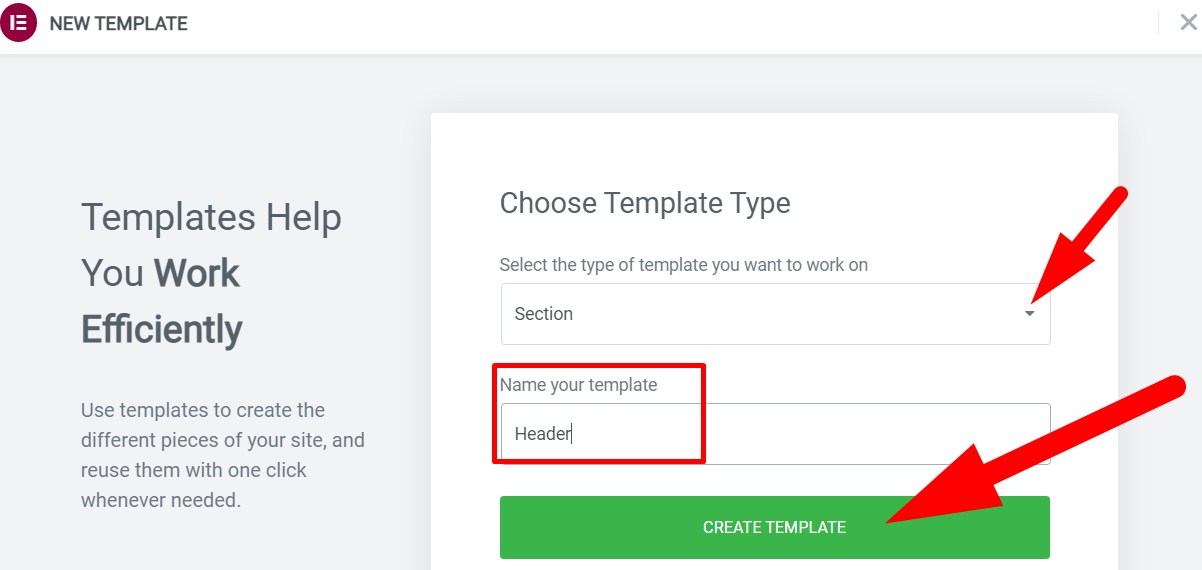
- Click over Create Template.
You will be directed to editor page. From here, you can edit the Template by either clicking over + icon or File icon.
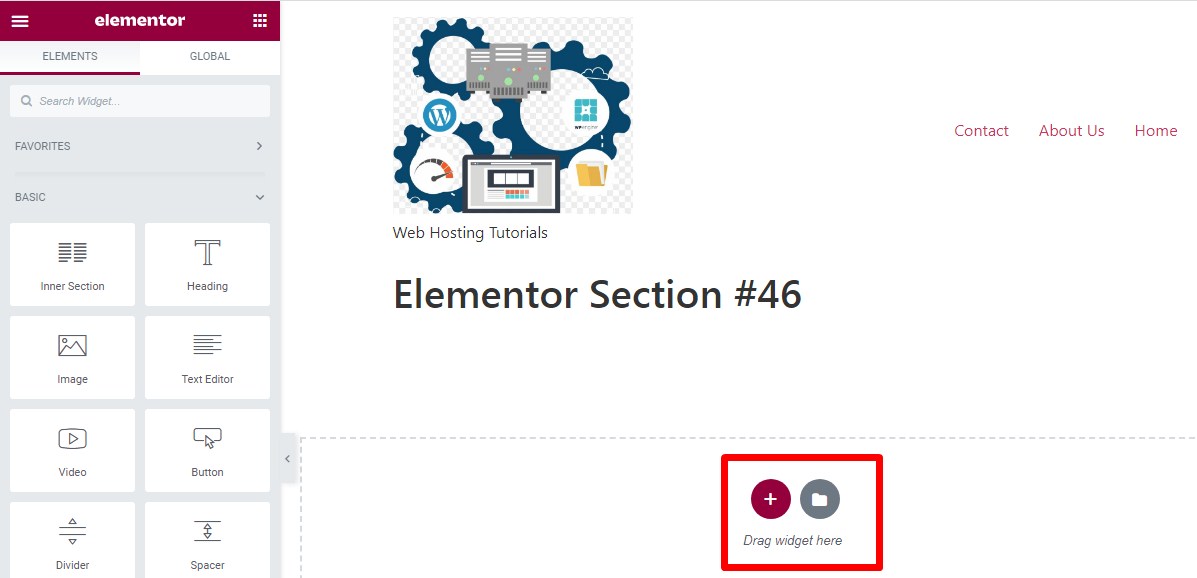
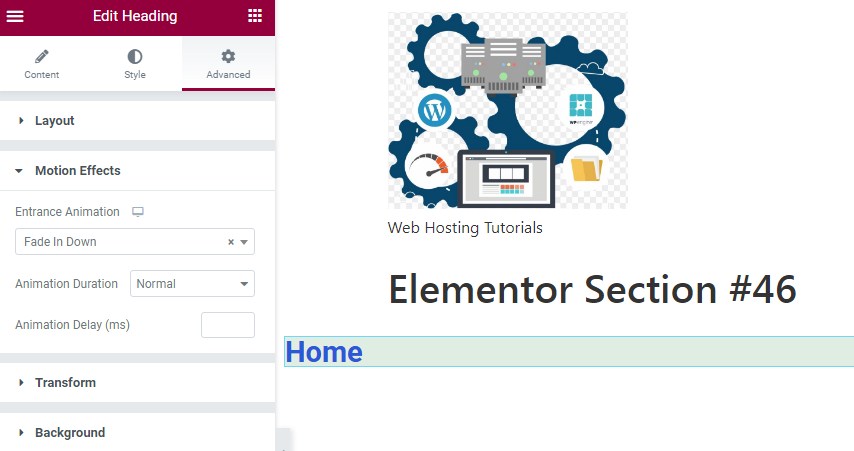
- Click over + icon to select the Structure as per your choice. Then drag and drop the widget to selected section and Edit.
- After making the changes in your template click over Publish to publish your website. You can Preview the changes by clicking over Preview icon in the bottom at left hand side.
*If you want to create page template then click over file icon. A window pops up where you can find multiple template in Blocks and Pages section that you can use. You will find your created templates as well in My Templates section.
That’s It !
Hope the article better describes the procedure to create templates with Elementor.
Do share it with your colleagues if you find it working. Also share your suggestions and drop your queries to start the discussion on the related topic. Lets connect on social media with the below links.
Facebook Page: https://facebook.com/redserverhost Twitter Page: https://twitter.com/redserverhost.com