How to Fix the Error Establishing a Database Connection in WordPress? [STEP BY STEP]☑️
Today in this article, we will explain you how to fix the error establishing a database connection in WordPress.
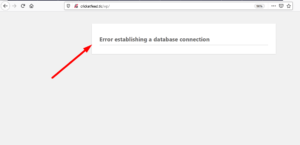
This error occurs when WordPress is unable to make a connection to the database. There are a number of things which can affect your WordPress database connection making it difficult for beginners to troubleshoot.
Video Tutorial– Error establishing a database connection error in WordPress [SOLVED]
Cause behind Error establishing Database Connection
The ‘Error establishing a database connection’ issue can be caused due to incorrect database information in your WordPress settings, corrupt database, or an irresponsive database server.
WordPress uses a database to store all your content and other website data. It then connects to the database each time someone visits your website.
If any of these items are incorrect, WordPress would fail to connect to your database server, and you’ll see the ‘Error establishing a database connection’ error. It is one of the most common WordPress errors which users face.
How to fix error establishing a database connection in WordPress?
In order to solve this issue we need to check two things i.e MySQL Database and wp-config.php file
Below are the following information which WordPress uses to connect to the database
- Database name
- Database username
- Database password
- Database server
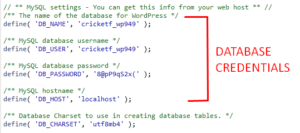
This information is stored in your WordPress configuration file i.e wp-config.php file. You just need to make sure that this informations present in wp-config.php matches with MySQL database.
Step::1 Login to your cPanel
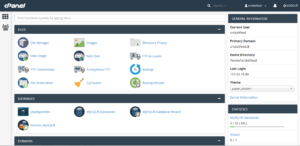
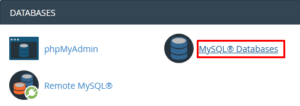
Step::2 Go to MySQL Database
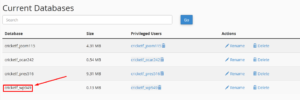
Step::3 Find your Database and the user associated with that
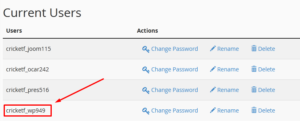
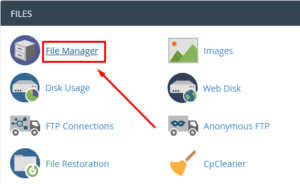
Step::4 In a new tab open File Manager section in your cPanel
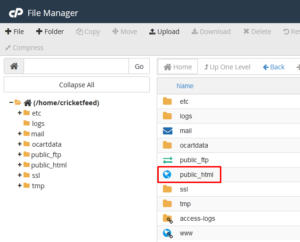
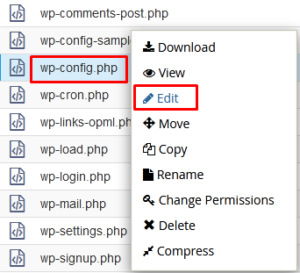
Step::5 Click on public_html and find wp-config.php file(if your WordPress is installed directly in your domain otherwise go to the relevant Folder where you have installed WordPress and look for wp-config.php file)
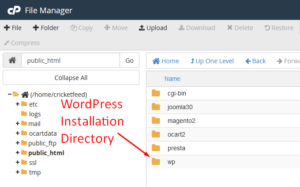
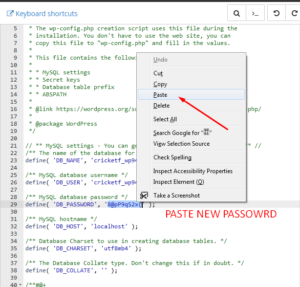
Step::6 Click over wp-config.php file and choose Edit to look for all the information like database name, database username, database password etc..
Step::7 Match the credentials correctly with the information you see in MySQL Database section
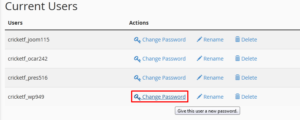
Step::8 Change the Database password in MySQL Database section.
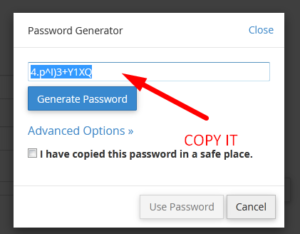
(Always use Password Generator to generate the password for higher security )
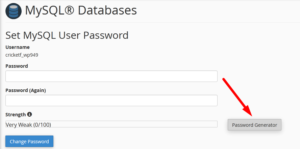
Step::9 Once password is generated, copy it and paste the same password in wp-config.php at the Database password field
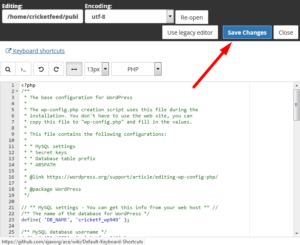
Step::10 Click on Save changes once completed and check your website..
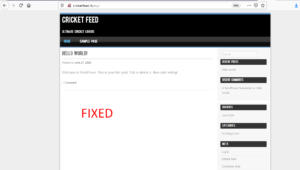
Hope your WordPress site is fixed now, congrats…
Thanks for Reading this article !!!
For more information, kindly follow us on social media like Twitter and Facebook and for video tutorials, subscribe to our YouTube channel –https://youtube.com/redserverhost.com
Facebook Page– https://facebook.com/redserverhost
Twitter Page– https://twitter.com/redserverhost.com
If you have any suggestions or problems related to this tutorial, please let us know via the comment section below.
Tags: cheap linux hosting, buy linux hosting, cheap reseller hosting, buy reseller hosting, best reseller hosting, cheap web hosting, cheapest web hosting, cheapest reseller hosting, cheap reseller host, cheap linux host, cheapest linux hosting, best linux hosting, best web hosting


