In this tutorial, we have explained the detailed procedure to install WordPress in sub-directory. But before proceeding further with the steps, let’s give a short description about the sub-directory.
Quick Navigation:
Sub-Directory
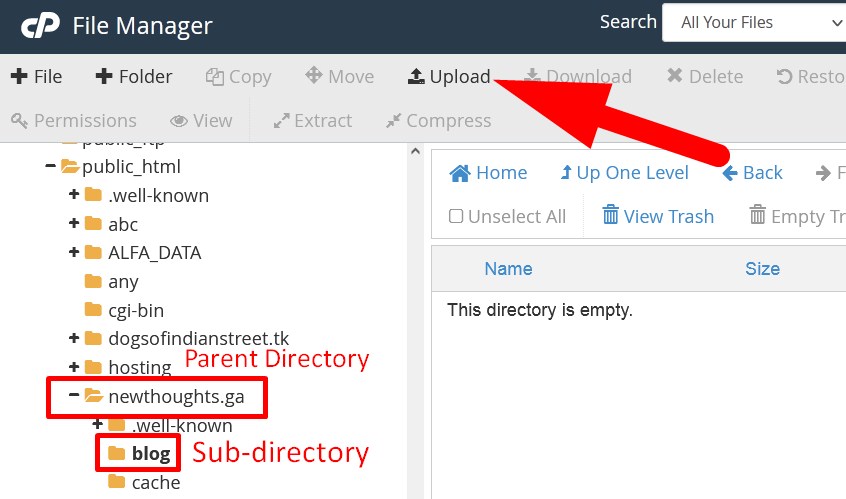
A sub-directory is a directory which is present inside parent directory. That means the domain you owned is the parent directory and additional directories that are created inside your domain directory is sub-directory.
How sub-directory different from sub-domain?
Sub-directory and sub-domain are different. They both represent the different sections of the parent directory but the main difference between them is that sub-directory is considered as segment of the website while sub-domains are considered as a separate website.
To understand the difference more clearly, check the given URL. The URL for sub-directory is like website.com/blog and URL for sub-domain is like blog.website.com.
When you install WordPress in sub-directory then search engine can easily crawl the pages as they are the part of the website while it takes time to index sub-domain websites as search engine consider sub-domains as separate website.
How to Install WordPress in sub-directory?
We have discuss about the sub-directory and sub-domain. To install WordPress in sub-directory, I expect that you have a cPanel account and you have created sub-directory. Now, there are two ways to install WordPress in sub-directory. We will go through each of them in detail.

1. Install WordPress Manually
You can install WordPress manually by installing the wordpress.zip file and extracting it into the sub-directory. Let us see the detailed procedure to do the same.
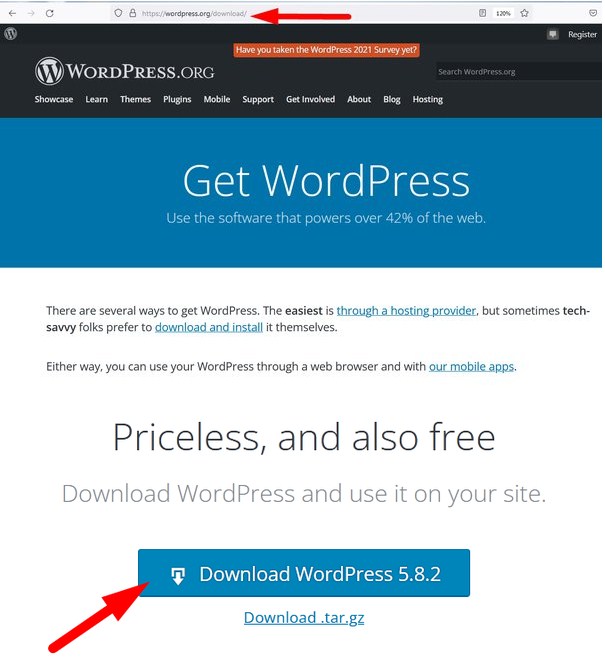
- First of all, go to wordpress.org and click Download WordPress.
- The file will be downloaded in .zip format. Save File.
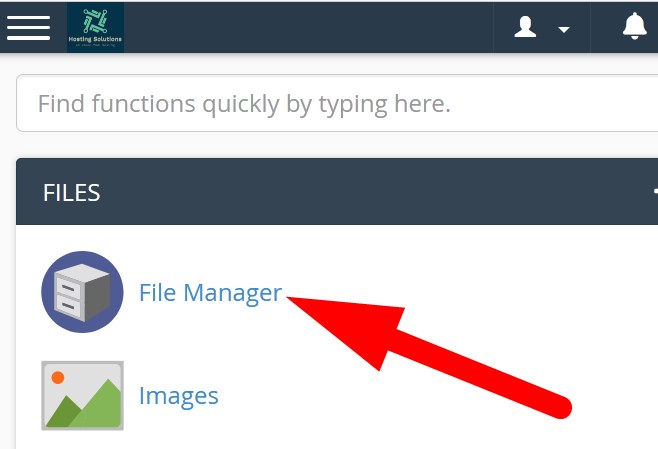
- Now, login to your cPanel account and get inside File Manager section.
- Get inside the sub-directory where you want to install WordPress.
- Click over Upload to upload WordPress.zip file.
- Reload the page and you will find .zip file in sub-directory.
- Right click over the file and then Extract.
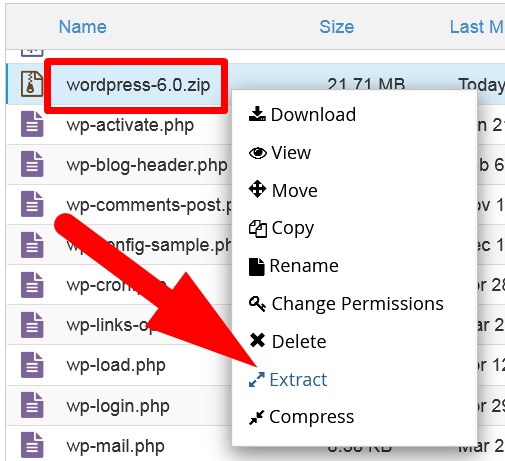
The file will be extracted in a new directory named wordpress or wp. You have to move all the files to sub-directory(blog).
- To access WordPress, database is required. So, let us create a database for WordPress.
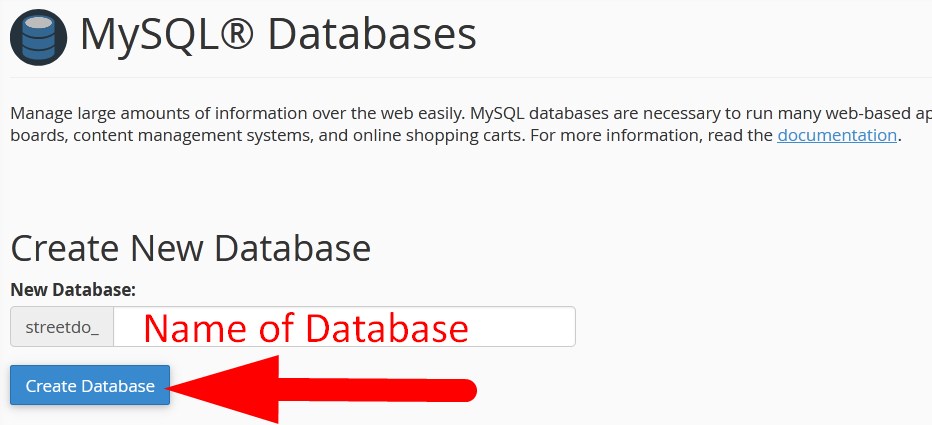
- From the cPanel feature list page, select MySQL Databases.
- On the next page, create a new database as directed in image.
- Create Database User and assign user to the database.
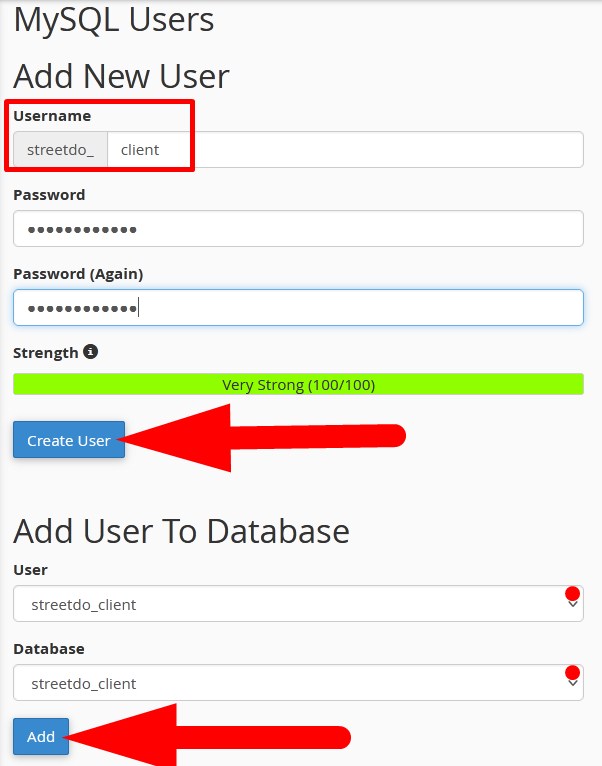
- Assign All Privileges to user and Make Changes.
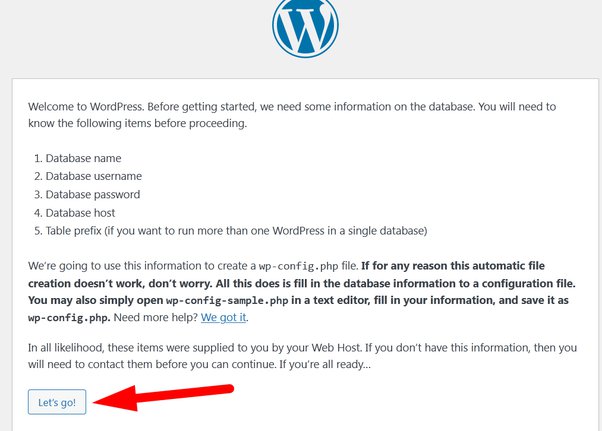
Now, visit the sub-directory in the browser as URL, where you have all your WordPress files. For example, if you have installed WordPress in sub-directory blog then the URL would be like www.domain.com/blog. The page will ask you to select Language, do the same and Continue. A window will appear that tells about the database and its credentials, click over Let’s Go!
- A page will appear where you have to enter the database name, database user name etc that you have created in cPanel.
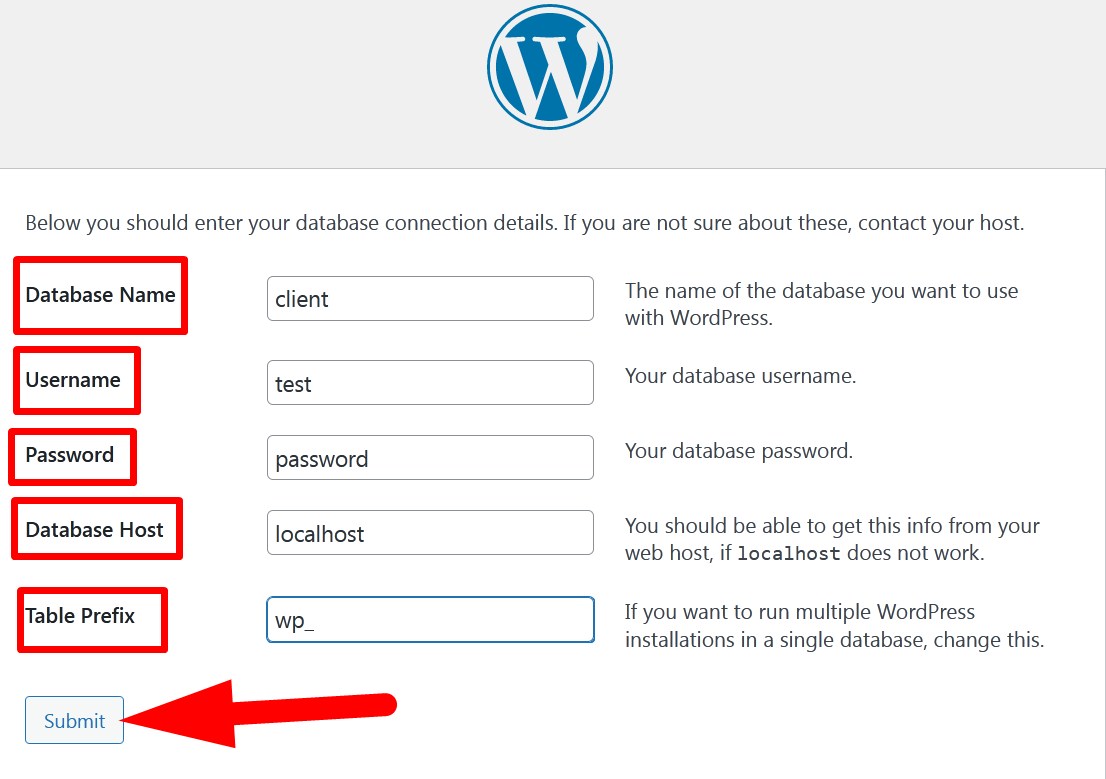
- Click over Submit. Then Run the Installation and proceed.
- A Welcome Page will appear, fill the credentials as per your choice and Install WordPress.
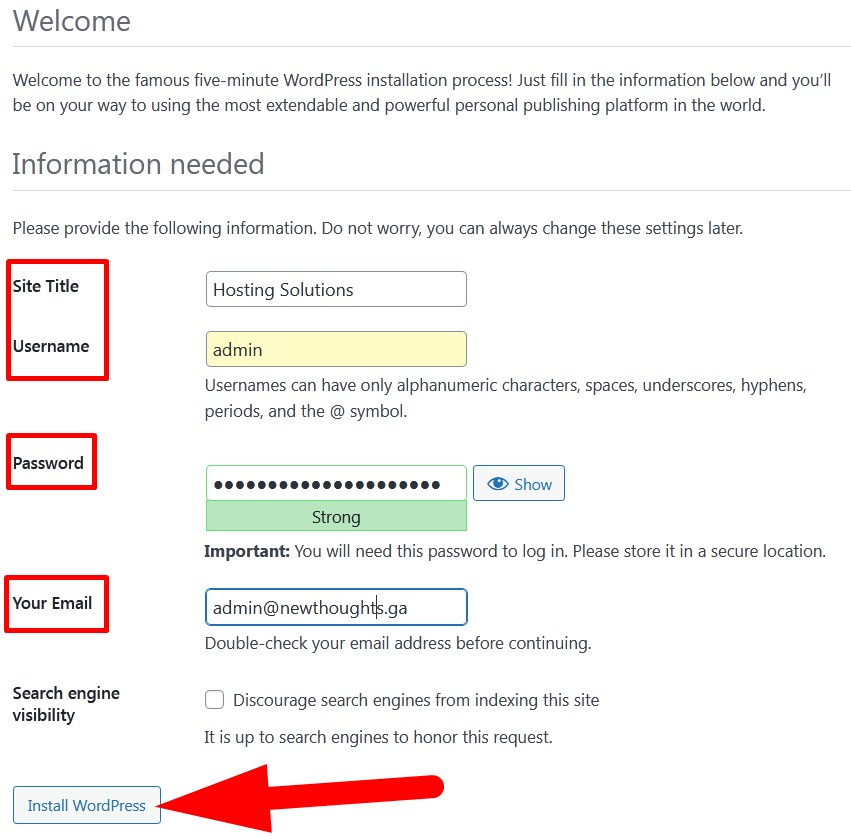
- WordPress welcomes you with a confirmation message. You can now Log In to dashboard and manage your WordPress website.
With the given procedure you can manually install WordPress in sub-directory.
Another way to install WordPress in sub-directory is via Softaculous in cPanel. Let us go through the procedure to do the same.
Install WordPress via Softaculous
Suppose I want to install WordPress in sub-directory named blog. Here are the steps to install WordPress in sub-directory.
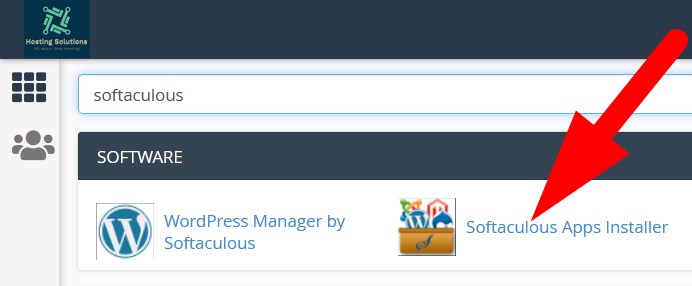
- Login to cPanel.
- Select Softaculous Apps Installer from Software section.
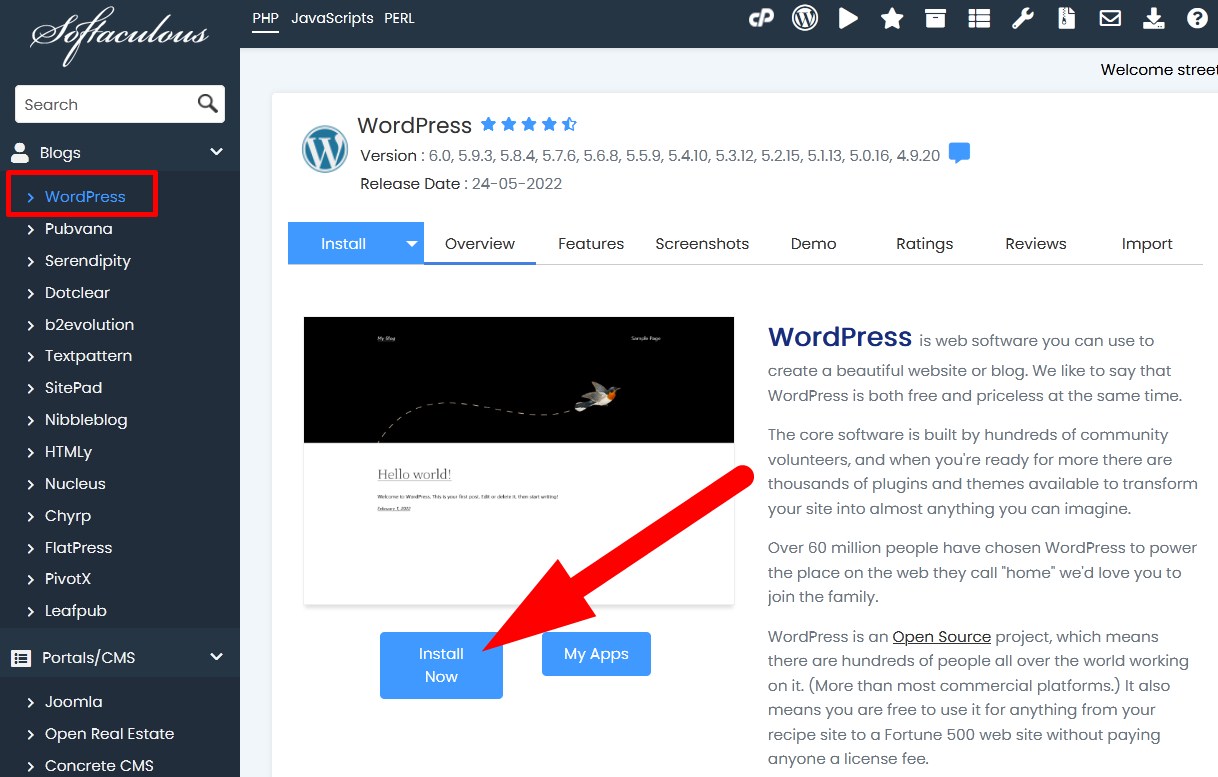
- Select WordPress and click over Install Now.
- On the next page, enter the required credentials as directed.
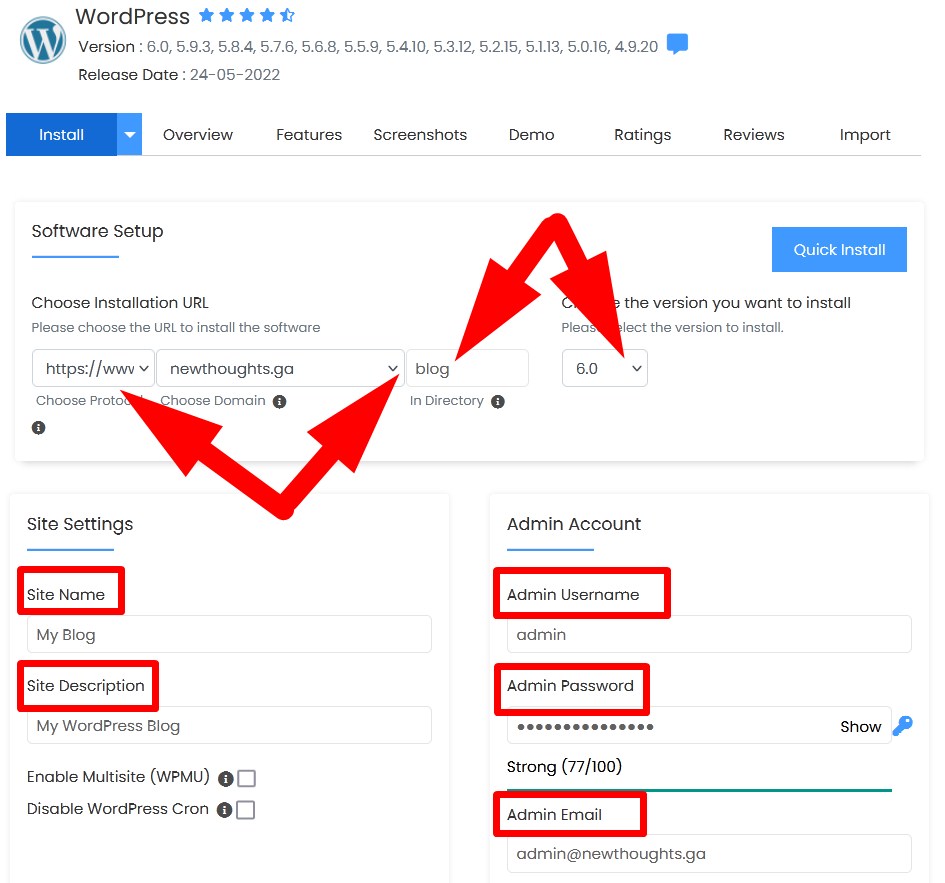
- In Software Setup section,
- Choose Protocol: Select the protocol to manage HTTPS redirection.
- Choose Domain: Select the domain or sub domain for which you want to install WordPress.
- In directory: Enter the sub-directory name(blog) where you want to install WordPress.
- In Site Settings,
- Site Name: Enter the name of your site.
- Site Description: Enter the description of your site.
- Admin Username: Set the admin username that would be use to login to dashboard.
- Admin Password: Set strong password to login.
- Admin Email: Enter the email where all the updates related to WordPress would be received.
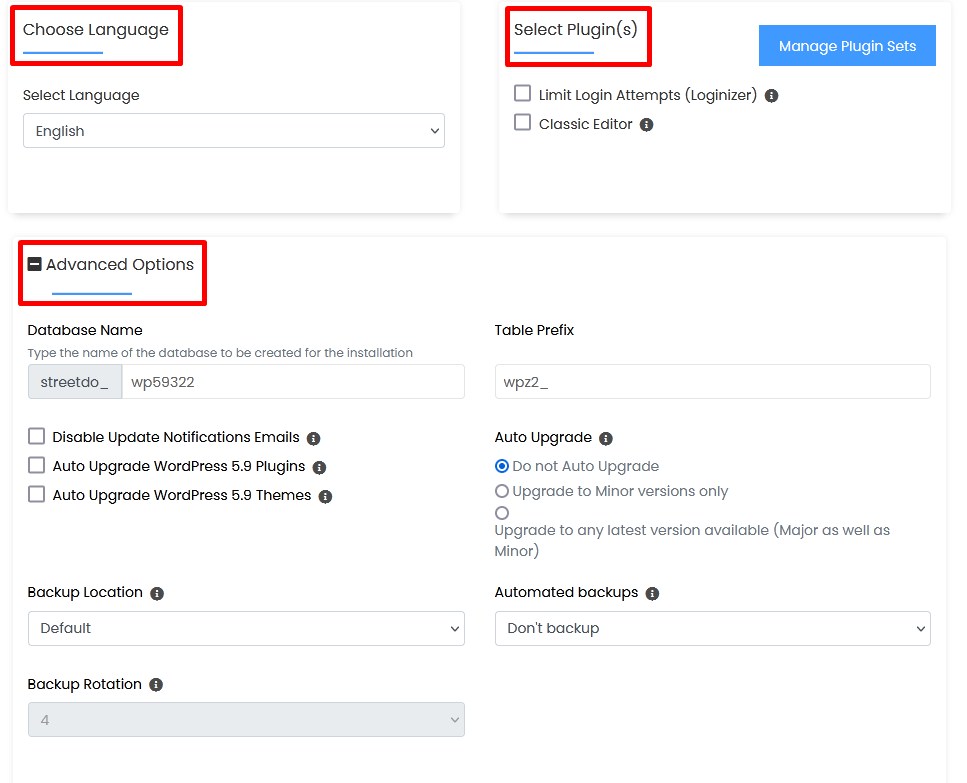
- Scroll down and Choose Language, Select Plugins, enter database related details in Advanced Options and then Select Theme.
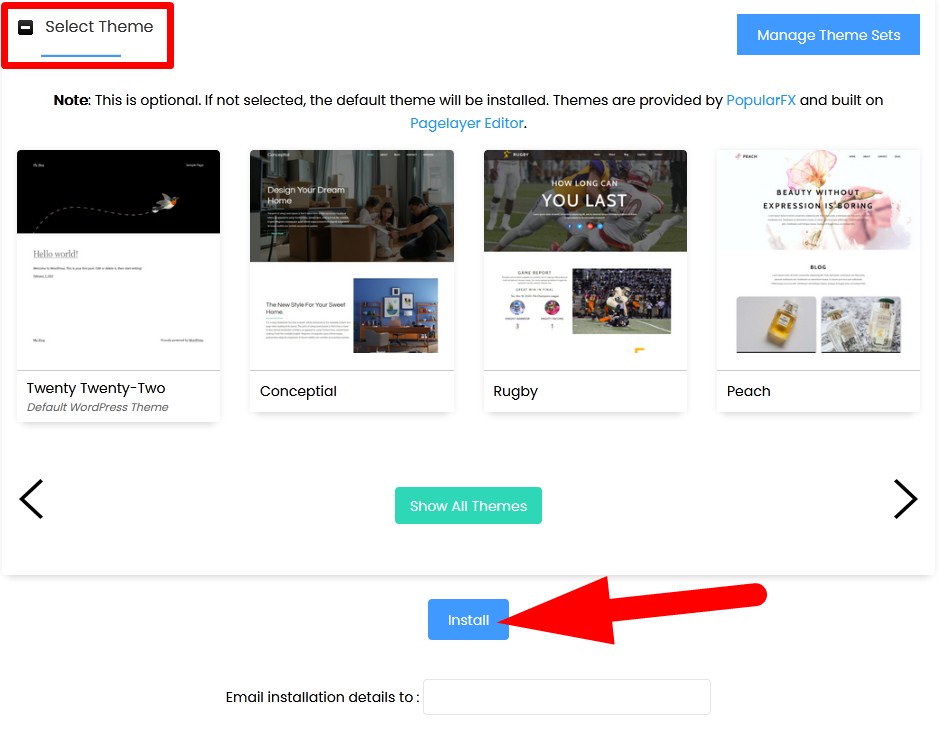
- Click over Install and complete the procedure to install WordPress in sub-directory.
You will receive notification that you have successfully installed WordPress.
Hope the article better explains the procedure to install WordPress in sub-directory. So, if you find this article helpful then do share with your colleagues.
Thanks For Reading !
Follow us on social media pages and share your reviews.
Facebook Page: https://www.facebook.com/redserverhost
Twitter Page: https://twitter.com/redserverhost