HOW DO I CREATE PRIVATE NAMESERVERS AT TRUSTP [STEP BY STEP]☑️
Today in this documentation you will learn about How to create and setup private nameservers for your WHM Reseller account via TrustP Domain control panel
If you have a domain registered at TrustP and you want to use private name servers (ns1.yourdomain.com, ns2.yourdomain.com, etc) then follow the step by step process to set up and register new private nameservers for cPanel accounts under your WHM Reseller
Follow the steps given below to create private nameservers at TrustP:
Step::1 Login to your TrustP Domain Control Panel

Step::2 Go to the Home Page

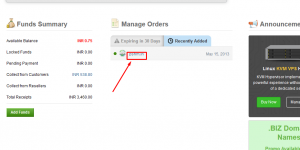
Step::3 Now click on your Domain under Manage Orders section
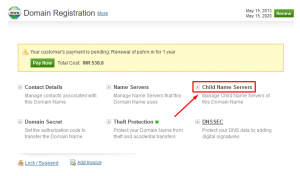
Step::4 Now scroll down to Domain Registration Box and Click on Child Name Servers
Step::5 Create here your Private Nameservers and point it towards your hosting provider IP address.
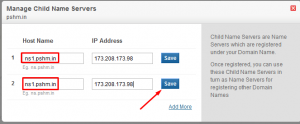
Step::6 Now after creating private nameservers go back to the Management Tools section and click on Nameservers

Step::7 Now add here your private nameservers
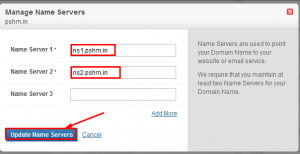
Step::8 Click on Update Nameservers
Step::9 Now login to your WHM(Reseller) interface and click on Server Configuration
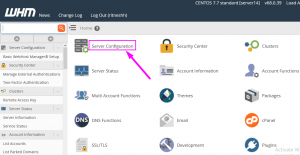
step::10 Click on Basic WebHost Manager setup
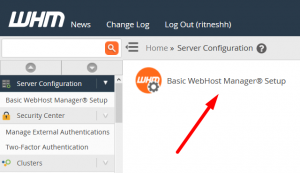
Step::11 Now enter here the Private Nameservers and click on Save Changes
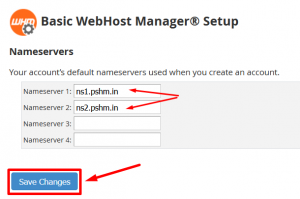
Now add A Records of your Private Nameservers in cPanel and WHM
Adding A records in cPanel:
Login to your cPanel
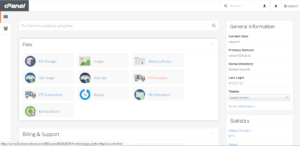
Go to Domains section and click on Advance Zone Editor

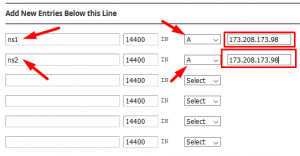
Now Add A Records here
In Name section, enter your private Nameserver
Enter the default value for TTL i.e 14400
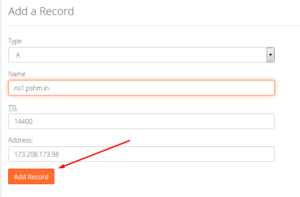
Make sure you enter your server IP address in Address field.
Adding A Records in WHM:
Step::12 Login to your WHM and go to DNS Function
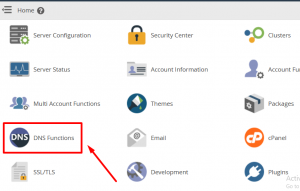
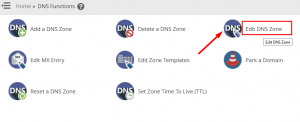
step::11 Click on Edit DNS records
step::12 Here choose your Domain and click on Edit
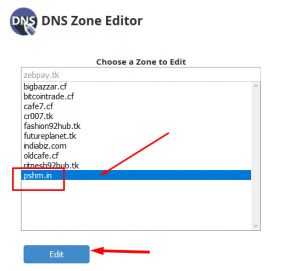
step::13 Now in this page Add “A record” for the private nameservers and point it towards your Hosting provider IP Address.
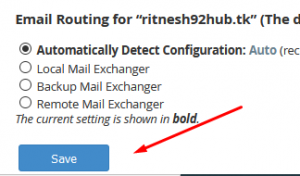
step::14 Click on Save button
That’s it!!!
After updating your nameservers, allow 4 to 8 hours for other networks to access information for .com and .net domain names, and allow 24 to 48 hours for other networks to access information for all other domain extensions. If you have difficulty, contact our 24/7 technical support team for assistance.
For more information about Redserverhost Hosting and the services we provide see here:
https://redserverhost.com
Follow the methods mentioned in the video tutorial to easily create private nameservers at TrustP.
If you enjoyed this tutorial, please consider following us on Facebook and Twitter.
Facebook Page- https://facebook.com/redserverhost
Twitter Page– https://twitter.com/redserverhost.com
If you have any query, feel free to let us know via the comments section below.
Thanks for Reading!!!
Tags: cheap linux hosting, buy linux hosting, cheap reseller hosting, buy reseller hosting, best reseller hosting, cheap web hosting, cheapest web hosting, cheapest reseller hosting, cheap reseller host, cheap linux host, cheapest linux hosting, best linux hosting, best web hosting


