How to Add a Slider for a timeline in Joomla? [STEP BY STEP]☑️
Today in this documentation we will learn how to add a slider for a timeline in Joomla. A Joomla timeline extension is a tool that gives website owners the ability to post a timeline of important events.
Video Tutorial– “How to Add a Slider for a timeline in Joomla?”
Follow the steps to add a slider for a timeline in Joomla:
Step::1 Open your web browser and go to the given URL
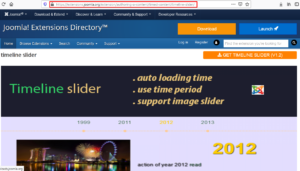
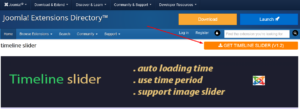
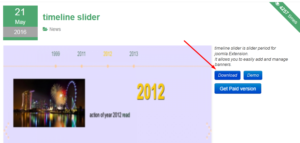
Step::2 You can directly download the zip file from here
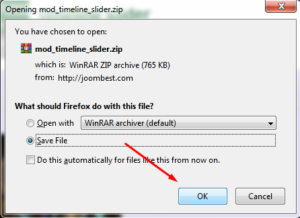
Step::3 Now login to your Joomla dashboard and go to Extensions and click over Manage and then Install
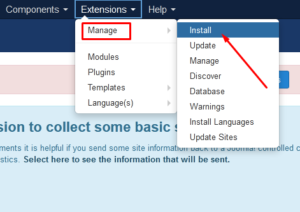
Step::4 Browse the file and upload it.
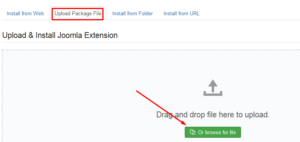
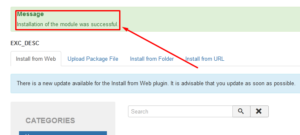
Once the extension has been installed, you will get a thank you message saying that the extension was successfully installed.
Step::5 On the top menu bar within your website admin, click on Extensions and then Modules.
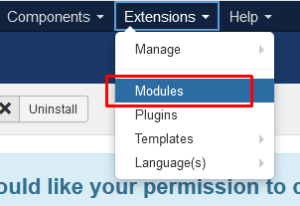
Search for the Timeline Slider extension you just installed. If it has a red circle with an “x” icon in it, click the icon to activate the plugin. If the icon has a green checkmark, it means it’s already activated and the extension is live on the site.
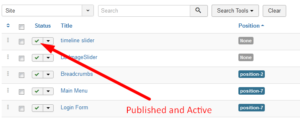
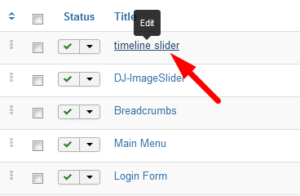
Step::6 Now click on “Timeline Slider” to open the configuration area for the extension. You will see six main tabs under the setup page.
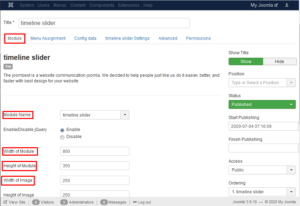
1st tab is Module where you go through and actually set up all the module settings for the extension as you see fit. Height, width, fonts, and dates will all be things to manage.
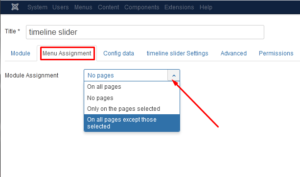
2nd tab in Menu Assignment where you can set the module to display on the pages you want throughout your website. Just choose the option desired from the drop-down menu.
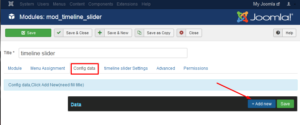
3rd tab is Config Data where you access and add images and text sources for your timeline in Joomla. Under the tab, you will see a blue “Add New” button. Go ahead and click on that so a drop-down menu of settings is shown. Go ahead and add images, text, years, and dates.
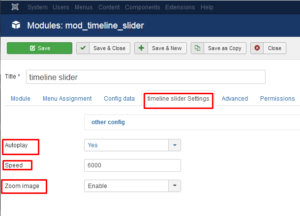
4th tab is Timeline Slider Settings which allows you to choose Autoplay, Zoom, and speed options for the timeline slider. Choose what you want and move on.
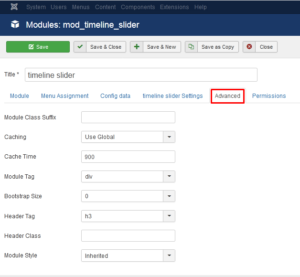
5th tab is Advanced where you get to choose items like caching and cache time, along with header classes and module tags.
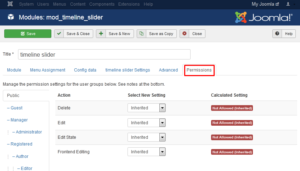
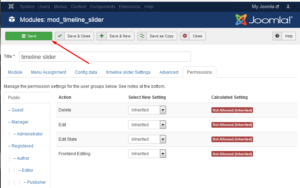
The final tab is Permissions where you can set up your user permissions and groups under this area. This allows certain access to certain levels.
Step::7 Click on the “Save” button to apply all the changes and options you have just made.
In this way, you could add Timeline Slider to your Joomla website.
Thanks for reading this article !!! We hope this was helpful to you all.
For more information, kindly follow us on social media like Twitter and Facebook, and for video tutorials, subscribe to our YouTube channel –https://youtube.com/redserverhost
Facebook Page– https://facebook.com/redserverhost
Twitter Page– https://twitter.com/redserverhost
If you have any suggestions or problems related to this tutorial, please let us know via the comment section below.
Tags: cheap linux hosting, buy linux hosting, cheap reseller hosting, buy reseller hosting, best reseller hosting, cheap web hosting, cheapest web hosting, cheapest reseller hosting, cheap reseller host, cheap linux host, cheapest linux hosting, best linux hosting, best web hosting


