How to change mouse pointer on your webpage? [STEP BY STEP]☑️
Here in this tutorial we will explain you how to change mouse pointer on your webpage.
Video Tutorial– “How to change mouse pointer on your webpage?”
Follow the steps to change mouse pointer on your webpage:
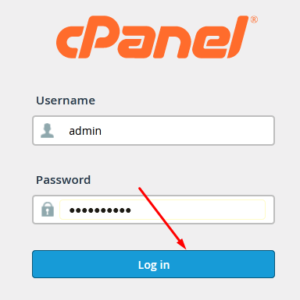
Step::1 Login to your cPanel interface
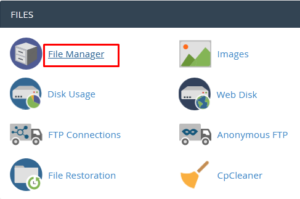
Step::2 Click on File Manager icon
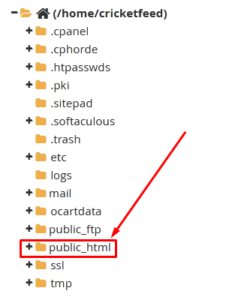
Step::3 Go inside public_html
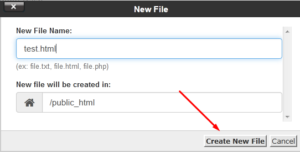
Step::4 Create a test.html file
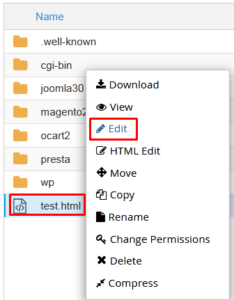
Step::5 Once the file is created, right click over the file and choose the Edit option
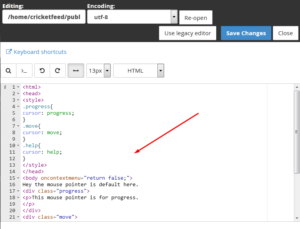
Step::6 Add the following code in your newly created test.html file
<html>
<head>
<style>
.progress{
cursor: progress;
}
.move{
cursor: move;
}
.help{
cursor: help;
}
</style>
</head>
<body oncontextmenu="return false;">
Hey the mouse pointer is default here.
<div class="progress">
<p>This mouse pointer is for progress.
</p>
</div>
<div class="move">
<p>This mouse pointer is for move.
</p>
</div>
<div class="help">
<p>This mouse pointer is for help.
</p>
</div>
</body>
</html>
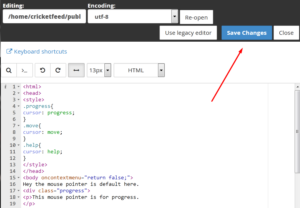
Step::7 Once you have added the code, click on Save Changes
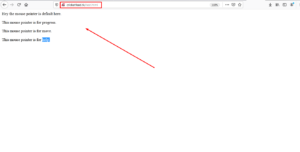
Step::8 Now open your website in a new tab. You will find that your mouse point cursor is completely changed!!!
Thanks for reading this article !!!
For more information, kindly follow us on social media like Twitter and Facebook, and for video tutorials, subscribe to our YouTube channel –https://youtube.com/redserverhost
Facebook Page– https://facebook.com/redserverhost
Twitter Page– https://twitter.com/redserverhost
If you have any suggestions or problems related to this tutorial, please let us know via the comment section below.
Tags: cheap linux hosting, buy linux hosting, cheap reseller hosting, buy reseller hosting, best reseller hosting, cheap web hosting, cheapest web hosting, cheapest reseller hosting, cheap reseller host, cheap linux host, cheapest linux hosting, best linux hosting, best web hosting


