cURL (Client URL) is a computer client that allows users to manipulate files from FTP, HTTP, HTTPS, and GOPHER protocols enabled servers. Enabling the Curl PHP extension from WHM root is fairly simple. Let me show you how.
Enable Curl PHP Extension From WHM
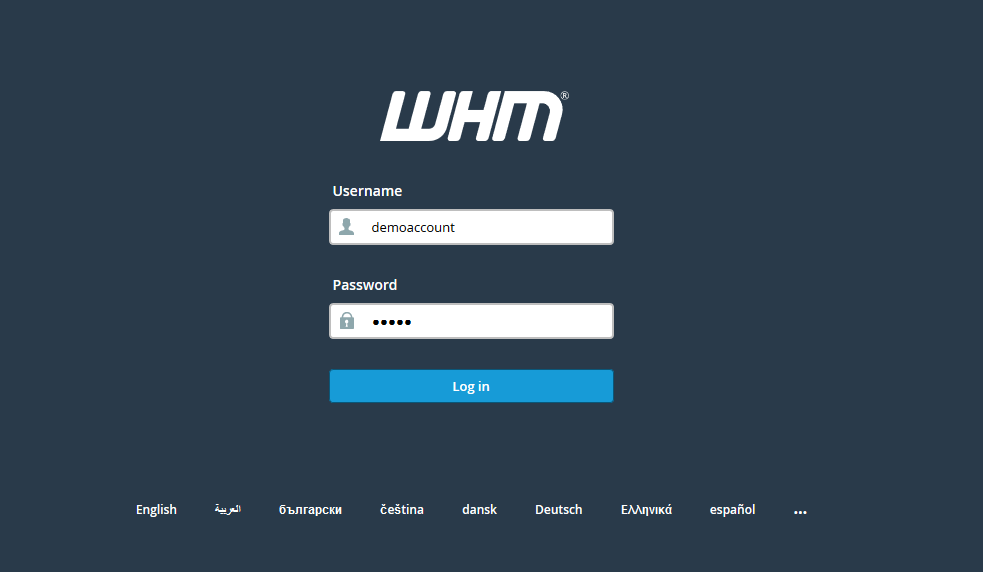
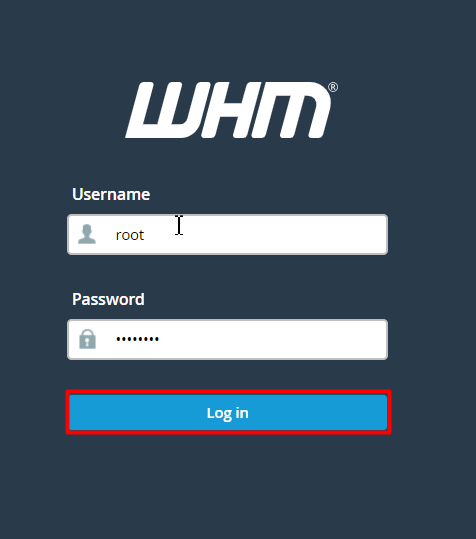
- First of all, log in to your WHM as a root.
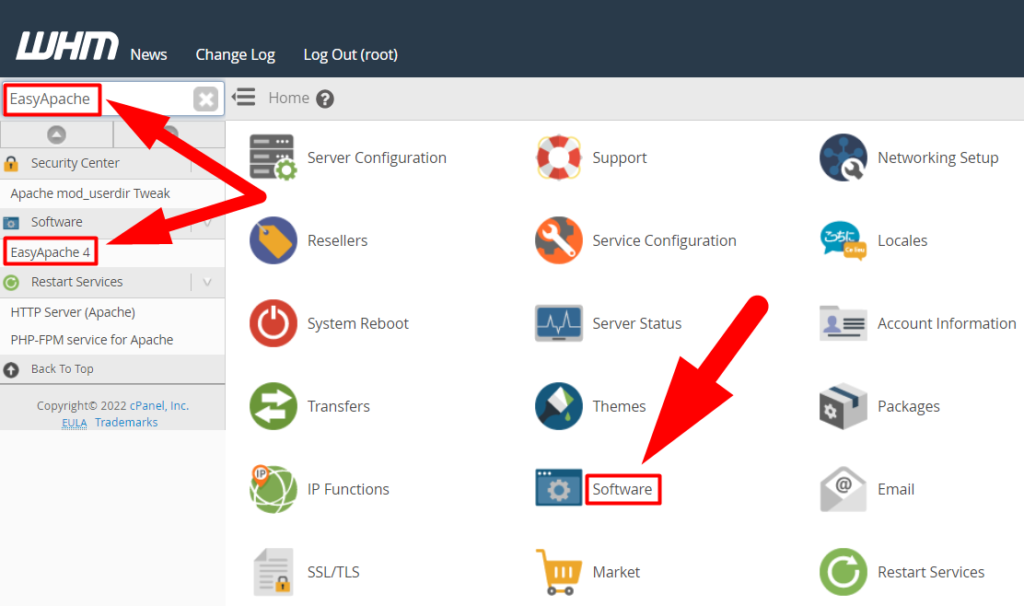
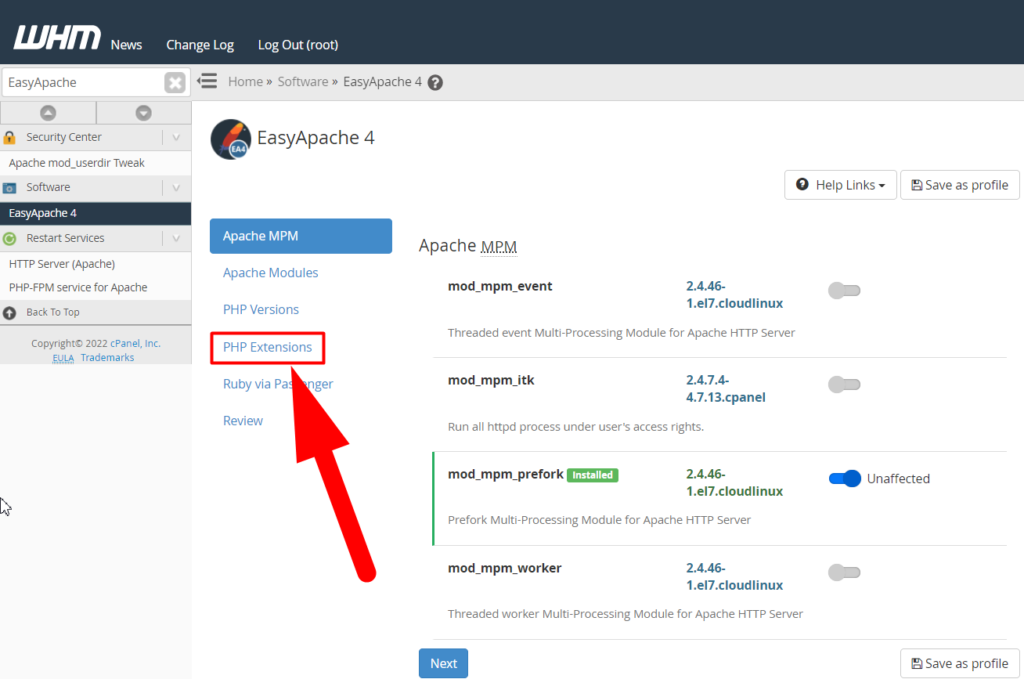
- Either search for EasyApache and click over the EasyApache 4 or navigate to the Software > EasyApache 4 section.
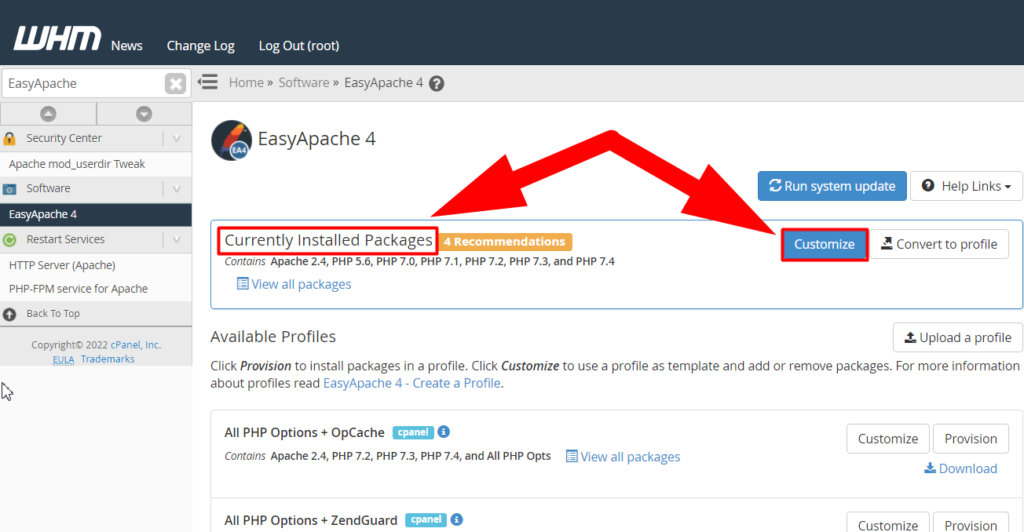
- Find the Currently Installed Packages option and click over the Customize button.
- Wait for the loading process to end and click over the PHP Extensions present inside the Left Corner.
Also See:
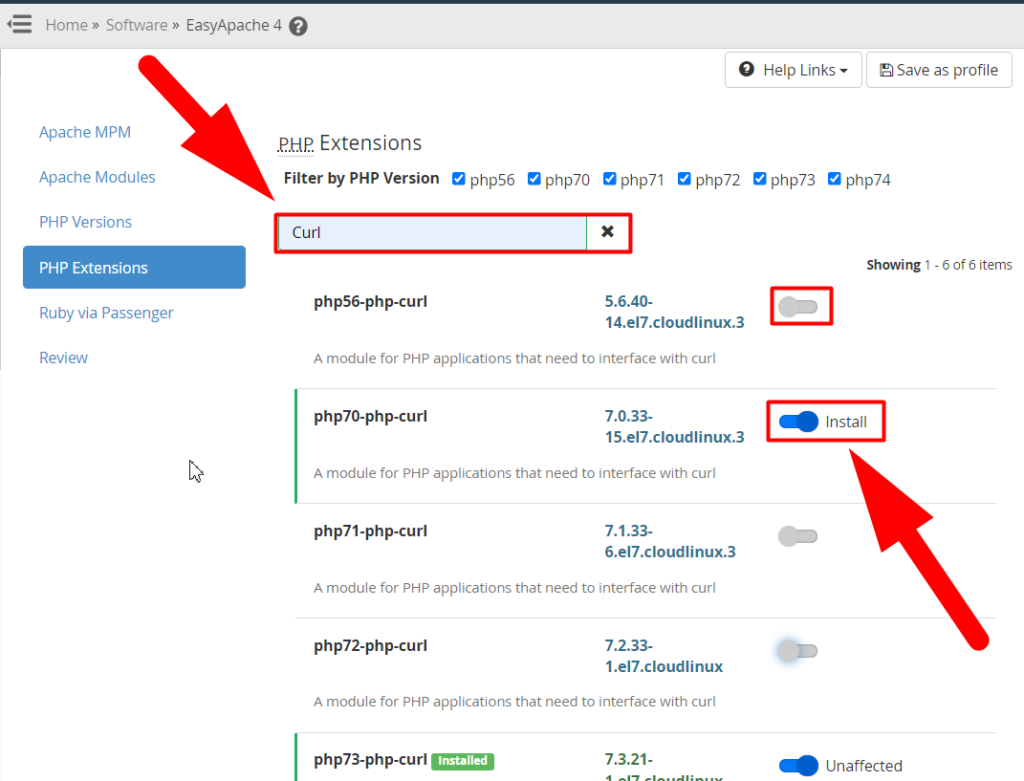
- Type curl in the search box and turn on whatever PHP versions you want to enable.
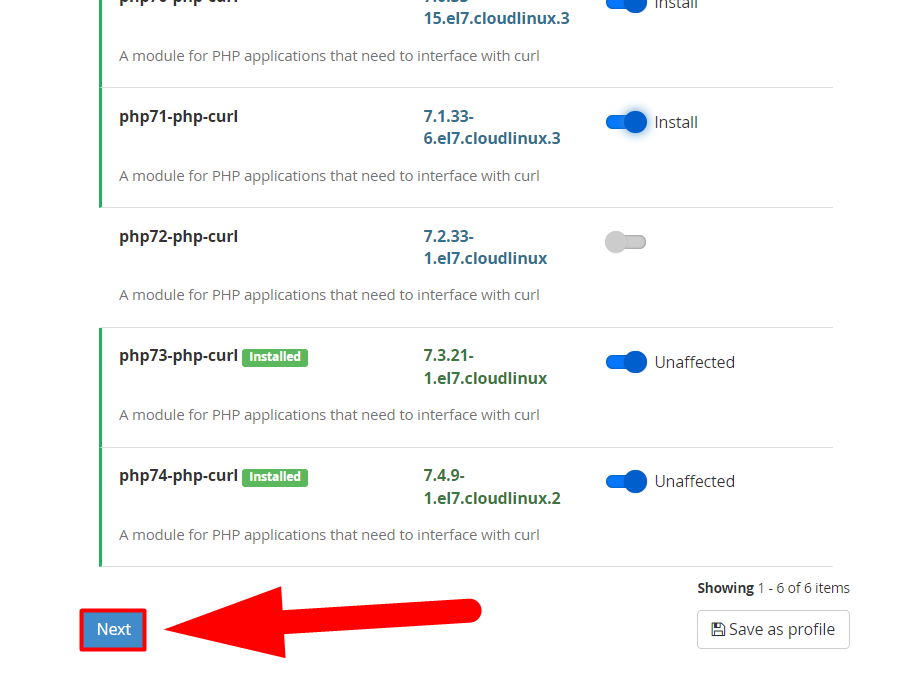
- Scroll down to the bottom and hit the Next button.
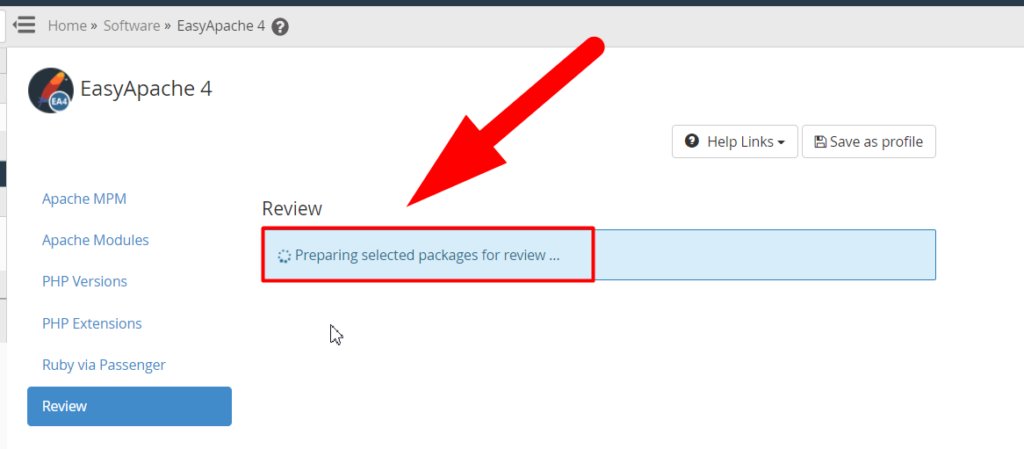
- Wait for the loading process to complete
- Review the changes and hit the Provision button from the bottom.
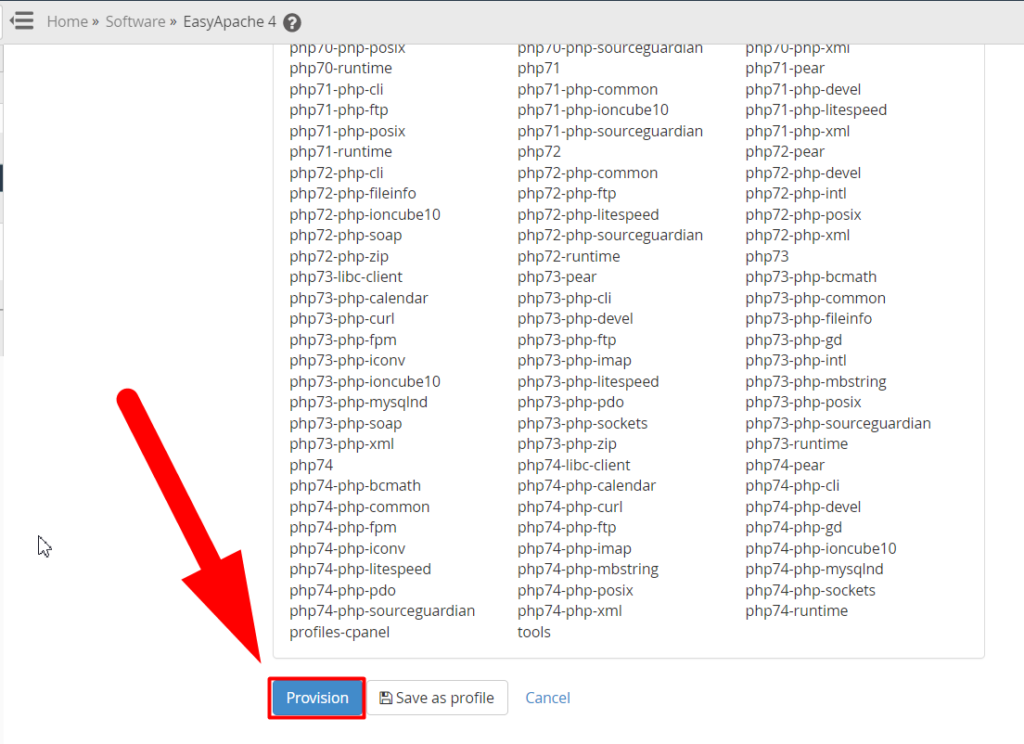
- The Provision will be completed in a couple of seconds and the Curl PHP Extension will be installed successfully.
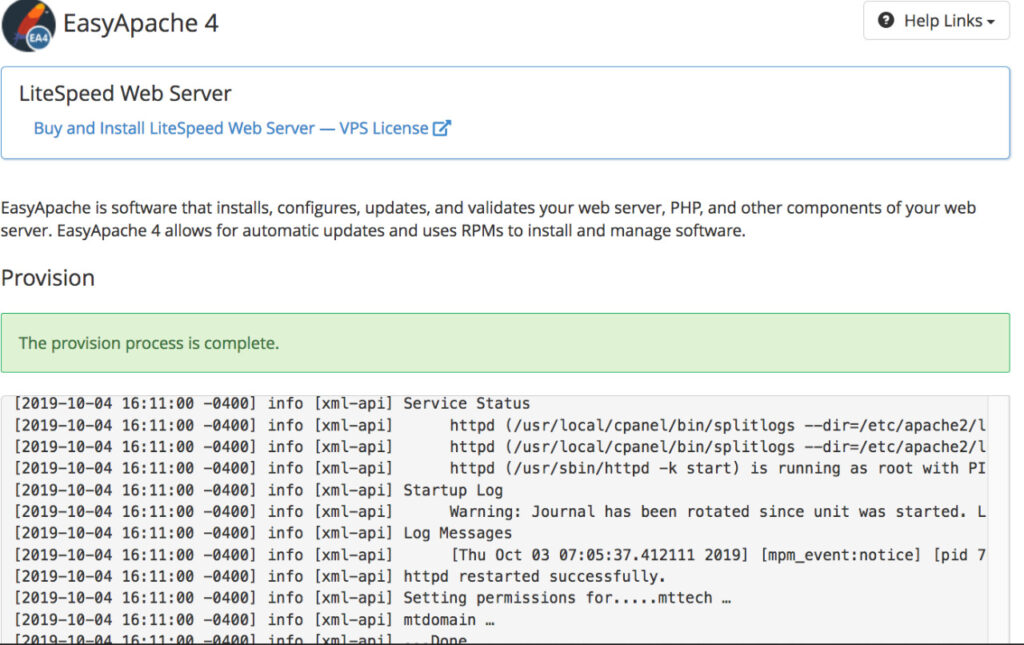
That’s it.
You’ve successfully installed the cURL PHP Extension from WHM root. However, there are some other SSH methods to install it via command line by following the below commands:
Install cURL on the Command Line
Ubuntu/Debian Linux Server
apt-get install php5-curlCentOS Linux Server
yum install curl
However, if the curl is already installed on your server and also up to date, then you’ll see the message that says “Nothing to do” on your SSH screen because the server already has an updated curl installed in it.
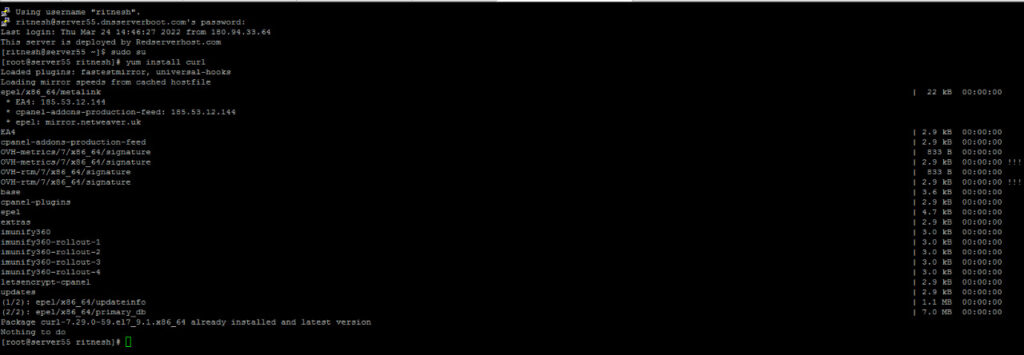
That’s how you can install cURL via Command-Line. For more assistance, you can open free chat support on RedserverHost.Com our professionals are always there to help you.
For any other inquiries or updates, you can reach out to us on our Facebook & Twitter handle.


