
Jetbackup is one of the leading backup software that allows several backups such as full cPanel backup, a partial backup, incremental backup, and many other cPanel backups such as Email, Files, DNS, SSL, Cronjobs, Database, and several other backups. Other than this, Jetbackup is the fastest and most effortless way to back up the contents and databases.
Before starting ahead, let’s take a brief look at some of the backups that JetBackup offers.
Full cPanel Backup
The full cPanel backup is used by both the users and the providers to secure their databases from any disaster on the remote server. With this backup, the user/provider creates a complete cPanel backup that includes contents, databases, emails, DNS, and all the other content present inside the cPanel.
Partial Backup
Partial backup is used to create a separate backup. For instance, if you’ve already created a full backup and now you want to create an additional backup of only MySQL Database, then you can use the partial backup option in JetBackup. Additionally, you can backup Emails, Databases, Contents, Etc partially using the partial backup option in Jetbackup.
Incremental Backup
What is an Incremental backup? Well, the Incremental backup is quite a unique backup option to copy new files or only those files that have been changed since the last backup. For example, suppose you had already created a full backup of cPanels, and now you don’t want those files which you already downloaded before. In this case, you can use the incremental backup to copy those files that are new or changed since the last backup.
So, let’s now jump to the installation process.
How to Install JetBackup in WHM Root?
Don’t worry, you can install JetBackup in WHM root effortlessly by following the below steps:
- Login to your SSH using any client software such as PuTTY.

- Once logged in, copy the below command and paste it into your terminal.
yum -y install http://repo.jetlicense.com/centOS/jetapps-repo-latest.rpm
yum clean all --enablerepo=jetapps*
yum -y install jetapps-cpanel --disablerepo=* --enablerepo=jetapps
jetapps --install jetbackup stable
- It might take several seconds to verify and download all the packages. After that, you’ll be able to see the “Complete!” message at the end.
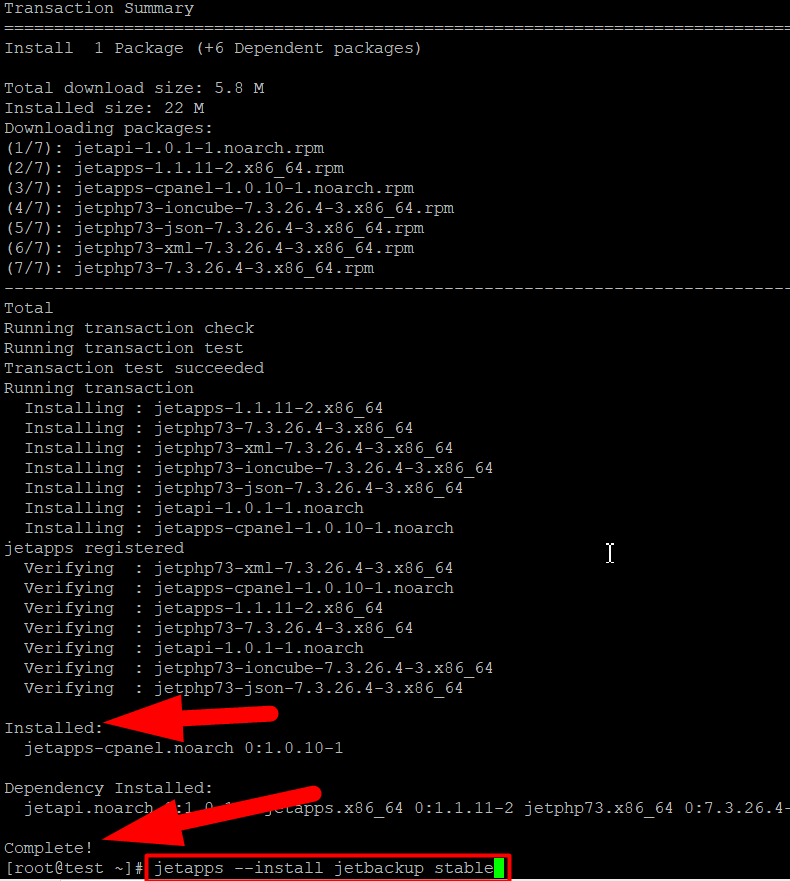
- Now type the following command.
jetapps --install jetbackup stable
- Wait for the installation process to be completed.

That’s it.
You’ve successfully downloaded the JetBackup in your WHM root. However, you can also install it directly from the WHM panel, but installing it from SSH is the fastest way to install any software or plugin in WHM root.
As you’ve witnessed how easily I installed the JetBackup via an SSH. Moreover, the Uninstallation process is way easier than the installation process. Let me show you practically.
How to Uninstall JetBackup in WHM root?
Uninstallation of JetBackup can be easily done with 2 one-lined commands. Follow the below steps to uninstall jetbackup from WHM root via SSH.
- Log in to your SSH as a root.
- Type the below command and hit enter.
yum remove jetbackup-core
- Let the uninstallation process be completed.
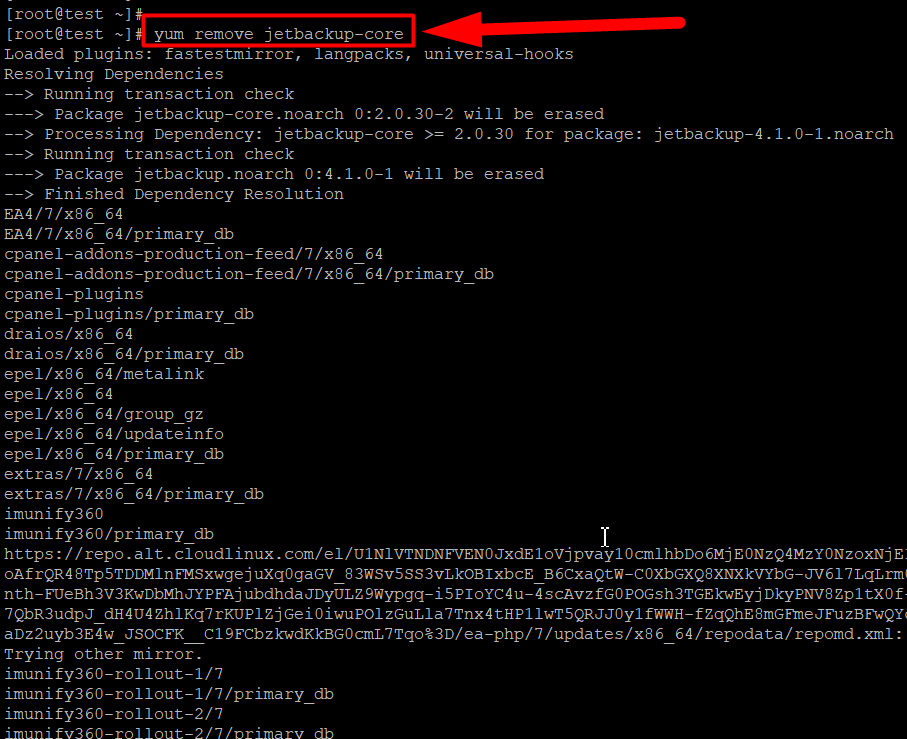
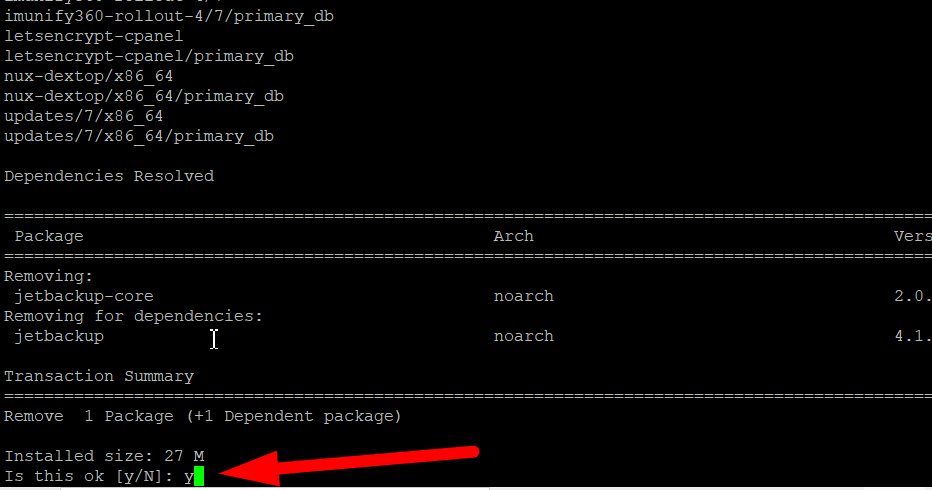
- In the end, press Y and hit the enter button.
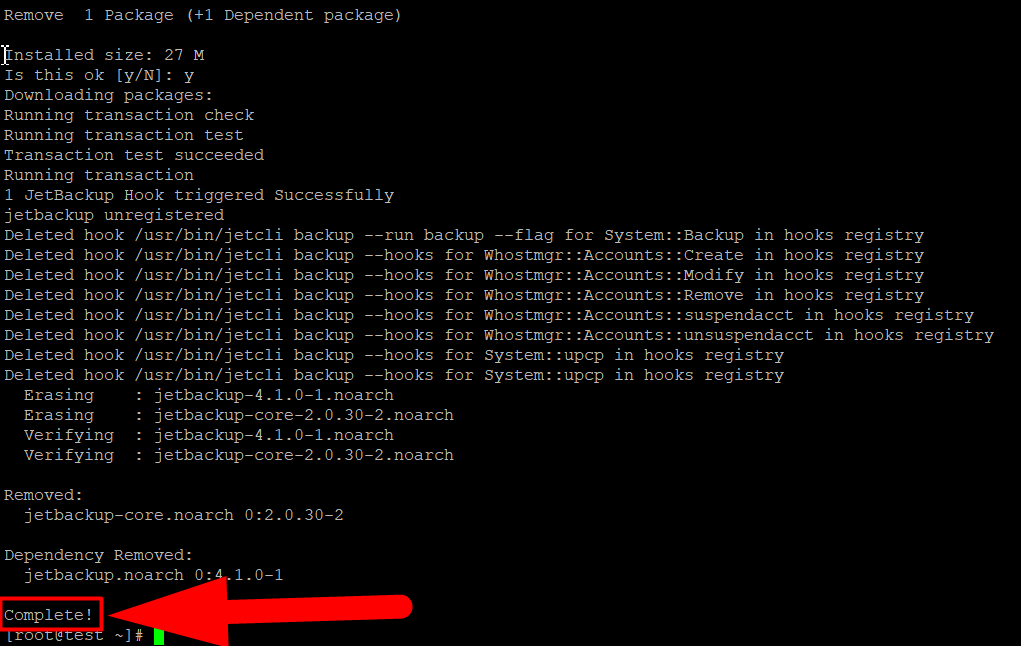
- You’ll see the complete! message in your command prompt once the uninstallation will be finished.
- Note: This method will delete the JetBackup from cPanels. If you want to delete the JetApps Repository along with all the installed JetBackup plugins, paste the below command in your command terminal.
yum remove jetapps-repo
- It’ll ask you for the confirmation to delete the JetBackup, simply press y and hit the enter button.
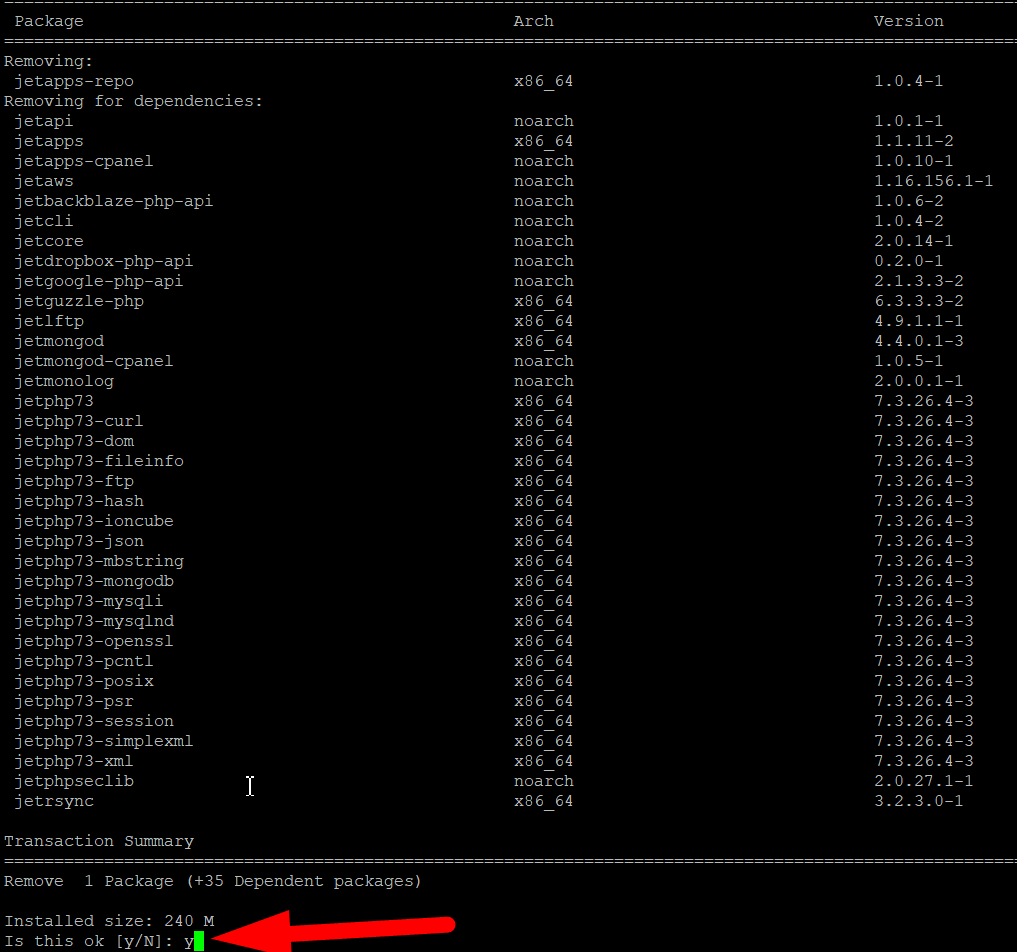
- Once the uninstallation process will be completed, you’ll see the “Complete!” message.
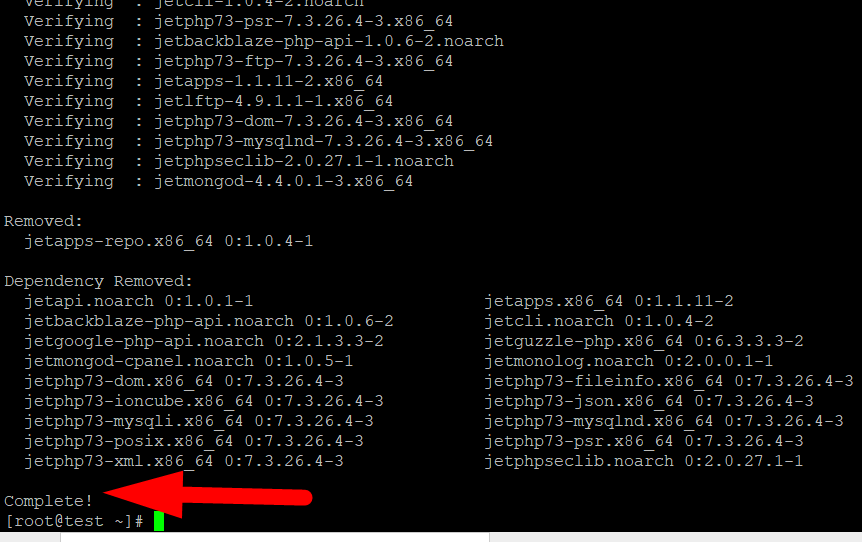
That’s how you can easily Install and Uninstall JetBackup from WHM root via SSH. I hope this helps you. If not, you can contact us at our Facebook & Twitter handles.
You can also visit the official website of RedserverHost.Com and open a free support ticket for any other inquiries. Moreover, to purchase the Cheapest WHM Hostings with all the premium features you might be getting at a much higher cost, visit RedserverHost.


