How to Setup and use WHM Reseller? [STEP BY STEP]☑️
Here in this tutorial we are going to explain you how to setup and use WHM Reseller. WHM Reseller is a panel where you can create multiple cPanel accounts for your clients/customers so that they can host their websites.
Here we are demonstrating Redserverhost’s Reseller Hosting plans. Your hosting provider may be anyone but the process will be somewhat same everywhere.
Video Tutorial– “How to Setup and use WHM Reseller?”
Follow the steps to setup and use WHM Reseller:
Step::1 First of all open Redserverhost’s official site and choose any WHM Linux Reseller plan
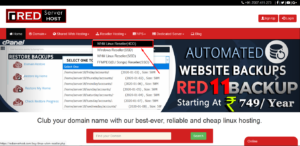
Step::2 For demo purpose we are selecting here RED31 Reseller, you can choose any other higher plans
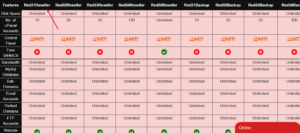
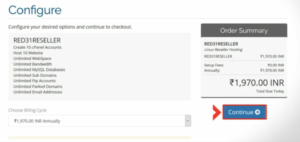
Step::3 Add this plan to your cart and finish the purchasing process.
Step::4 Once you have purchased the Reseller plan, you will get an email at your registered email address with Subject– New Linux Reseller Account Welcome Email.
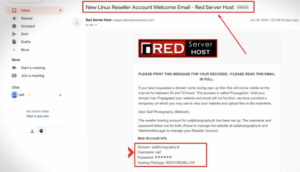
Step::5 Open that email and check your New Account Info, Your Server IP address as well as Nameservers. Now let us start by creating Private Nameservers in WHM Reseller dashboard.
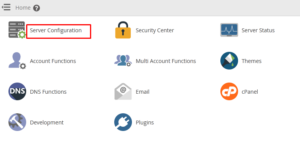
Step::6 Login to your WHM Reseller dashboard and go to Server Configuration
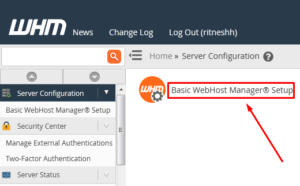
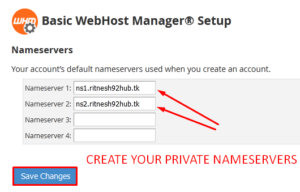
Step::7 Click on Basic WebHost Manager and create your Private Nameservers that you will provide to your customers like the way we provided you the nameservers.
Step::8 Now go to your Domain Control panel. For tutorial purpose we have purchased a free domain from Freenom. So we are showing you the Domain Control Panel of Freenom. Your domain control panel can be different from ours like Bigrock, GoDaddy or Bluehost etc
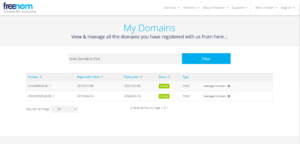
Step::9 In Freenom Domain control panel, Click on Management Tools and select Register Glue Records.
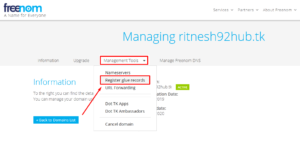
[Note: In Bigrock choose Childnameservers, in Godaddy control panel choose Hostname. Different domain control panels have different options for creating childnameservers.]
Step::10 Now move ahead and enter the childnameservers and point it towards IP address of the server(IP address you recieved in the welcome email)
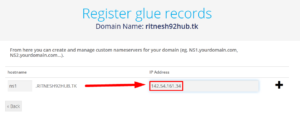
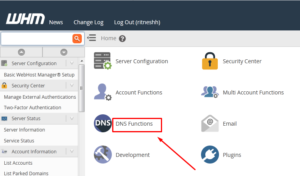
Step::11 Once you have created the Childnameservers, go back to WHM Reseller and click on DNS Functions
Step::12 Click on Edit DNS Zone
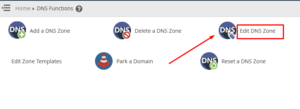
Step::13 Choose a Zone to Edit i.e domain name and click on Edit button
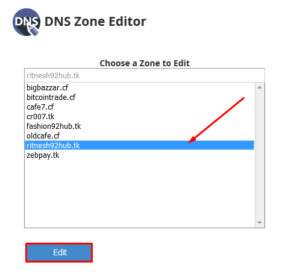
Step::14 Here you need to create A Records for your Private Nameservers and point it towards the IP address of the server.

Step::15 Once you added the entries, click on Save button.

Step::16 Now again go back to your Domain Control Panel and click on Nameservers. Choose the option “use custom nameservers” and replace the existing nameservers with your Private Nameservers that are fully setup now.
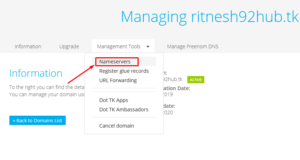
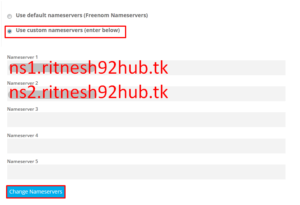
Congratulations, you have successfully created and setup your Private Nameservers.
Now it’s time to create Packages in your WHM Reseller so that you can start creating cPanel accounts for your customers and assigning them with the Packages you created.
Step::17 Go back to your WHM Reseller dashboard and click on Packages
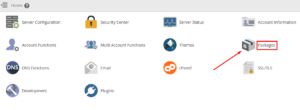
Step::18 Click on Add a Package
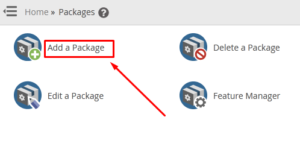
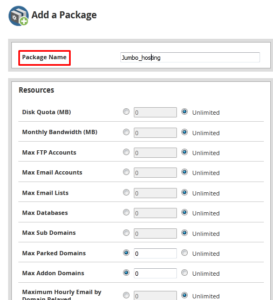
Step::19 Fill all the required fields as per your need. Here you can specify the features for each of your plans eg: Package Name, Disk Quota, Bandwidth, Email Accounts, FTP Accounts,Addon domains, Subdomains, parked domains etc.
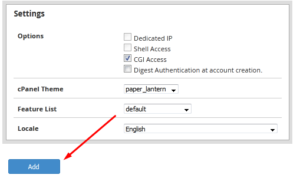
Step::20 Once you’re done, Click on the Add button.
Now that you have successfully created a new Package, it’s time to create a new cPanel account.
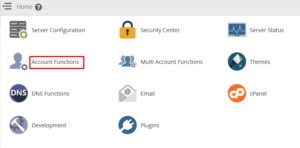
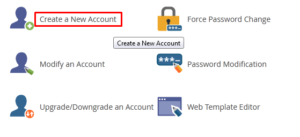
Step::21 Go to “Account Functions” in your WHM Reseller dashboard and click on Create a New Account
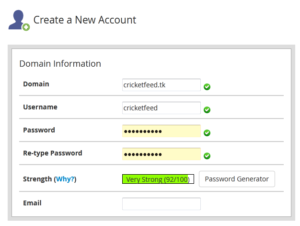
Step::22 Fill up the details required like domain name, Username, Password, email is not mandatory so you can leave this field.
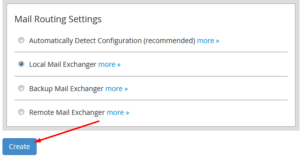
Step::23 Choose the package which you created and leave all the other fields as it is.

Step::24 Finally click on Create button.
Congratulations, you have successfully created a cPanel account under your WHM Reseller.
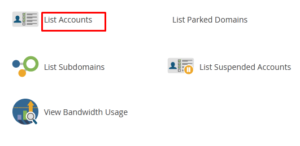
Now if you want to manage the existing accounts, then you just need to go to Account Information and then click on List Accounts.
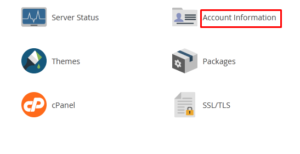
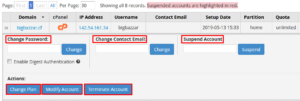
Here in List Accounts, you will be able to see all the accounts which are present under your WHM Reseller.
You can simply click on the + icon infront of any account and manage various functions like Changing password, Change Email, Change Plans. Modify account, Suspend account or terminate account.
[Note: Terminating account is an irreversible process.]
Finally you are ready to use your WHM Reseller.
Thanks for Reading this article !!! We hope this was helpful to you all.
For more information, kindly follow us on social media like Twitter and Facebook and for video tutorials, subscribe to our YouTube channel –https://youtube.com/redserverhost.com
Facebook Page– https://facebook.com/redserverhost
Twitter Page– https://twitter.com/redserverhost.com
If you have any suggestions or problems related to this tutorial, please let us know via the comment section below.
Tags: cheap linux hosting, buy linux hosting, cheap reseller hosting, buy reseller hosting, best reseller hosting, cheap web hosting, cheapest web hosting, cheapest reseller hosting, cheap reseller host, cheap linux host, cheapest linux hosting, best linux hosting, best web hosting


