How to configure Rebranding settings in Sitepad? [STEP BY STEP]☑️
Today in this tutorial we will discuss how to Configure Rebranding settings in SitePad. You can also watch this short video tutorial on how to configure Rebranding settings in Sitepad Website Builder.
Follow the steps given below to change Branding settings for SitePad via WHM:
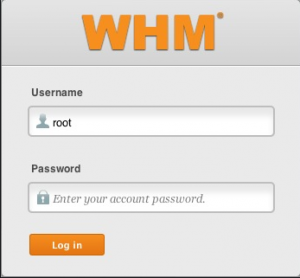
Step::1 Login to WHM root
Step::2 Scroll over the Plugins section

Step::3 Now go to the SitePad Website Builder option

Step::4 Click on the Settings section to expand and then go to General option

Step::5 You will be redirected to the Setting Page where you will find Rebranding Settings section.
Make Desired changes such as Brand Name, Site Name, Editor Name, Custom Logo URL, Website URL and Top Theme Category Name.
Brand Name : A single word for the Brand Name. If empty the default value will be : SitePad

Site Name : The name of the server or company using SitePad Website Builder. It will appear in many pages of the SitePad Website Builder

Editor Name : The name of the editor to be shown. If empty the default value will be : SitePad Editor

Custom Logo URL : It should be a 100 x 100 pixels transparent PNG image. If empty the SitePad Website Builder logo will be shown.

Website URL : The URL to show the users for this Website Builder. If empty the default value will be : https://sitepad.com

Top Theme Category Name : The category name that should be used while displaying the themes in cPanel dashboard. If empty the SitePad Website Builder will show default category name. Note : This option is only available in cPanel at the moment.

Once Done with the changes click on Edit Settings button to Save Rebranding Settings.

That’s it you are done.
For more information, kindly follow us on social media like Twitter and Facebook and for video tutorials, subscribe to our YouTube channel –https://youtube.com/redserverhost.com
Facebook Page- https://facebook.com/redserverhost
Twitter Page- https://twitter.com/redserverhost.com
If you have any query, feel free to let us know via the comments section below.
Thanks for Reading!!!
Tags: cheap linux hosting, buy linux hosting, cheap reseller hosting, buy reseller hosting, best reseller hosting, cheap web hosting, cheapest web hosting, cheapest reseller hosting, cheap reseller host, cheap linux host, cheapest linux hosting, best linux hosting, best web hosting