How to Configure Webmail in Android devices? [STEP BY STEP]☑️
Here in this tutorial we will describes how to Configure Webmail in android devices using the Gmail app. If you want to setup webmail in your android device then you need to perform the steps given below.
Watch this short video tutorial on “How to Configure Webmail in Android devices”
Follow the steps to Configure Webmail in Android devices:
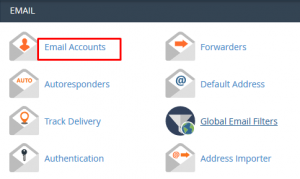
Step::1 Login to your cPanel account and go to Email accounts
Step::2 Now here click on Setup Email client next to your Email account.
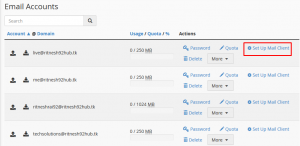
Here you will get the details of email configuration like incoming and outgoing server details. Note down this credentials carefully.

Step::3 Now open the Gmail app in your android device

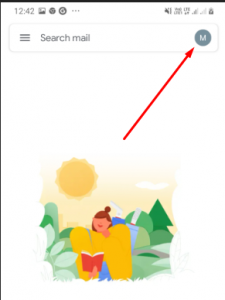
Step::4 Go to your profile icon at the top right hand corner of your mobile screen
Click on +Add another account link
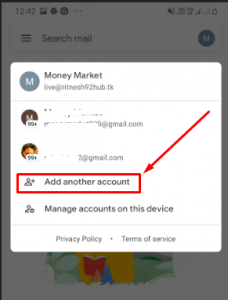
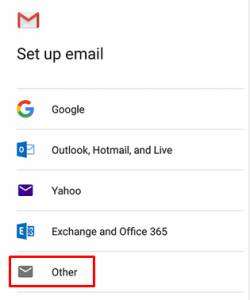
Step::5 Now in the Setup email section choose the other option
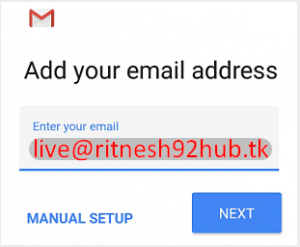
Step::6 Enter the email address you wish to connect to and then click on the MANUAL SETUP button.
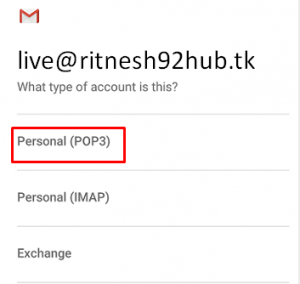
Step::7 Choose which type of account you’d like to use. Select POP3
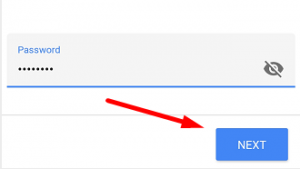
Step::8 Enter your password and click on NEXT
Step::9 The Incoming server settings screen opens:Enter the following ‘Incoming‘ server settings:
- Username – Your full email address
- Password – The password of your email address
- Server– In the Server text box, type your Hosting server name for your account.
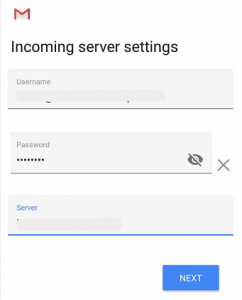
Step::10 Click the NEXT button. The Outgoing server settings screen opens: Enter the following ‘Outgoing’ server settings:
- USERNAME – Your full email address
- AUTHENTICATION –Your password
- SMTP Server– In the Server text box, type your Hosting server name for your account.
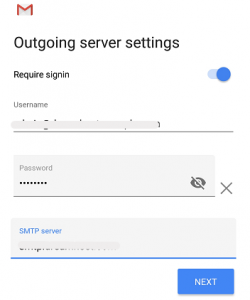
Step::11 Click the NEXT button. The Account options screen opens:
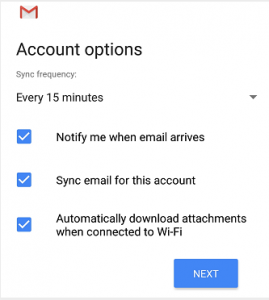
Step::12 Select your desired settings.
Step::13 Click the NEXT button. A screen opens confirming your address is properly configured:
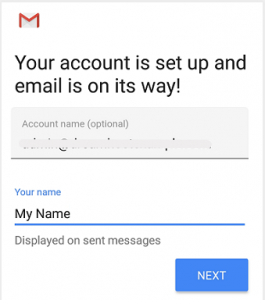
Step::14 Fill in the following two options:
- Give this account a name (Optional) – Just leave this as your address
- Your name (Displayed on outgoing messages) – You can change this to your actual name if you like
Step::15 Click the NEXT button to complete the configuration.
Thanks for Reading this article !!! We hope this was helpful to you all.
For more information, kindly follow us on social media like Twitter and Facebook and for video tutorials, subscribe to our YouTube channel –https://youtube.com/redserverhost.com
Facebook Page– https://facebook.com/redserverhost
Twitter Page– https://twitter.com/redserverhost.com
If you have any suggestions or problems related to this tutorial, please let us know via the comment section below.
Tags: cheap linux hosting, buy linux hosting, cheap reseller hosting, buy reseller hosting, best reseller hosting, cheap web hosting, cheapest web hosting, cheapest reseller hosting, cheap reseller host, cheap linux host, cheapest linux hosting, best linux hosting, best web hosting


