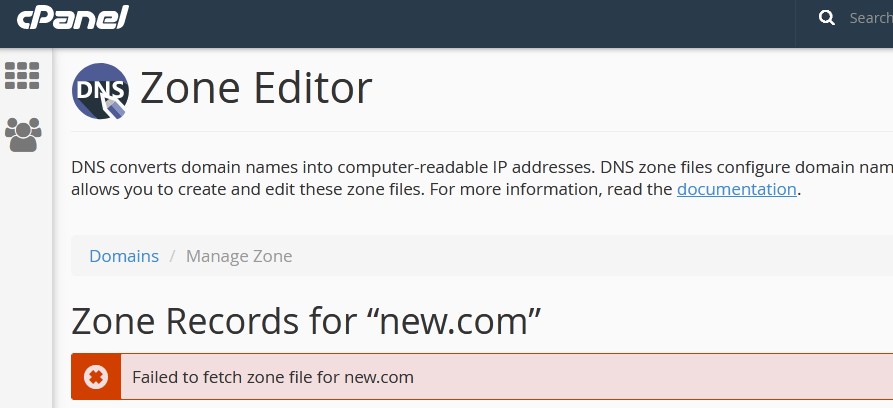
Today in this tutorial we are going to discuss the procedure to solve the error “Failed to fetch zone file for example.com”. Here, example.com could be any domain.

Let us go through the procedure to fix “failed to fetch zone file for a domain”.
- Login to WHM as root user.
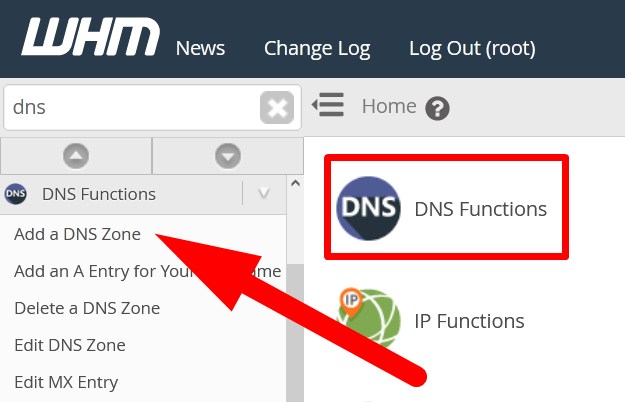
- Go inside DNS Function and click over Add a DNS Zone.

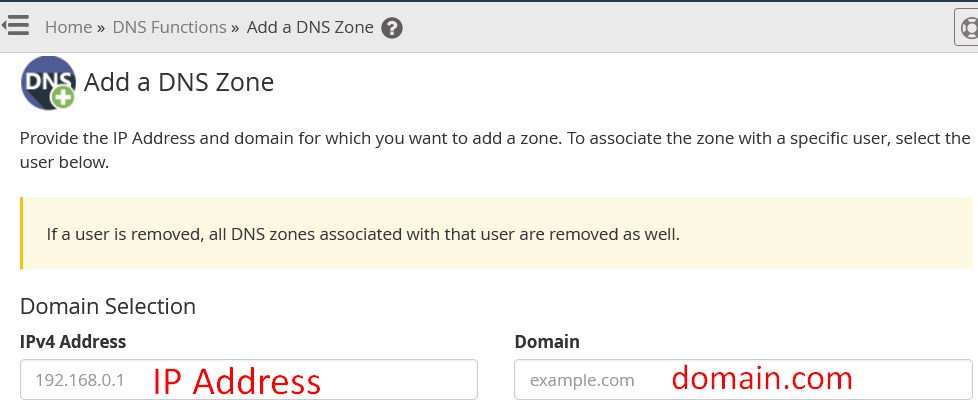
- On the next page, enter the following credentials.
- IPv4 Address: In the box, enter the IP to which you want to point the domain.
- Domains: In this box, enter the domain name associated with the user for which you want to add DNS Zone.

- Scroll down to the list of users. Select the one, for which you want to add DNS Zone.
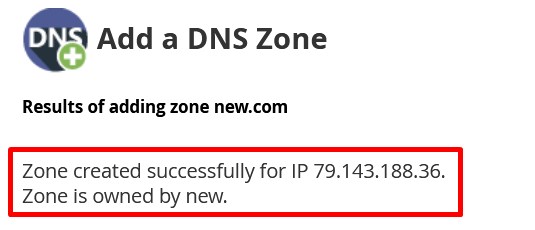
- Click over Add Zone and done.
- Now, you will be directed to the page with the message that Zone created successfully.
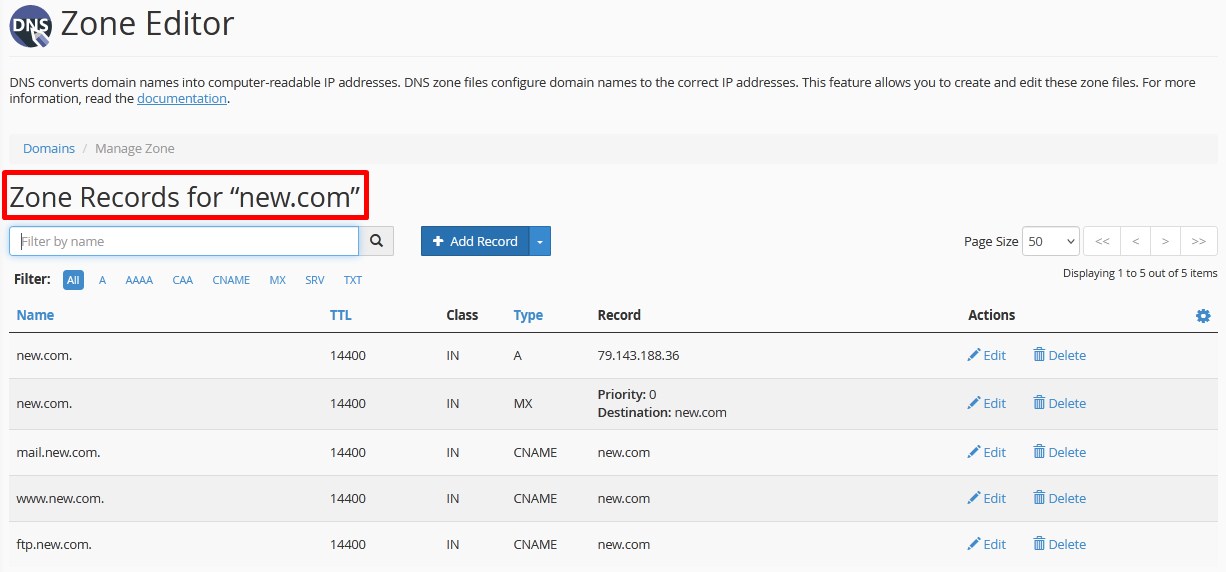
Now, login to cPanel of the domain and you will find that the DNS Zone has been created successfully.
*If you did not have the root access then you can directly contact your service provider for the same and they will fix the error. Also, if you’re having Reseller privileges, then also you can fix the error.
That’s It !
Hope the article better describes the procedure to fix “failed to fetch zone file for a domain”. Do share it with your colleagues if you find it working. Also share your suggestions and drop your queries to start the discussion on the related topic. Lets connect on social media with the below links.
Facebook Page: https://facebook.com/redserverhost Twitter Page: https://twitter.com/redserverhost.com