WordPress Database is an important part of your WordPress website as the website working is totally managed by its database itself. While installing WordPress, users provide with an option to set database table prefix which can be changed later on. You may refer to the article how to install WordPress as well. Today, in this tutorial we are going to illustrate the procedure to change WordPress Database Table Prefix.

Changing WordPress database prefix is required for the purpose of security as well. This is because it becomes easy to get the details if the prefix is wp_ and vice-versa. Let us go through in detailed procedure to change database table prefix.
#1. Change Table Prefix from File Manager
To make any changes in WordPress website, first we have to update its configuration file. So, here we will modify wp-config.php file to change WordPress database table prefix. Follow the below given steps.
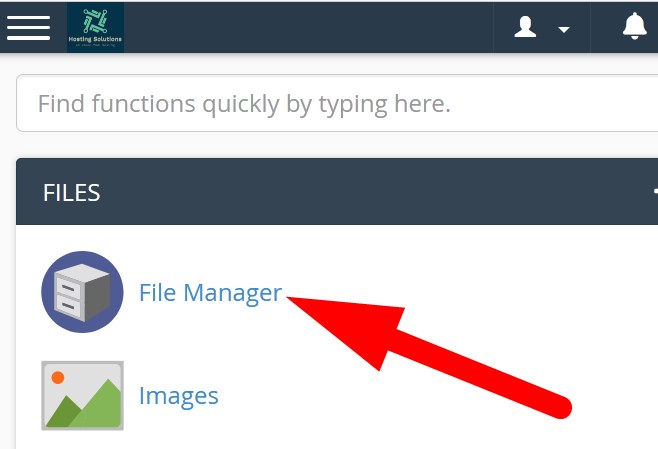
- Login to cPanel associated with your WordPress website and go inside File Manager section.

Select File Manger - On the next page, scroll down to WordPress installation directory and find configuration file.
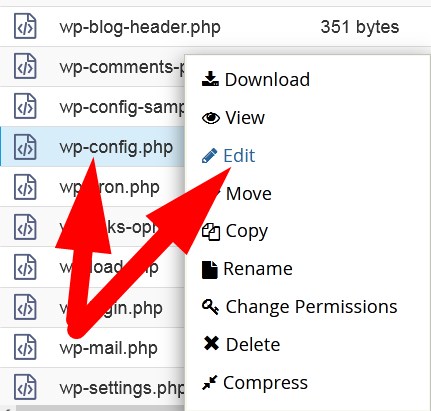
- Right click over the file and then Edit.

Edit wp-config.php file - Now, the editor page will open. Locate the line with $table_prefix = ‘wp’;
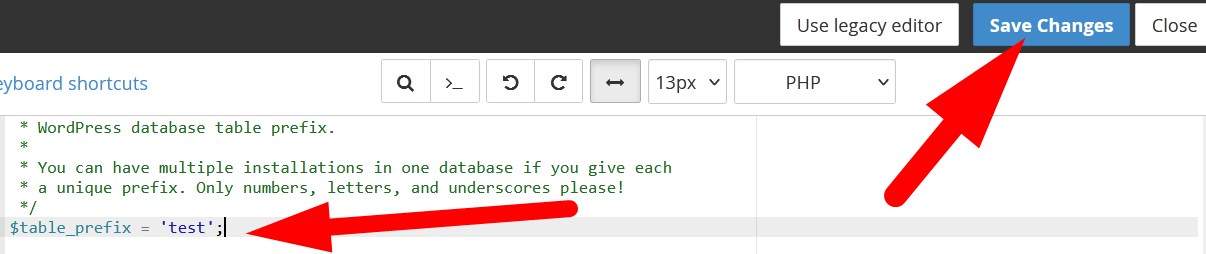
- Replace the table prefix wp with the one you want. I’m replacing it with test. $table_prefix = ‘test’;

Save Table Prefix - Click over Save Changes and proceed.
*You can edit wp-config.php file from FTP as well. Refer to the article how to edit wp-config.php file.
#2. Change Table Prefix from phpMyAdmin
After modifying configuration file, you have to update database from phpMyAdmin as well. Here, first you have to replace table prefix and then make changes in SQL tab.
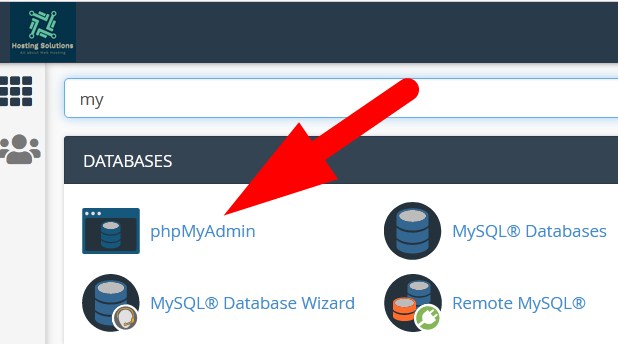
- Now, go inside phpMyAdmin section in cPanel

Go to phpMyAdmin - On the next page, list of all the database will appear. Select the one for which you want to change the table prefix. Here, we modify changes in tables and then in SQL tab.
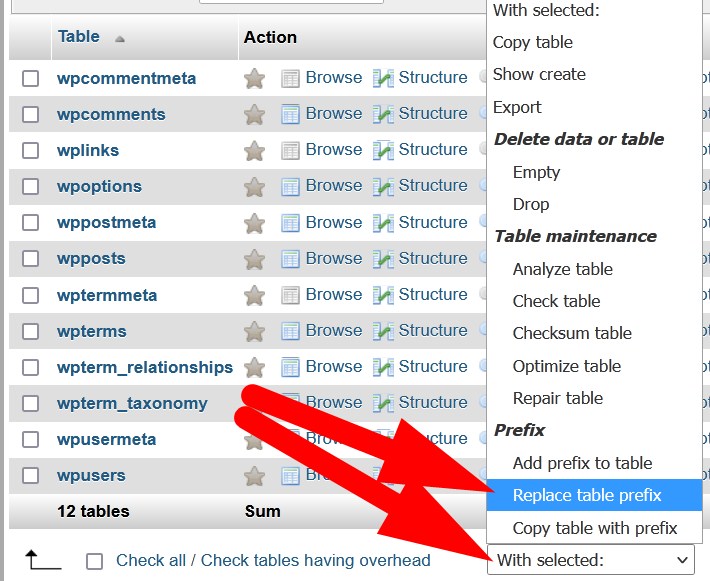
- a. To make changes in tables, Check all to select all the tables and click over With Selected and then select Replace Table Prefix from the list of options.

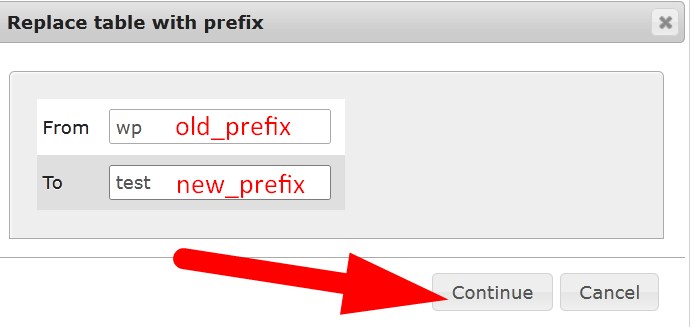
Replace Table Prefix b. A window will appear. In the FROM section, enter the old prefix and in the TO section, the new one.
 c. Click over Continue to save the changes. Now the prefix of all the tables would be updated with the new one. Sometimes it is not enough to change WordPress database prefix. So , we will modify changes via SQL tab.
 - a. To make changes in SQL tab, switch to SQL tab. Copy and paste the below given lines and replace NEW PREFIX and OLD PREFIX as required.
update NEWPREFIX_usermeta set meta_key = 'NEWPREFIX_capabilities' where meta_key = 'OLDPREFIX_capabilities';
update NEWPREFIX_usermeta set meta_key = 'NEWPREFIX_user_level' where meta_key = 'OLDPREFIX_user_level';
update NEWPREFIX_usermeta set meta_key = 'NEWPREFIX_autosave_draft_ids' where meta_key = 'OLDPREFIX_autosave_draft_ids';
update NEWPREFIX_options set option_name = 'NEWPREFIX_user_roles' where option_name = 'OLDPREFIX_user_roles';

Update SQL Tab b. Click over GO to complete.
 c. Click over Continue to save the changes. Now the prefix of all the tables would be updated with the new one. Sometimes it is not enough to change WordPress database prefix. So , we will modify changes via SQL tab.
That’s It !
Hope the article better describes the procedure to change WordPress database table prefix. Do share it with your colleagues if you find it working. Also share your suggestions and drop your queries to start the discussion on the related topic. Lets connect on social media with the below links.
Facebook Page: https://facebook.com/redserverhost Twitter Page: https://twitter.com/redserverhost.com