How to create Image Thumbnails in cPanel? [STEP BY STEP]☑️
This tutorial will provide step by step instructions for making image thumbnails in cPanel.
Video Tutorials– “How to create Image Thumbnails in cPanel”
Follow the steps to create Image Thumbnails in cPanel:
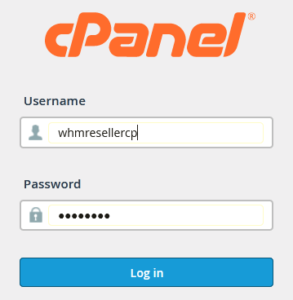
Step::1 Log into your cPanel account.
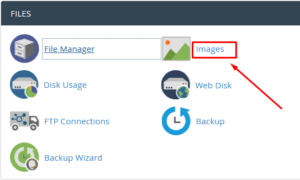
Step::2 Under the Files section, click on the Images icon.
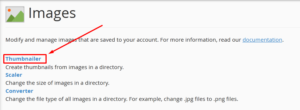
Step::3 Click on the Thumbnailer link.
Step::4 Click on public_html directory
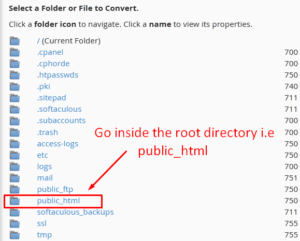
Step::5 Navigate to the directory where your images (that you would like to create thumbnails for) are stored.
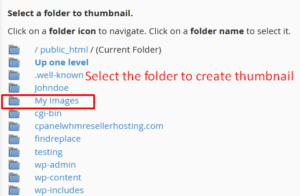
Step::6 Once you have selected the image, enter the percentage in the first field under Scale Percent.

Step::7 You can also check the option Keep Aspect Ratio. This will maintain the width and height ratio so that the image does not appear stretched.

Step::8 Click on the Thumbnail Images button. Once done, you will see a success message.

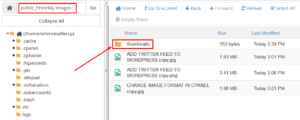
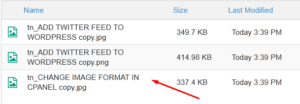
All the thumbnailed images have a default prefix i.e “tn”. Thumbnailed images are auto-saved in a separate folder within the same directory.
Thanks for Reading this article !!! We hope this was helpful to you all.
For more information, kindly follow us on social media like Twitter and Facebook and for video tutorials, subscribe to our YouTube channel –https://youtube.com/redserverhost.com
Facebook Page– https://facebook.com/redserverhost
Twitter Page– https://twitter.com/redserverhost.com
If you have any suggestions or problems related to this tutorial, please let us know via the comment section below.
Tags: cheap linux hosting, buy linux hosting, cheap reseller hosting, buy reseller hosting, best reseller hosting, cheap web hosting, cheapest web hosting, cheapest reseller hosting, cheap reseller host, cheap linux host, cheapest linux hosting, best linux hosting, best web hosting


