Hello Everyone!!!
Here in this article we will come to know how can we customize the appearance of the public directory of any cPanel account hosted in WHM(Reseller/Root). So come let’s us know:
How to customize the appearance of the public directory of any cPanel account right after creating any cPanel account in WHM? [Important| Latest 2019]
Whenever you create any cPanel account in Your WHM(Reseller/Root) you would have noticed that right after you create a cPanel account you can only view a default /cgi-bin page.

So in order to customize the appearance of the public directory of any cPanel account hosted under your server you need to take the help of Skeleton Directory.

Now let me introduce you with Skeleton Directory
The Skeleton Directory is an interesting feature that allows you to copy the same files to the public_html of any new cPanel account when you start creating a new account.
Steps to manage Skeleton Directory in WHM(Reseller/Root) [updated May 2019]
- Login to your WHM(Reseller/Root)
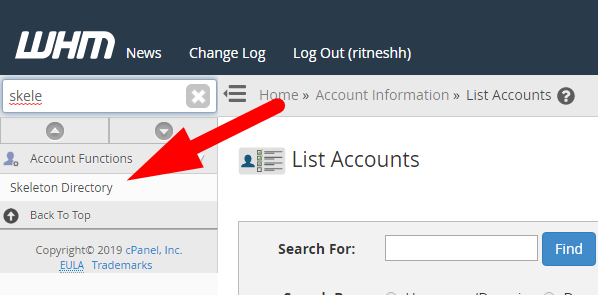
- Find Skeleton Directory
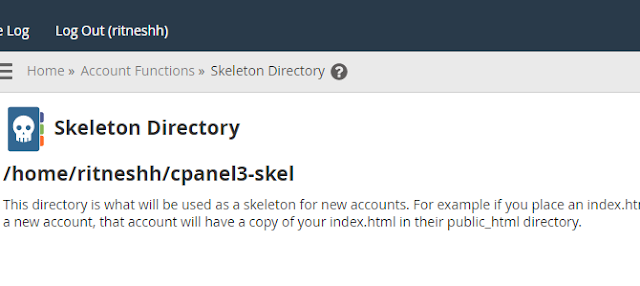
- On the Skeleton Directory page you will see the path to the default Skeleton directory. Below that you will find a short description of how this folder is used.
- Now go the /home/username/cpanel3-skel and modify contents inside the directory.
Conclusion
By using the skeleton directory you can customize some default configurations to improve the experience of new customers or to prevent new accounts from being viewed without any valid content.
Hope this answer helped you.. for more queries and suggestions feel free to write or you can also comment below…
Thanks for Reading!!!


