HOW TO ENABLE AUTOSSL USING THE LET’S ENCRYPT PREMIUM PLUGIN IN CPANEL? [STEP BY STEP]☑️
Today in this WHM tutorial you will learn about how to install Let’s Encrypt AutoSSL for your domain via cPanel. So let us begin this tutorial by watching out this video to learn how to install Let’s Encrypt AutoSSL for your domain via cPanel. Take care of every step carefully so that you don’t miss anything.
Follow the steps given below to quickly learn how to install Lets Encrypt AutoSSL via cPanel:
Step::1 Login to your cPanel
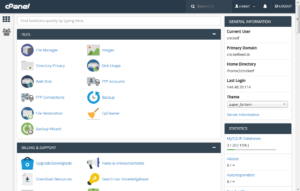
Step::2 Scroll down to the Security section
Step::3 Click on Let’s Encrypt SSL
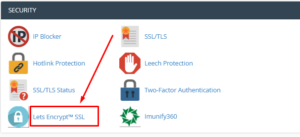
Step::4 Now click on the Issue icon near your domain

Step::5 Select http-01 and click on Issue
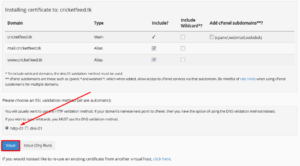
The SSL certificate is now installed on your domain. You will get a message like the one shown below

If you enjoyed this tutorial, please consider following us on Facebook and Twitter.
Facebook Page- https://facebook.com/redserverhost
Twitter Page- https://twitter.com/redserverhost
If you have any queries, feel free to let us know via the comments section below.

