Today, in this tutorial we will illustrate the procedure to enable iconv PHP extension for all PHP versions in cPanel/WHM. In this tutorial, we will learn the following:
#1. How to Enable iconv PHP Extension in WHM?
To enable PHP extension in WHM, follow the below mentioned steps.
- Login to WHM as root.
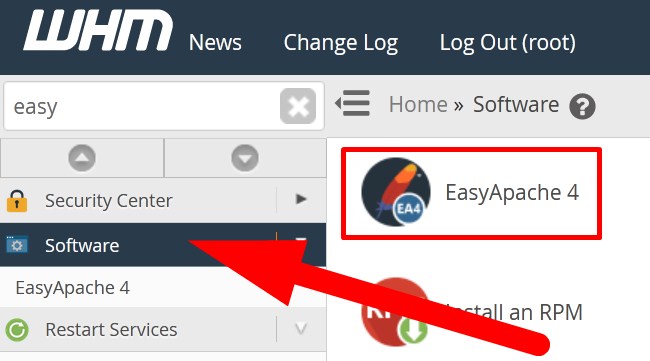
- Navigate to Software section and then select EasyApache4 from the list. You can search
easyin search bar and directly directed to same.
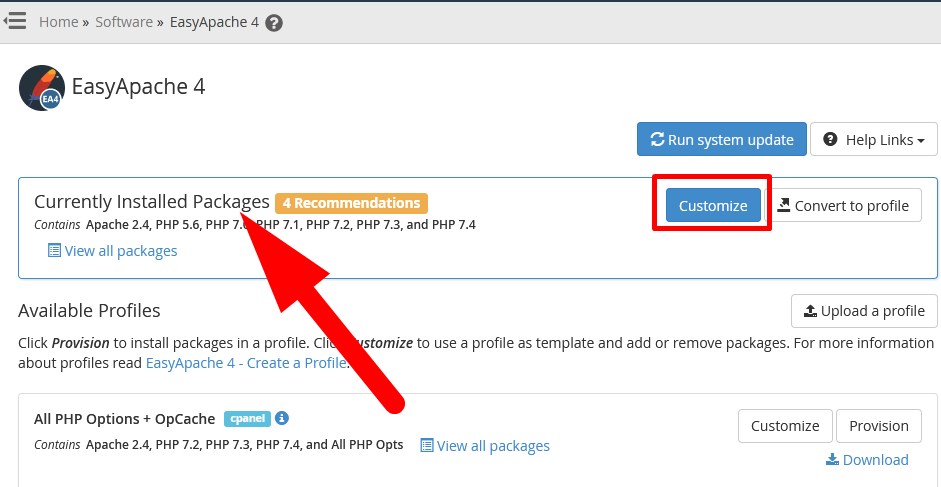
- On the next page, go to Currently Installed Packages and click over Customize.

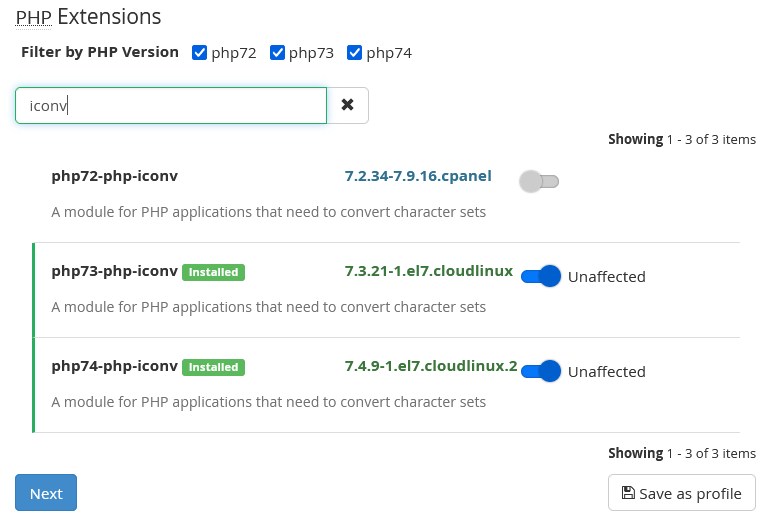
- List of multiple options will appear on the next page. Scroll down to PHP Extensions and type
iconvin the search bar. Refer to the below given image.
- List of all
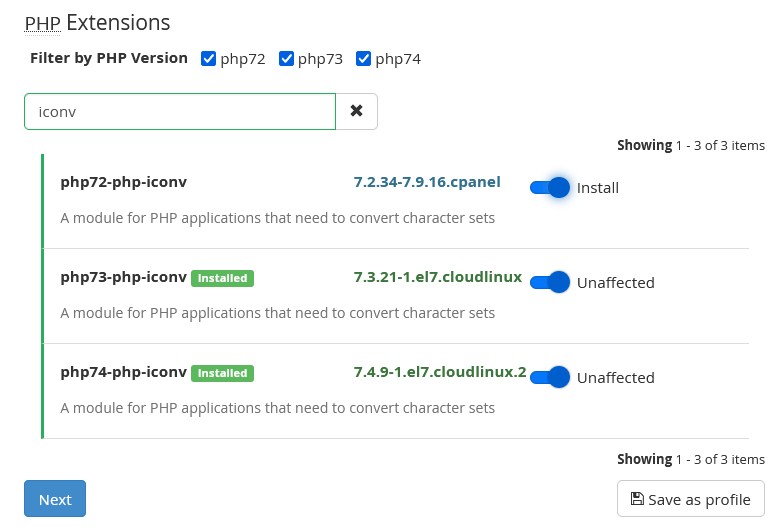
iconvextension will appear. Scroll the button given next to PHP version which you want to enable. Click over Next.
- You will be directed to next step and see a message:
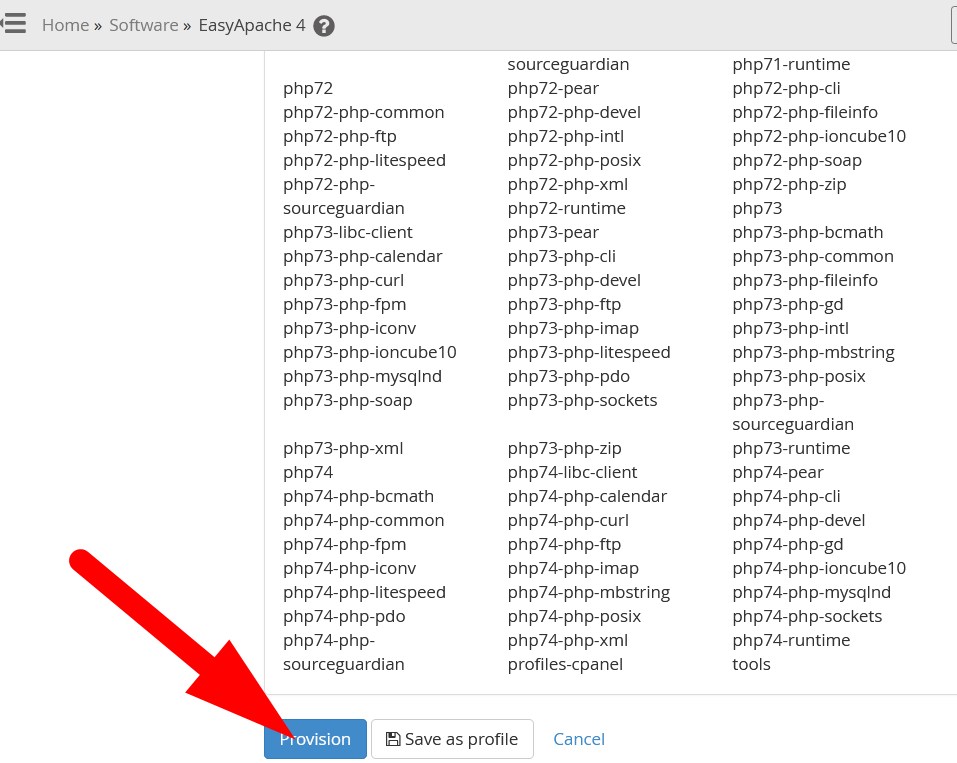
Preparing selected packages for review.... - Review all the changes and then click over Provision and proceed.

- A message appears :
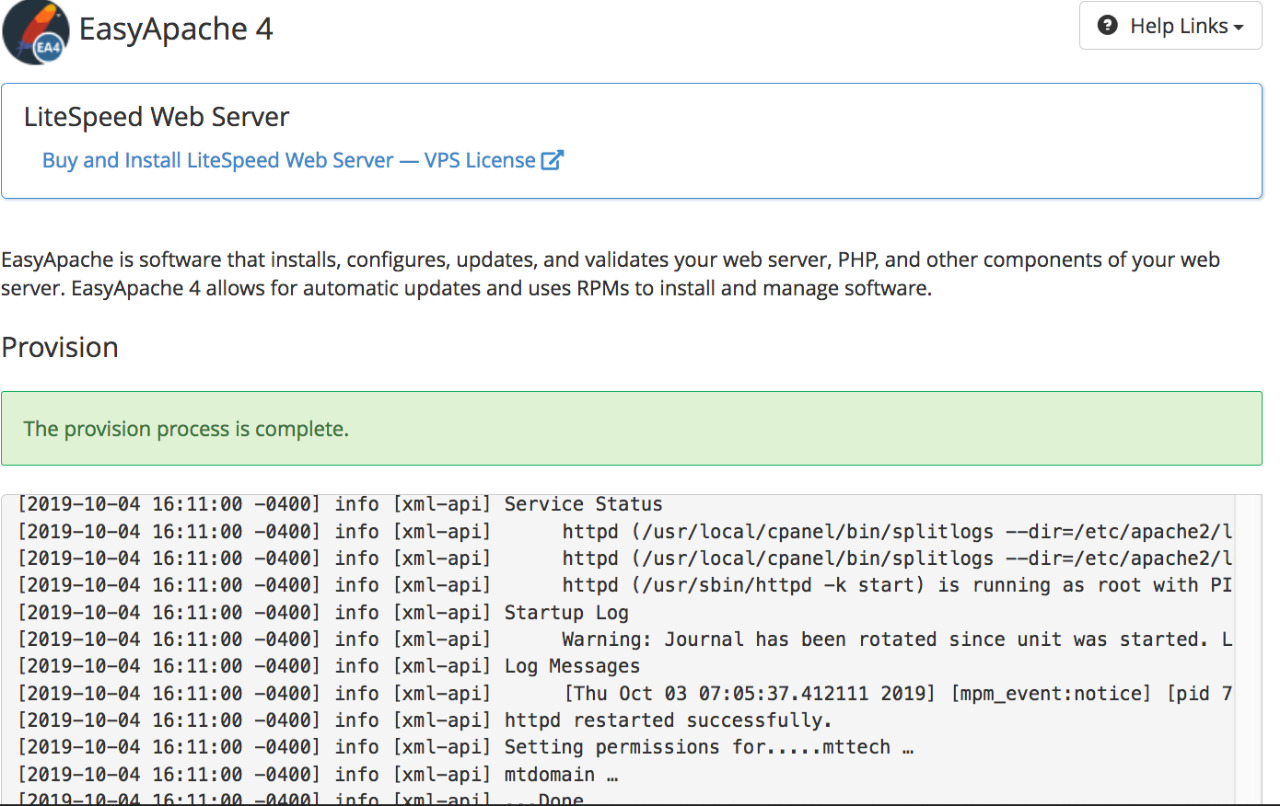
Provision process started, which will take few minutes to complete. - As the procedure completes, a message appears:
Provision process is complete.
With the above mentioned steps, you can easily enable iconv PHP extension for all PHP versions.
#2. How to Install iconv Extension from SSH?
You can install iconv extension from command line by using the commands mentioned below.
- For CentOS Linux server, execute the below given command.
yum install php7x-iconv*If your server already have iconv extension installed, then you will see the message, that says Error:Nothing to do.
That’s It !
Hope the article better describes the procedure to enable iconv PHP extension for all PHP versions in cPanel/WHM”. Do share it with your colleagues if you find it working. Also share your suggestions and drop your queries to start the discussion on the related topic. Lets connect on social media with the below links.
Facebook Page: https://facebook.com/redserverhost Twitter Page: https://twitter.com/redserverhost.com
