Blesta is a client-management, billing and support application that allows user to manage multiple task related to client and their management. It is an open-source web-application for which user required license.
In this tutorial, we will go through in-detailed procedure to install blesta using Softaculous in cPanel.

- Login to your cPanel.
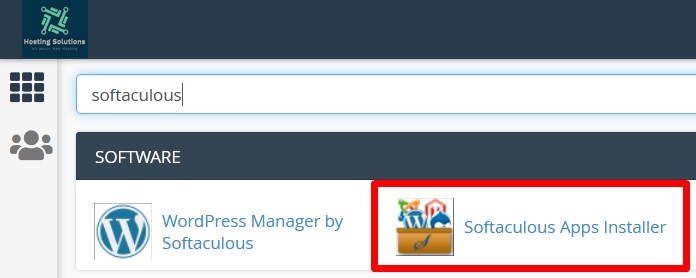
- Go to SOFTWARE section and select Softaculous Apps Installer.

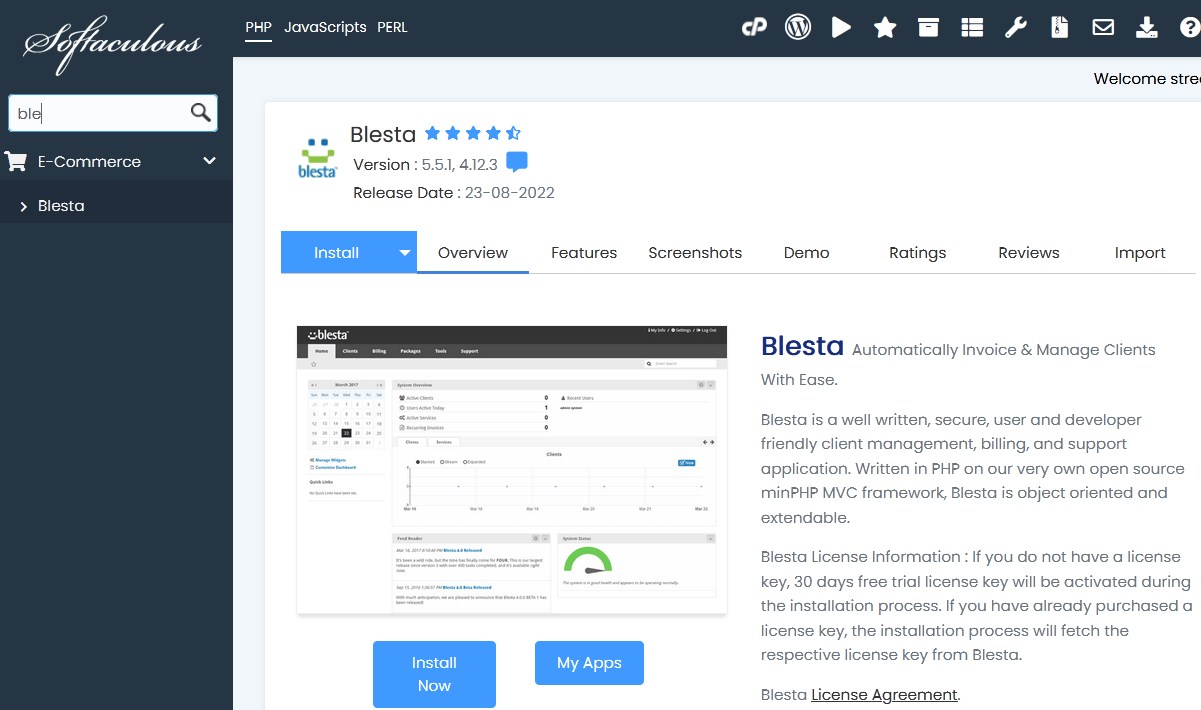
Softaculous Apps Installer - On the next page, search for blesta or navigate to E-Commerce section and select Blesta.

Search and Install blesta - Click over Install Now and proceed to install Blesta from Softaculous.
- On the next page, enter the credentials as directed to set up blesta account.

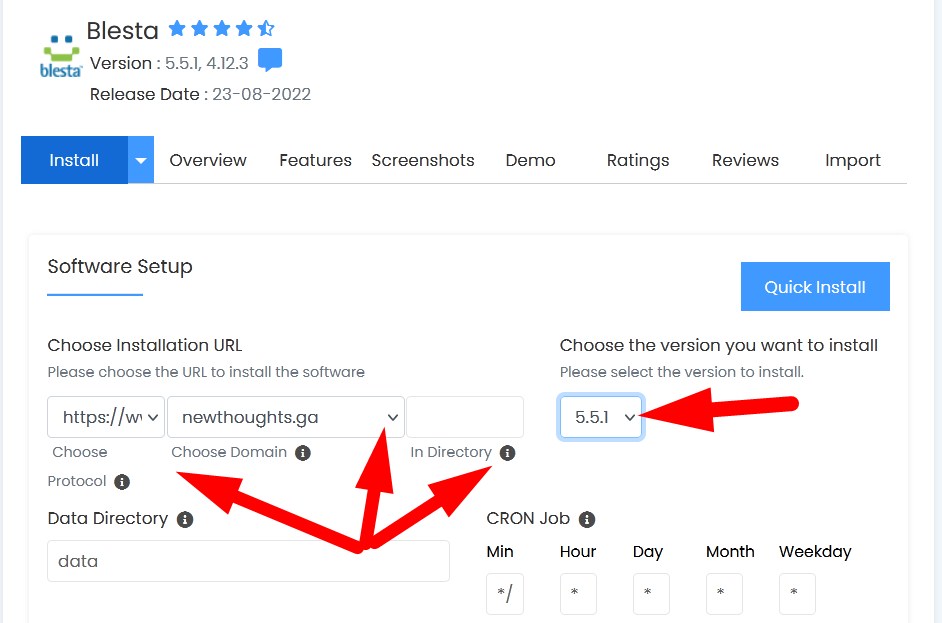
Software Setup - In Software Setup section, choose the URL to install the software.
- Choose Protocol: Select protocol for your website URL from the drop down.
- Choose Domain: Select the domain for you want to install blesta. (If you have multiple domains, then select the one from the drop down list).
- In Directory: Enter the directory name in which you want to install all the files and directories of blesta. (If you leave this box blank it will install in your domain directory).
- Choose the version to install from the drop down. (If you have php version less than 8.0, then it is recommended to install lower version of blesta)
- Data Directory: Directory in which your data would get stored.
- Cron Job: You need to set-up a cron job for the script. You can set up as required or leave as it is.
- In Admin Account section, enter the details as directed.

Admin Account Details
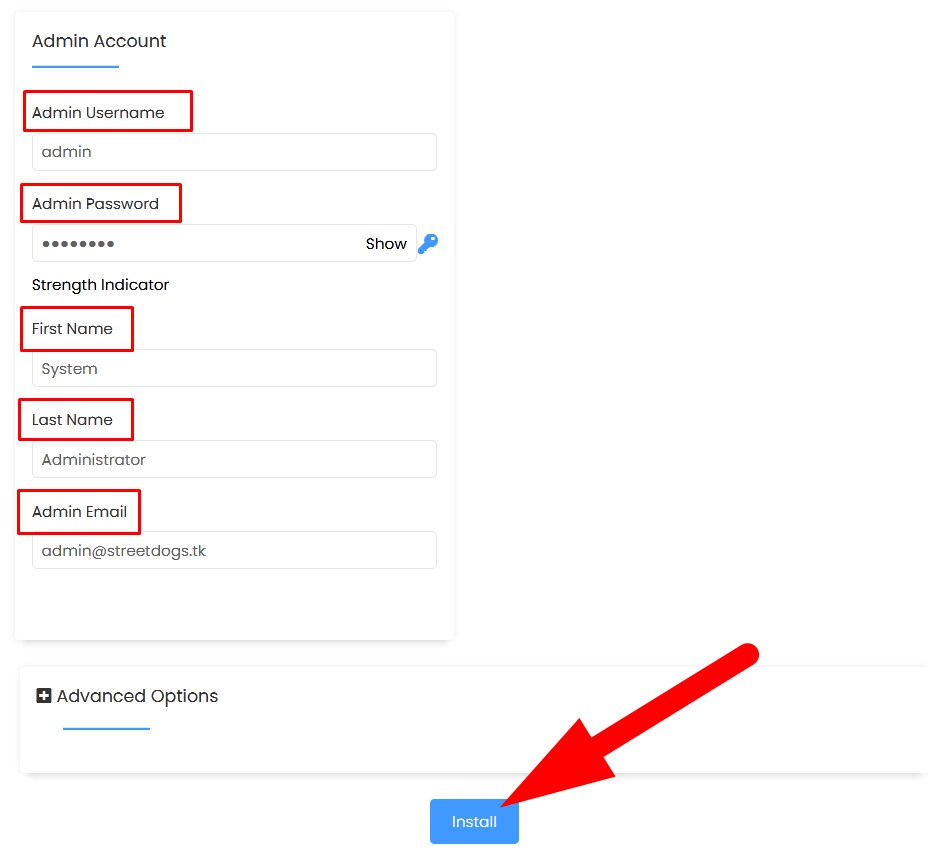
- Admin Username: Enter the username to login which you will use to login to dashboard.
- Admin Password: Set up a strong password to login to admin panel.
- First Name: First Name of the user.
- Last Name: Last name of the user
- Admin Email: Email that will be accessed by admin.
- Go to Advanced Options to set up details related to database and then Install.
- The installation will start and you will receive a confirmation on successful installation of Blesta.

Successfully Installed Blesta
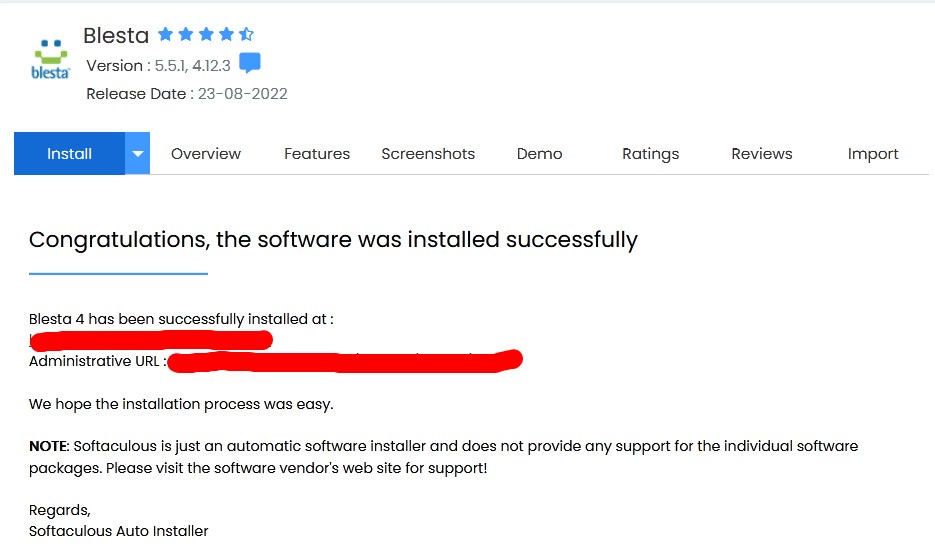
Now, you will get client URL and Administrative URL.
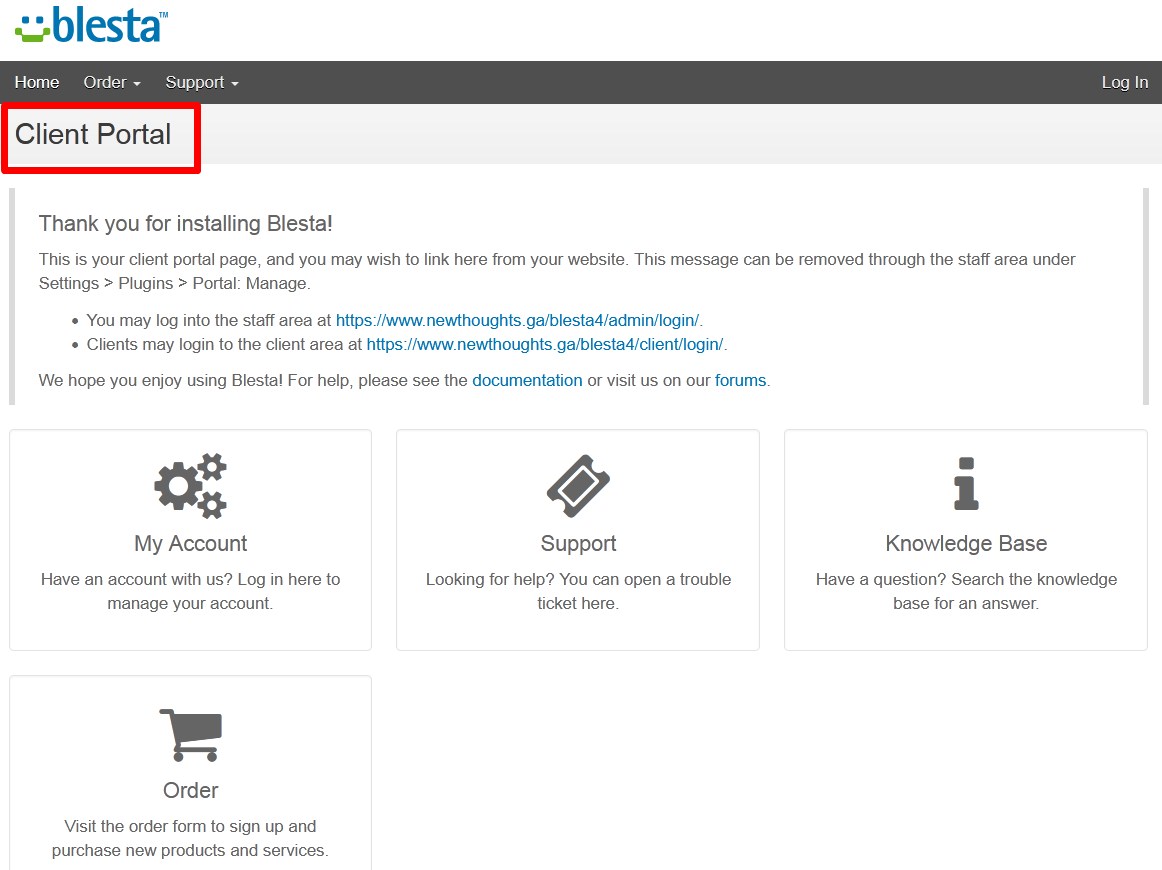
- If you click over first URL, you will be directed to client area.

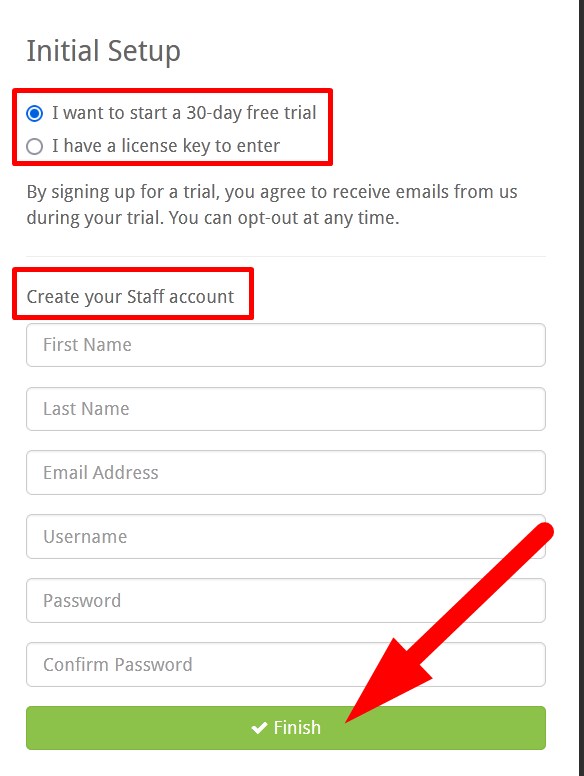
Client Area - With the Administrative URL, you would login to your blesta dashboard. Before that you need to Create Staff Account. (Enter the credentials which you have entered in Admin Account section.)

Create Staff Account - You will successfullu logged in to Admin area.

Admin Area

That’s It !
Hope the article better describes the procedure to install Blesta using Softaculous in cPanel. Do share it with your colleagues if you find it working. Also share your suggestions and drop your queries to start the discussion on the related topic. Lets connect on social media with the below links.
Facebook Page: https://facebook.com/redserverhost Twitter Page: https://twitter.com/redserverhost.com