How to Install Themes in Magento? [STEP BY STEP]☑️
Today in this documentation we will learn how to install themes in Magento. Installing a theme in Magento is a quick and easy process. But whenever you try to change the theme in Magento don’t forget to put your site in maintenance mode. It’s not a requirement, but it’s beneficial as it prevents search engine bots from crawling content that may be invalid by the time you’re done.
Video Tutorial– “How to Install Themes in Magento?”
Follow the steps to install themes in Magento:
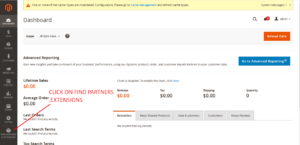
Step::1 Login to your Magento dashboard and go to Find Partners and Extensions section at the bottom of the left sidebar.
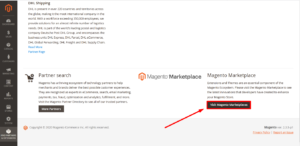
Step::2 Here click over Visit Magento Marketplaces
Step::3 Select the themes and add it to the cart
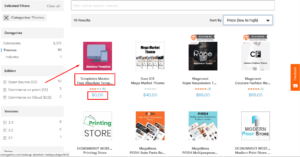
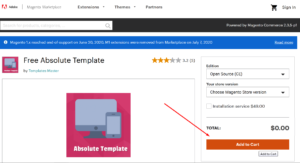
Step::4 Click on Add to Cart and then Proceed to Checkout
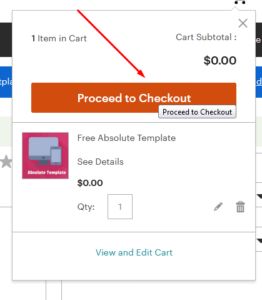
Step::5 Fill out the required details and then click over Place Order button
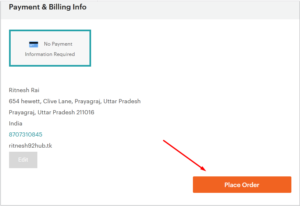
Step::6 Once your purchase is completed, click over Install
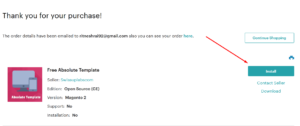
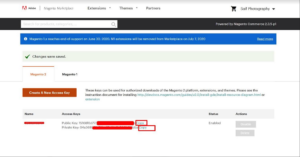
Step::7 Next click on Create a New Access Key

Step::8 Once you get the Access key, simply click on Copy button
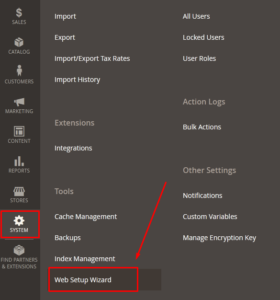
Step::9 Now in your Magento dashboard, go to System and click on Web Setup Wizard.
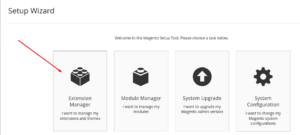
Step::10 Next click over Extension Manager
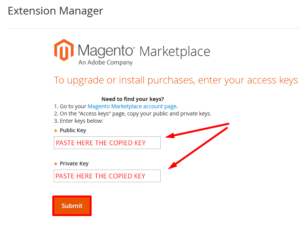
Step::11 Enter here both Private and Public key which you copied earlier and click over Submit button
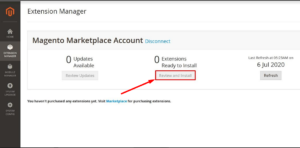
Step::12 Click on Review and Install button
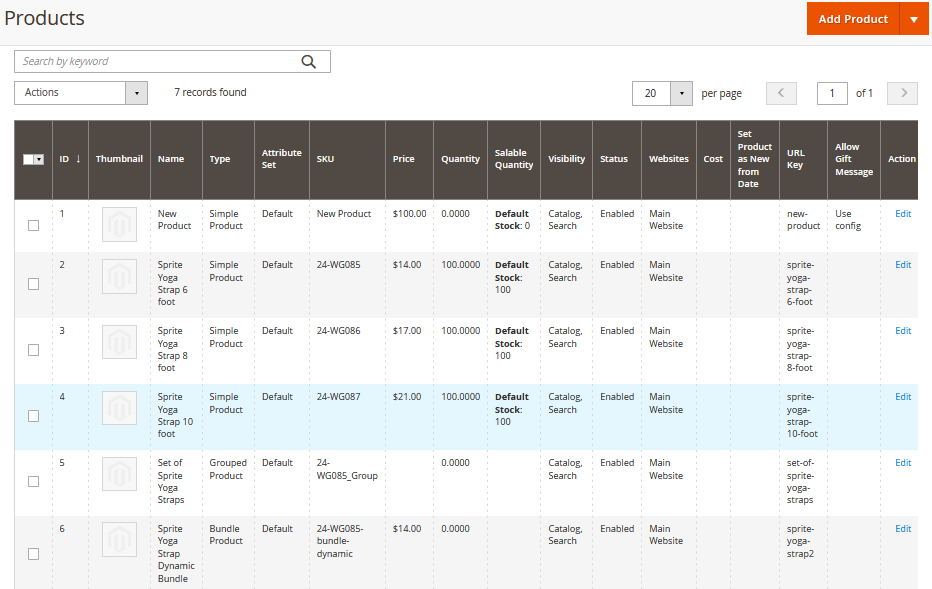
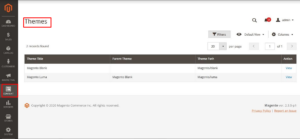
If you want to view the themes which you have recently installed then simply go to Content section and click on Themes.
Congratulations, you have successfully installed themes in Magento !!!
Thanks for Reading this article !!! We hope this was helpful to you all.
For more information, kindly follow us on social media like Twitter and Facebook and for video tutorials, subscribe to our YouTube channel –https://youtube.com/redserverhost.com
Facebook Page– https://facebook.com/redserverhost
Twitter Page– https://twitter.com/redserverhost.com
If you have any suggestions or problems related to this tutorial, please let us know via the comment section below.
Tags: cheap linux hosting, buy linux hosting, cheap reseller hosting, buy reseller hosting, best reseller hosting, cheap web hosting, cheapest web hosting, cheapest reseller hosting, cheap reseller host, cheap linux host, cheapest linux hosting, best linux hosting, best web hosting

