Register Private Nameservers For Domains At RedserverHost
Creating private or custom nameservers is quite easy to do if you’re a professional or experienced but for beginners, it can be annoying sometimes. Everyone in the online industry may be required to change nameservers sometime and in this tutorial, we’ll walk you through the steps required for registering or creating private nameservers for domains and point them to the hosting server.
If you’ve bought a domain from RedserverHost and hosting from any other platform and you do not want to transfer your domain from one provider to another, instead of this you can simply create or register private nameservers and point them to your hosting server and you can easily continue your online work. Let’s do it.
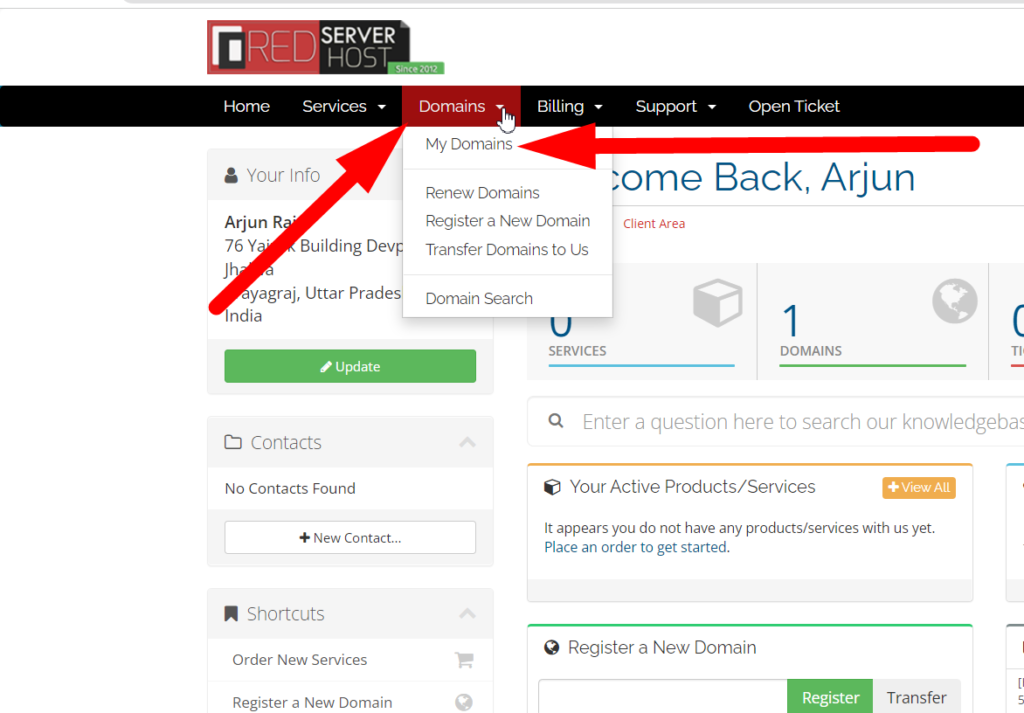
- Log in to your domain Client Area.
- Click over Domain, and then click over the My Domains section.

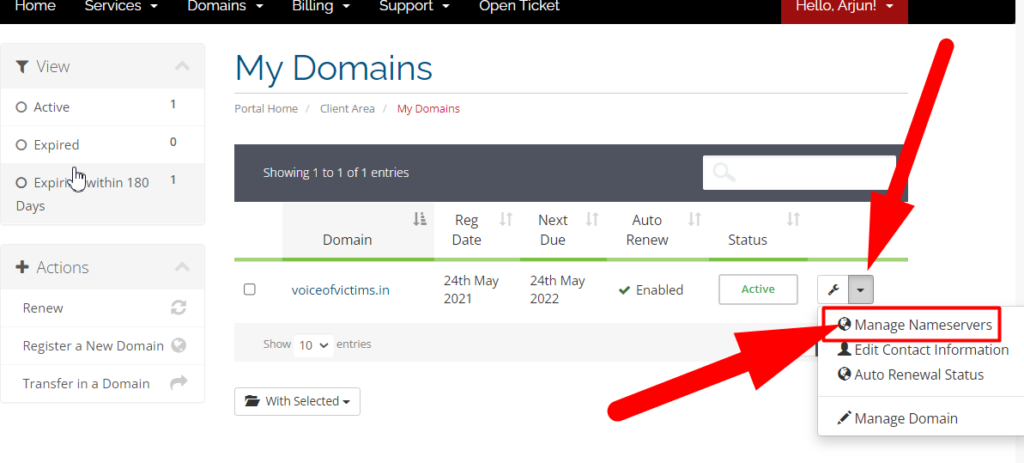
- Click over the down arrow button and then move towards the Manage Nameservers section.
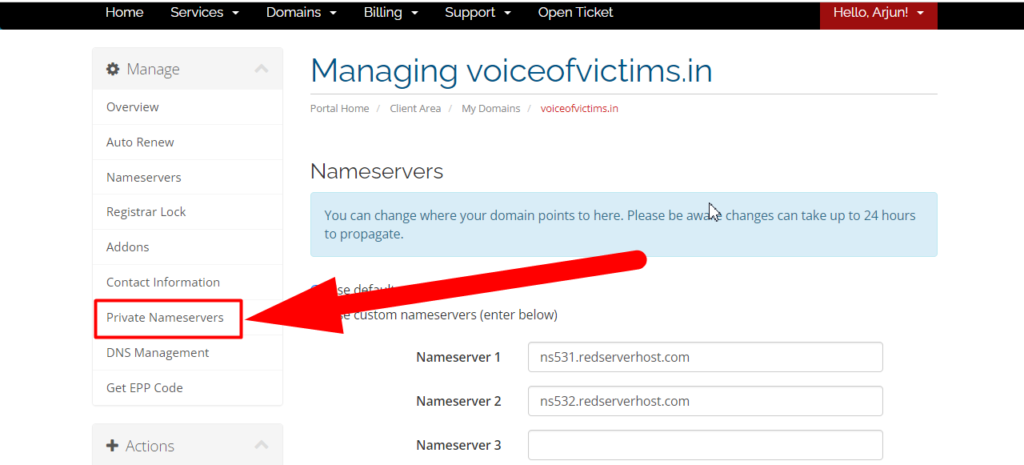
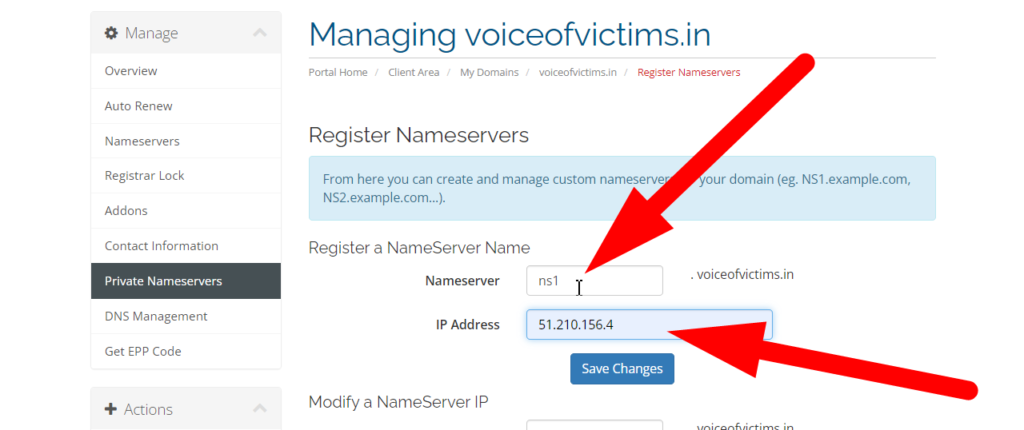
- Now move towards the Private Nameservers section to create your custom nameservers.

- Give any name to the nameserver and type the IP address of your server where you wish to point your domain and save the changes.

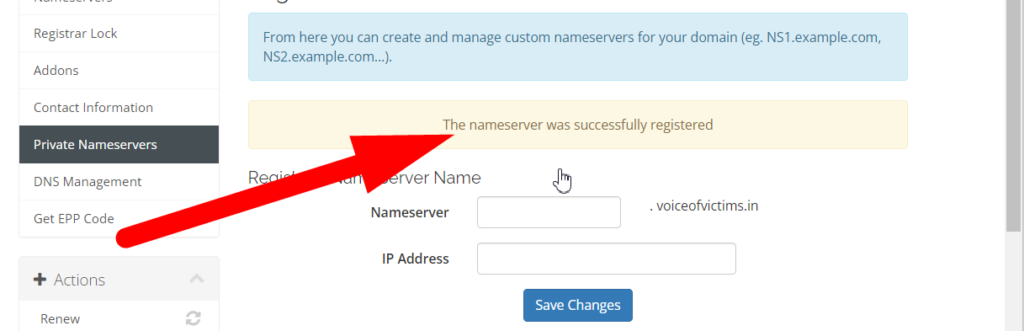
- Repeat the above method to create the second nameserver and save it too.
- After clicking over the Save Changes you’ll receive a message that “Your Nameserver Was Successfully Registered“.

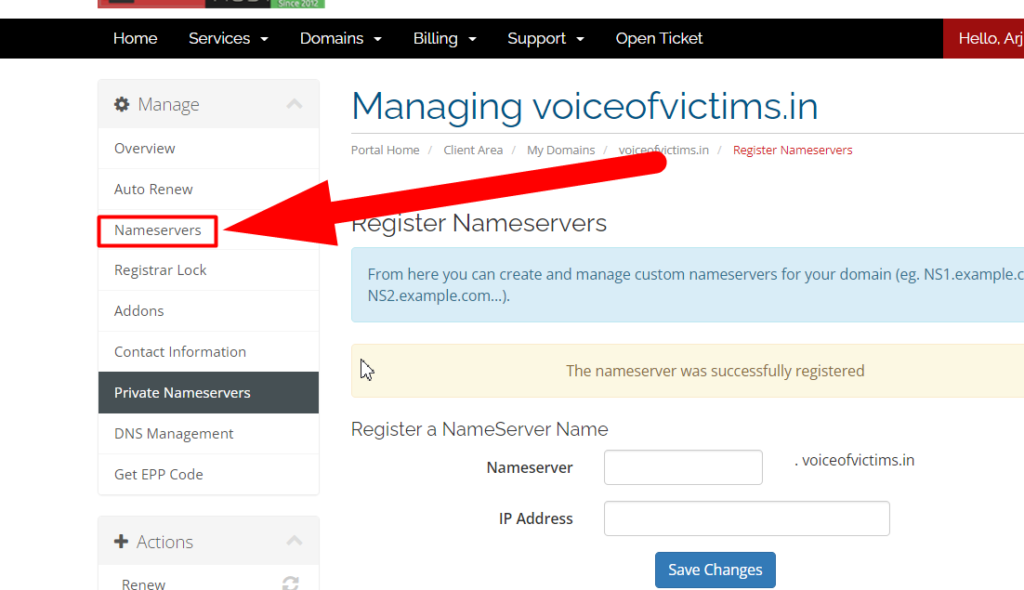
- Your private nameservers are created successfully. Now use these newly set up private nameservers in the Nameservers section to point to the hosting server
- Click over the Nameservers option presented in the Manage section.
Related: How to validate whether the nameservers are updated by domain registrar or not?
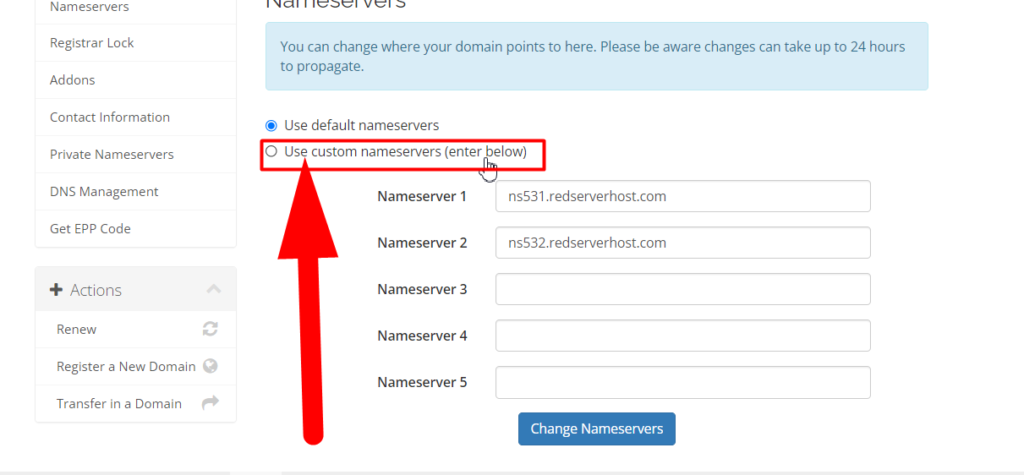
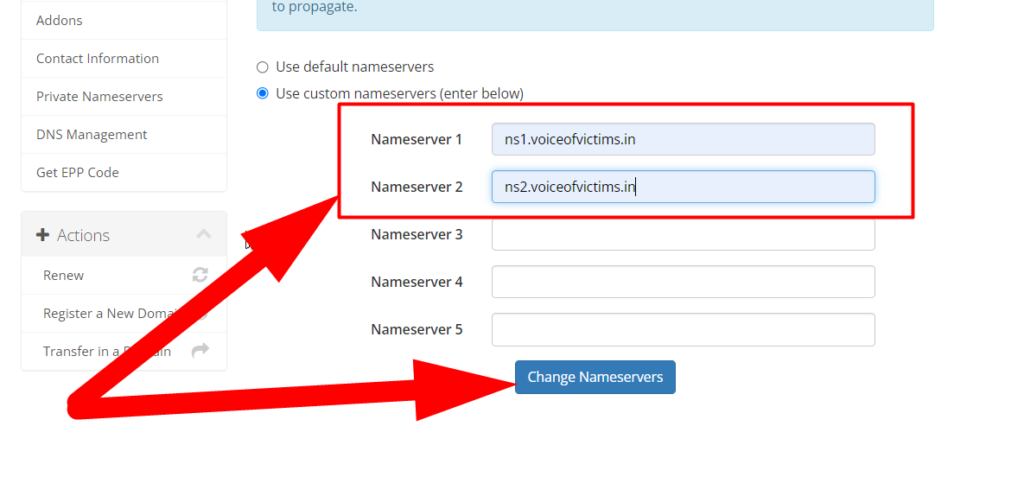
- Now choose Custom Nameservers as you wish to use your own nameservers rather than using the default one.

- Paste the custom nameservers that you’ve recently created.

- Click over the Change Nameservers and you’re almost done.
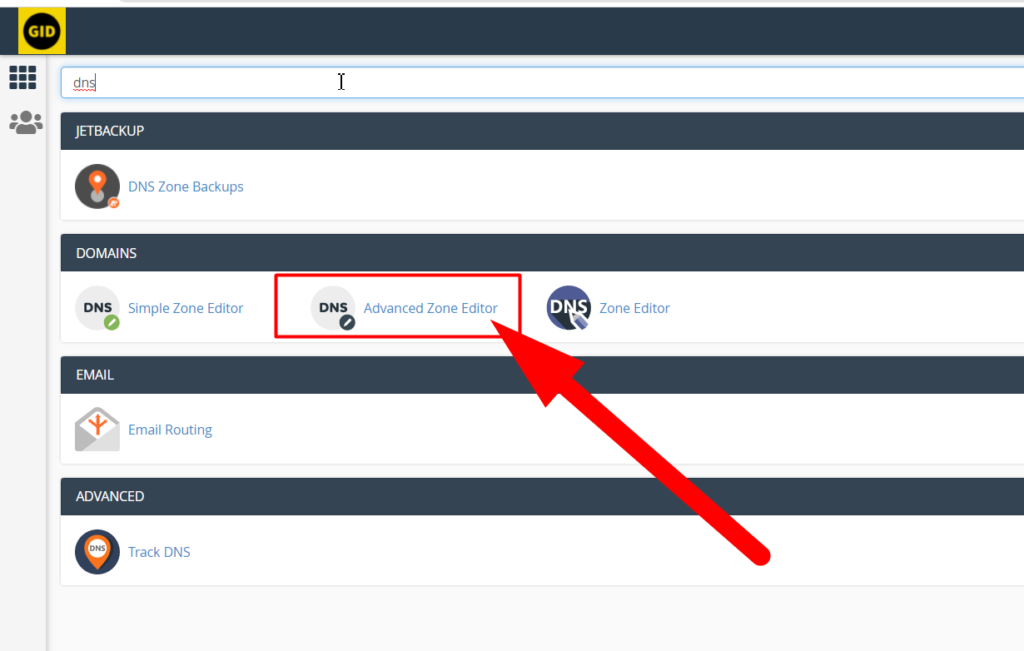
- Now log in to server/cPanel whose IP address you’ve just given while creating those nameservers.
- On the homepage of cPanel, search for DNS and move towards the Advance Zone Editor.

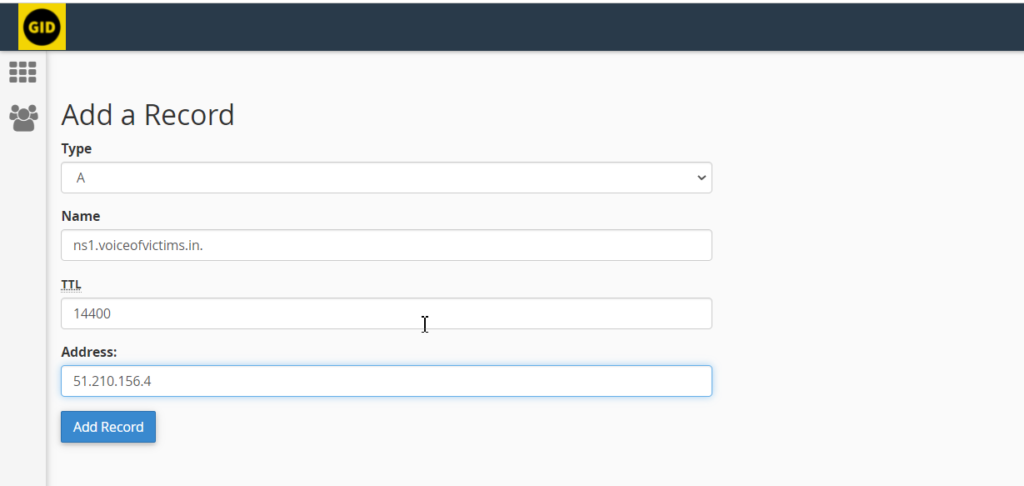
- Create an A record and paste the same credentials that you’ve pasted while creating nameservers.

- Add both nameservers as A record in cPanel and you’re done.
- You’ve Successfully Ping your website from one IP to another IP. Wasn’t it easy?
If you’re still facing any issue regarding nameservers, you can comment here or message us your suggestions on Facebook & Twitter