You might be unaware that you can harden your email security by enabling email encryption from your cPanel itself. The Email Encryption feature in cPanel protects your outgoing emails from unauthorized recipients. In simple words, you can send encrypted email messages, and the recipient will not be able to open the email without entering the private key. It enhances message security and privacy as no one can read your message without a private key. You can easily encrypt your messages using Public Key, and the recipient will have to provide the Private Key in order to read that message.
Also See:
To create these public and private keys, cPanel uses GnuPG or GNU Privacy Guard feature. The GNU privacy guard encrypts the message and provides extraordinary message security to the users. It uses two ways such as public and private key cryptography schemes to create these keys, and enhance your email security by preventing sensitive information. Here in this tutorial, we’re gonna walk you through the step-by-step guide to encrypting your email security using cPanel.
Encrypt Email From cPanel
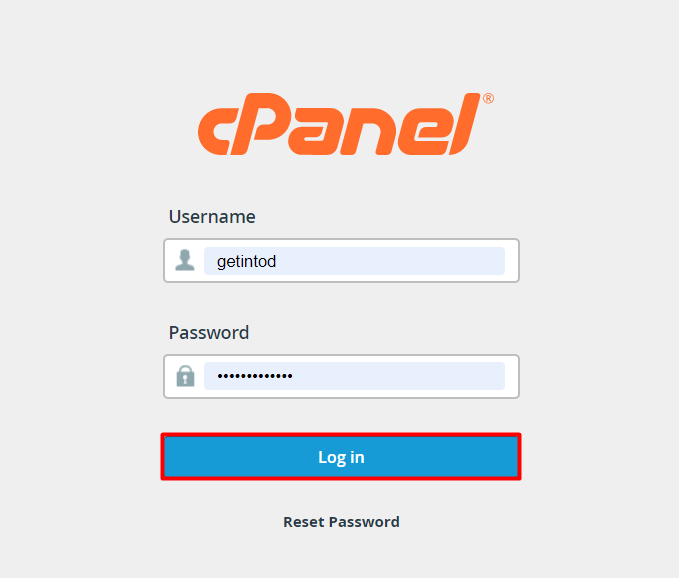
- First of all, log into your cPanel account with your username and password.

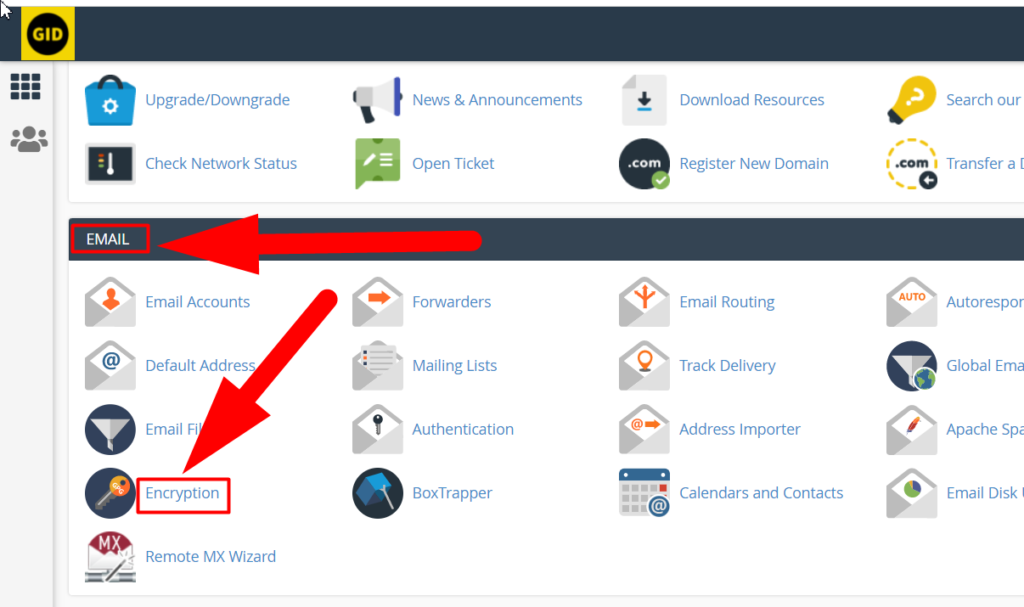
Log into your cPanel account - From the cPanel dashboard, navigate yourself to the EMAIL section and click over the Encryption option present inside the EMAIL section.

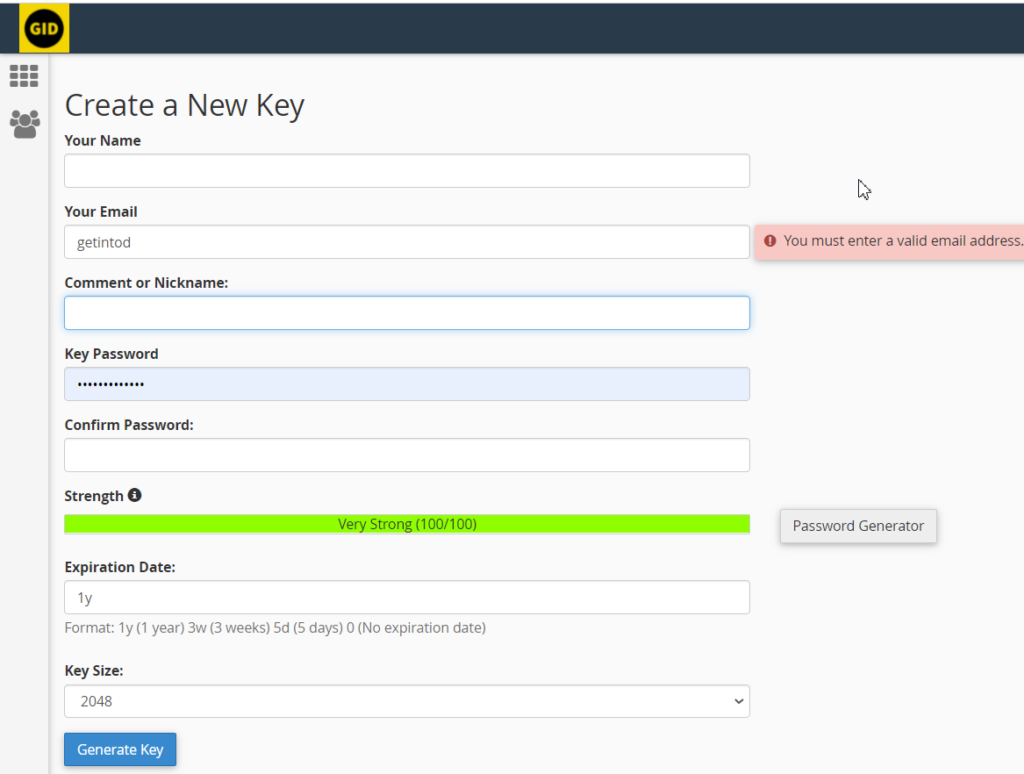
Email Encryption Section - Once you enter the Encryption section, you’ll see the below interface.

Create a New Key - Fill in all the boxes by following the below image.

Create a New Key By Filling In The Details - After filling in all the details, hit the Generate Key to generate the public key.

The key has been successfully created - That’s it. You’ve successfully created the public and the private key.
- Scroll down to the Public Keys and Private Keys section to view the keys you’ve generated.


Note: Refresh the page if you’re unable to see the changes.
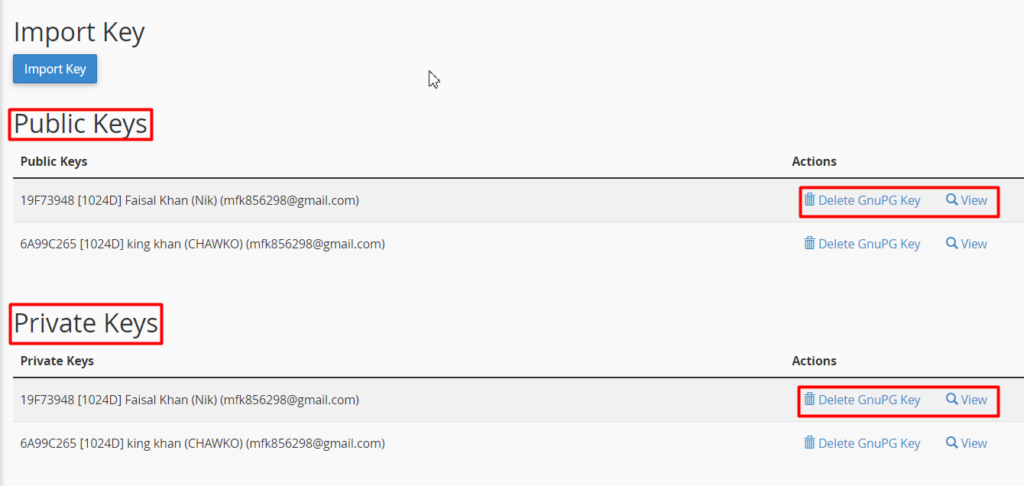
View or Delete the Key
Once the key is created, you can view or delete it from the bottom of the Encryption section. Hit the view button present in the action tab to ‘view’ the public or private key. You can also use Delete GnuPG Key to delete any key. Once you hit the delete button, you’ll be redirected to the confirmation page, if you’re confirmed about deleting the key, simply hit the Yes button to delete your public or private key.
Also See:
That’s It.
This is how you can enable email encryption in your cPanel account. This is one of the best ways to protect the sensitive information sent from your email messages. I hope this helps you. But if you still have any queries, you can contact us on Facebook and Twitter. Other than this, you can harden your Website’s Security by purchasing your desired shared hosting from us. We (Redserverhost.com) provide one of the Cheapest Till Secured Web Hosting Solutions across the Internet.