WordPress provides user with multiple features that help them to manage the WordPress website and its contents whether it is posts or media, i.e, images, videos etc. With WordPress media settings you can manage the media files of your WordPress website.
Today, in this tutorial, we will learn how to configure WordPress Media Settings to manage the media files of your WordPress website.
Let us learn about the various features available in WordPress Media Settings.
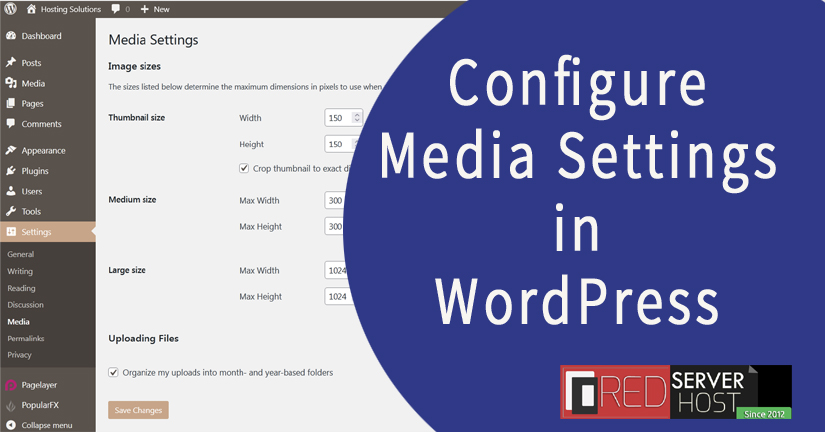
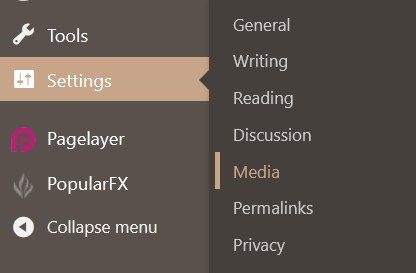
- Login to WordPress dashboard and get inside Settings section in the left panel list.
- Click over Media from the list of given options.
- You will be directed to the next page of media settings that includes features: Image sizes and Uploading Files. We will learn about each in detail.
*When you upload any image in WordPress, it creates additional three copies that includes thumbnail image, medium image and large-sized image. The original image is cropped and resized as the parameters defined by you.
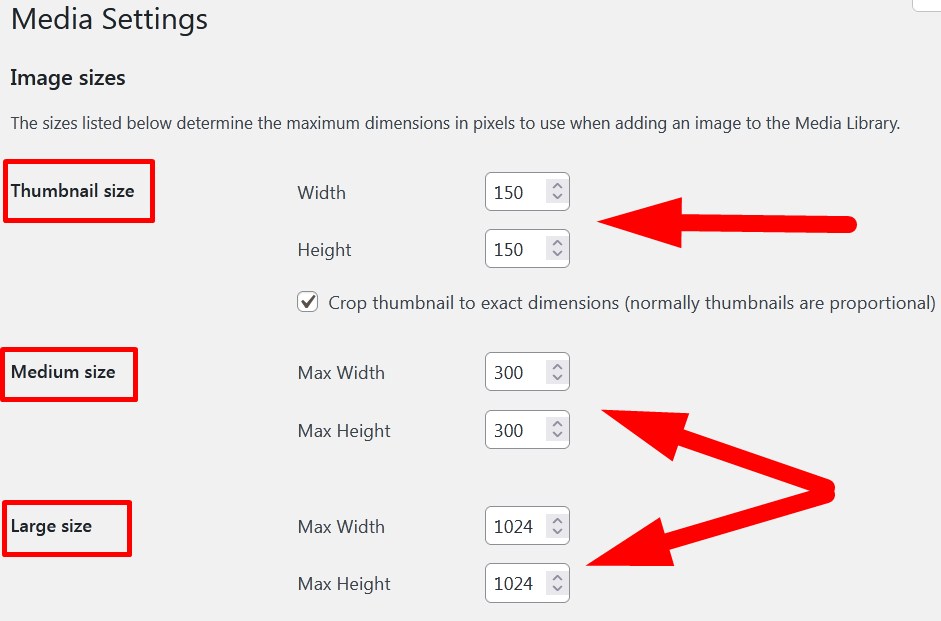
#1. Image Sizes
In this section, you can manage the dimensions of the WordPress images before uploading it to media library.
a. Thumbnail Size: You can manage the pixel of thumbnail images as per your choice. b. Medium Size: By updating the width and height in this section, you can set the pixel of medium-sized WordPress images. c. Large Size: You can manage the pixels of large-sized WordPress images by updating max width and max height in pixels.
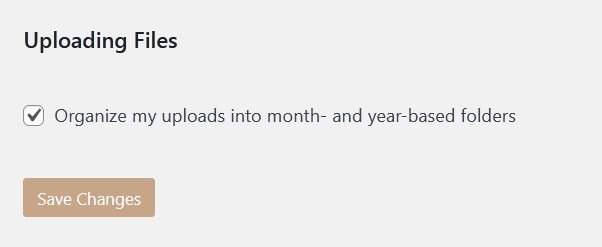
#2. Uploading Files
In this section, you will get only one option that asks you whether you want to organize your uploads, i.e, media into month and year based folders.
If you mark this box, then it would arrange all your WordPress media in separate folders of month and year. It is suggested to mark this box as it would make you manage your WordPress media efficiently.
- After modifying the image sizes and uploading files, click over Save Changes to save the changes.
Hope the above given tutorial help you to know about the procedure to configure WordPress Media Settings that help you to manage the media files of your WordPress website.
Do share the tutorial if it works for you and ask your queries and suggestions in the comment section. Follow us on social media pages.
Facebook Page: https://facebook.com/redserverhost Twitter Page: https://twitter.com/redserverhost.com