WordPress is the most famous web application software that is used by many of us to manage content of our website. This is because of its features. WordPress provides different types of features to manage website and its content. You can not only manage the website presentation but also its security by managing settings inside WordPress dashboard.
Today, in this tutorial I will share the steps to manage General Settings in WordPress dashboard.
In this tutorial we will learn to configure General Settings in WordPress that includes; Site Title, Tagline, WordPress Address, Site Address, Administration Email Address, Membership, New User Default Role, Site Language, Timezone, Date Format, Time Format, Week Starts On.
To configure these settings,
- First, login to your WordPress dashboard.
- From the left panel list, select Settings and then General.
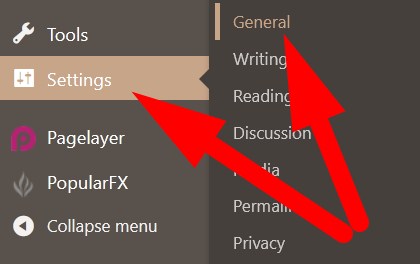
You will be directed to the next page, where list of all settings will appear. Now, we will configure each setting one by one.
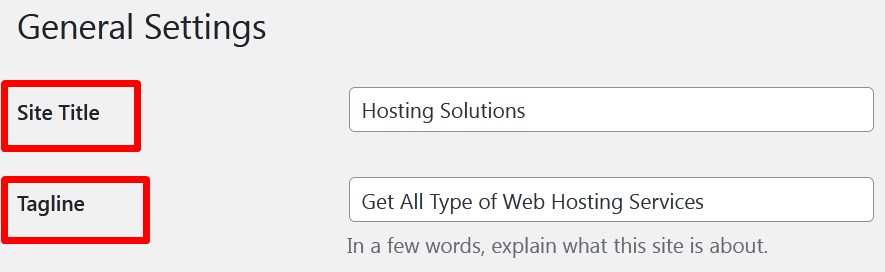
#1. Site Title
In this section, you will have to enter the Name of the Site that will appear on the homepage of your website and in the URL in address bar. Also, it is recommended to use your brand name or something related to your business in Site Title.
#2. Tagline
In this section, you can enter the small description of your website that defines what your website is about.
#3. WordPress Address (URL)
In this section contains the full path of the WordPress installation directory. For example, if your domain name is hosting.com and you have installed the WordPress in wp directory then the URL would be https://hosting.com/wp.
#4. Site Address (URL)
This section indicates the actual URL of your WordPress website. It is recommended not to change the URL in this section, i.e, the URL in site address would be similar to that of WordPress address.
#5. Administration Email Address
In this section, you have to enter the email address where you want to get all the emails related to your WordPress account. It can be either your Gmail or custom emails.

#6. Membership
This section allows you to choose who can register to your WordPress website. If you mark the box in the section then anyone can register which is not suggested as it effect your WordPress website.
#7. New User Default Role
In this section, you can select the default role that every new user will be assigned to. That means whenever you add new user to WordPress admin area the user will be assigned as the default role selected from the drop down menu.

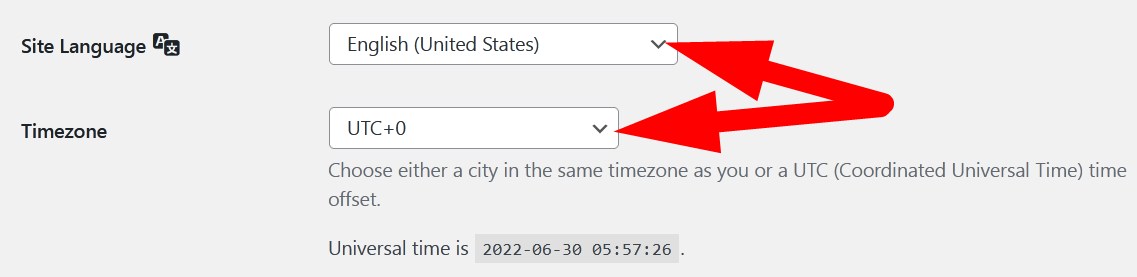
#8. Site Language
In this section, you can select the language for your WordPress dashboard from the drop down button.
#9. Timezone
You can select the timezone from the drop down button for your WordPress website. If you did not find the required city from the list then you can select one of the UTC format option.
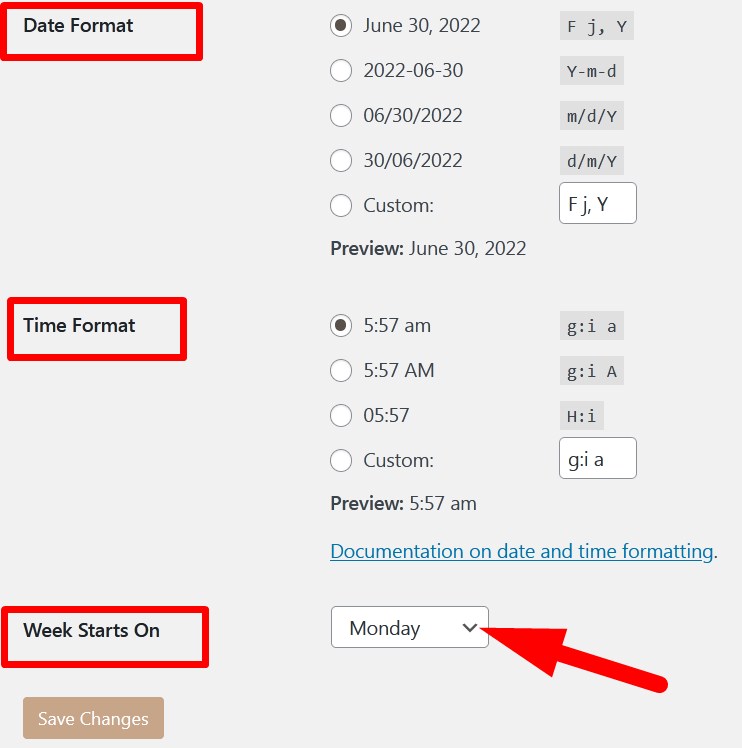
#10. Date Format
This section provides you multiple options of Date Format from which you can choose one as per your choice.
#11. Time Format
From this section, you can choose the time format from the multiple given choices.
#12. Week Starts On
You can select the day from the drop down button which would be considered as the first day in your WordPress calendar.
- After modifying the changes, click over Save Changes to save them.
Hope the above given procedure better explained about the procedure to configure WordPress General Settings. If the tutorial works for you then do share with your colleagues and follow us on social media pages.
Facebook Page: https://facebook.com/redserverhost Twitter Page: https://twitter.com/redserverhost.com