Enabling the Greylisting according to your user emails will protect the users from spam emails. When Greylisting is enabled, the mail server will temporarily reject all the emails new emails from a sender that the server doesn’t recognize. You can customize the Initial deferral time, resend acceptance time, and record expiration time. You can also allow users to bypass Greylisting by entering the valid SPF (Sender Policy Framework) Record. In this tutorial, we’re gonna guide you to enable the Greylisting in WHM root, which is an effective option to prevent users from spam emails.
How To Enable Greylisting in WHM Root?
Enabling the Greylisting in WHM Root
- Log into WHM as a root.
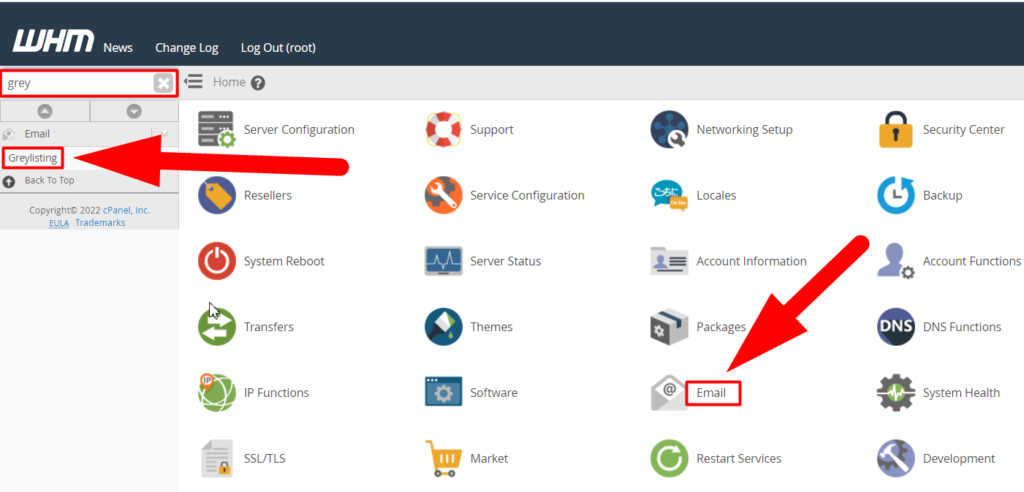
- Either navigate to the Email > Greylisting or simply type “grey” in the search box and then click over the Greylisting from the result.

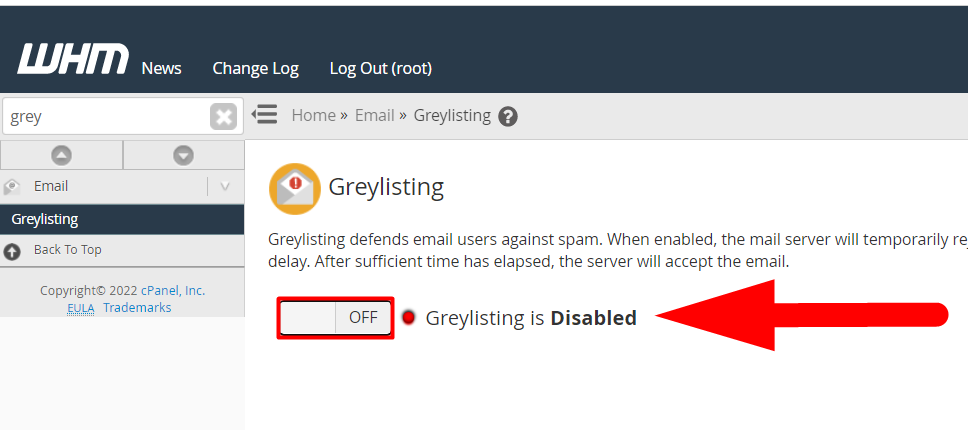
Navigate to Greylisting in WHM - A big button will be present in front of you from where you can easily enable or disable (ON or OFF) the Greylisting option.
That’s it.
This is how you can easily enable or disable the Greylisting option in your WHM root. I hope this helps you. If it doesn’t, then you can visit Redserverhost.com and open a free support ticket. Our highly professional Technical support team will be happy to assist you. You can also hit the Comment Section anytime.
For any further assistance or inquiries, you can reach out to us on Facebook & Twitter.