osCommerce is an e-commerce solution having enough features that allows user to set up their own store. In this tutorial, we will go through in-detail procedure to install osCommerce manually in cPanel.
Follow the below given steps to manually install osCommerce.
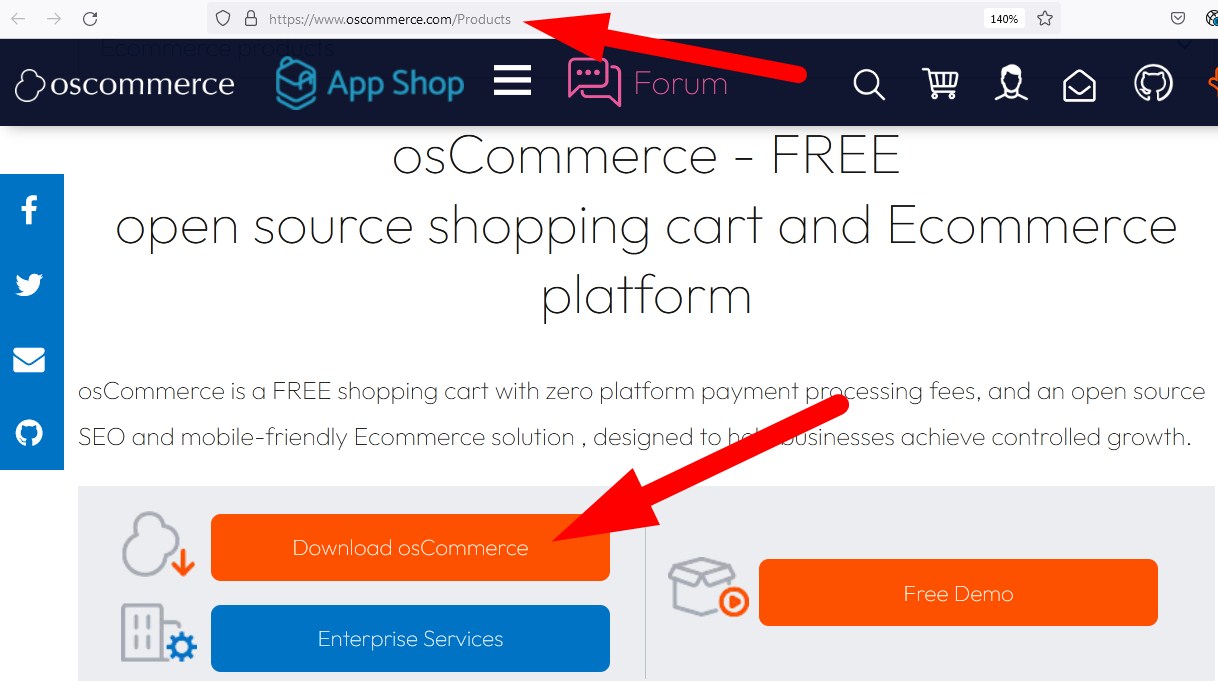
- Visit the official website of osCommerce at www.oscommerce.com/Products and download .zip file by clicking over Download osCommerce.

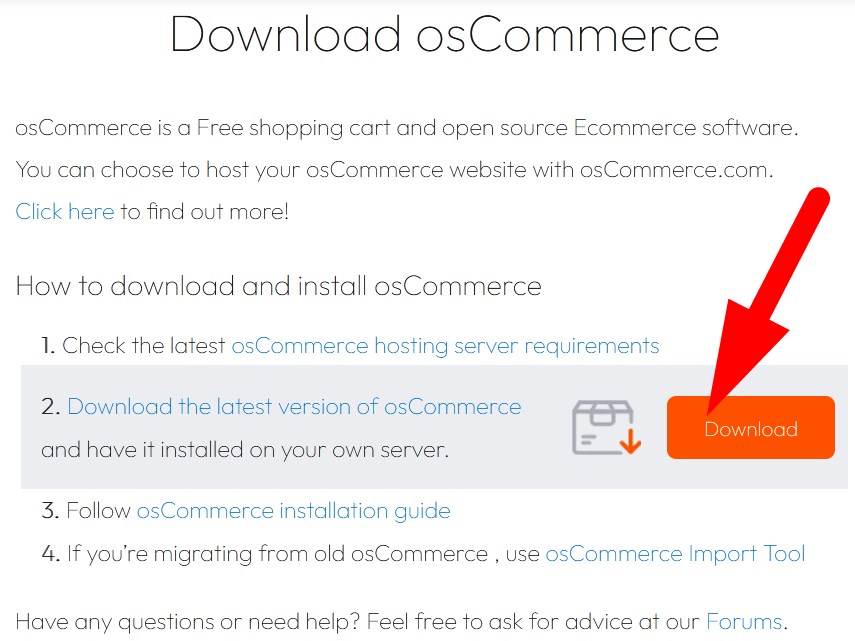
- You will be directed to the next page, where you will find multiple options.click over Download as marked in the below given image.It will be save as .zip file.

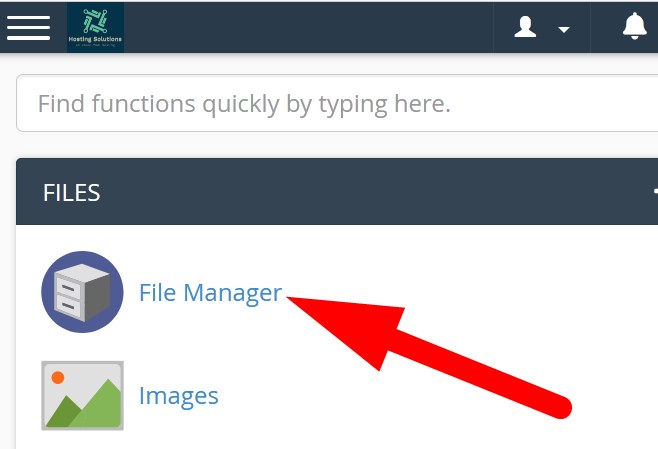
- Now, login to your cPanel account.
- Navigate to File Manager section.

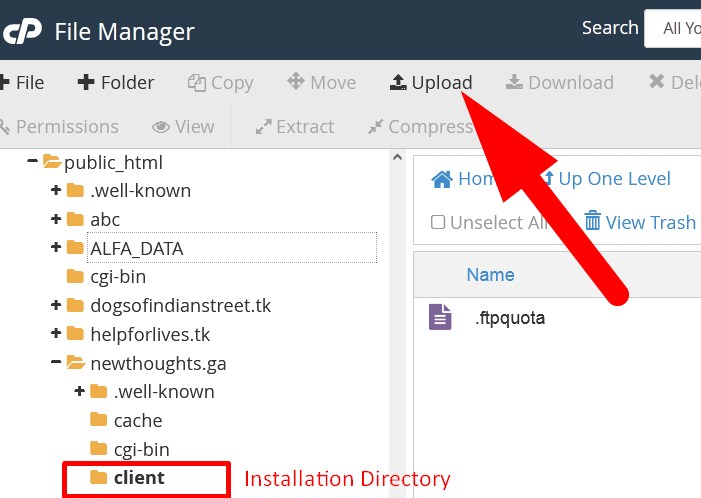
- Go inside the directory where you want to install osCommerce. Then click over Upload and upload .zip file to cPanel.

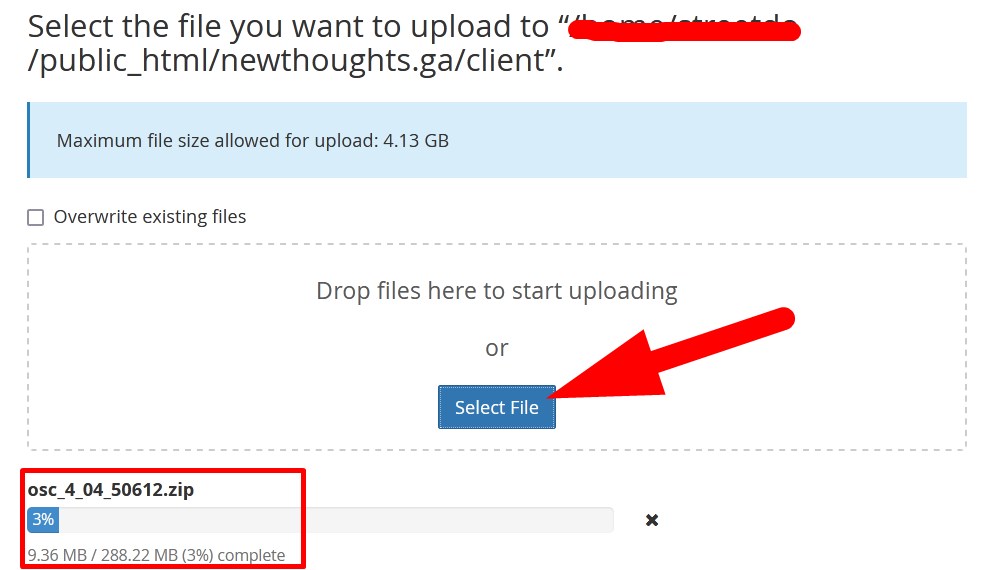
Upload .zip file - On the next page, Select File and upload.

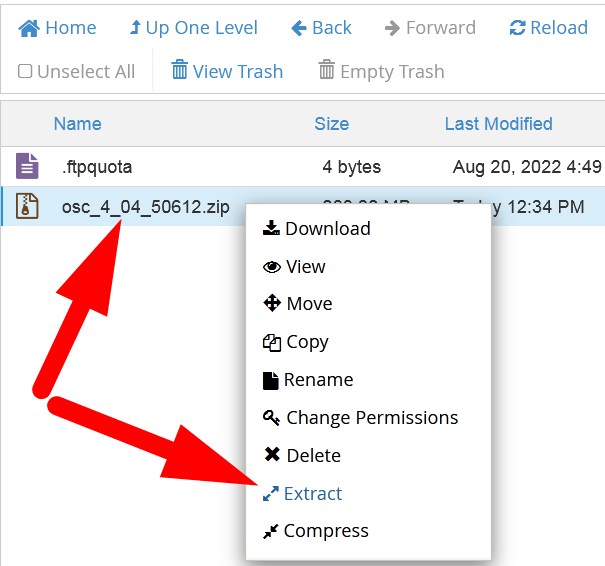
- Reload the page and you will find that .zip file would be present. Right click over the file and Extract.

- Reload the page and all the files and directories will now appear. (If all the files did not appear then Extract application_files_do_not_unzip file).
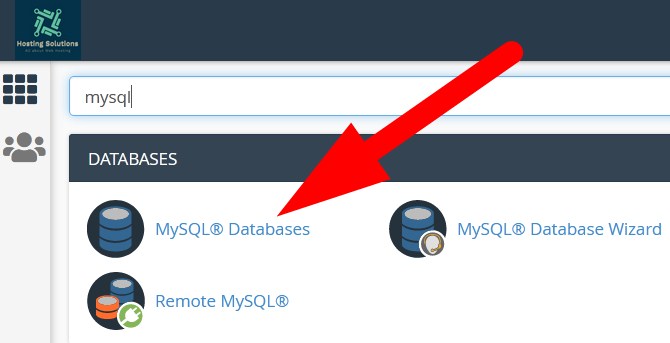
- Now, go back to cPanel feature list page and navigate to My SQL Database from DATABASES section.

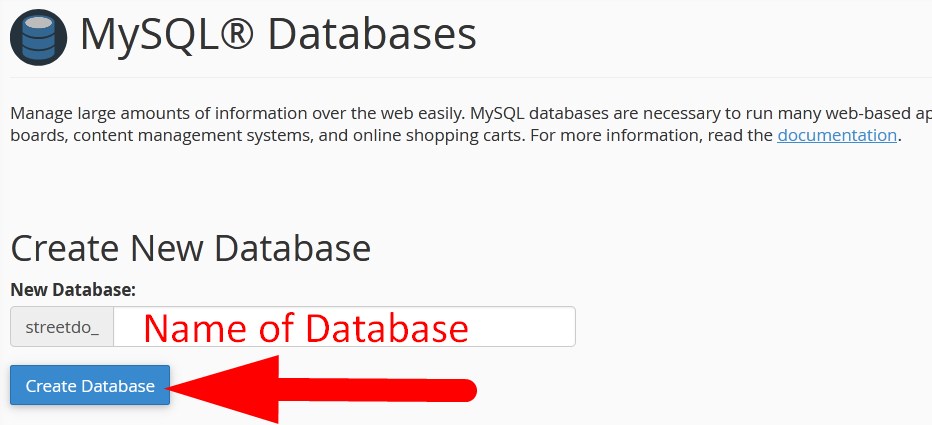
- Create New Database.

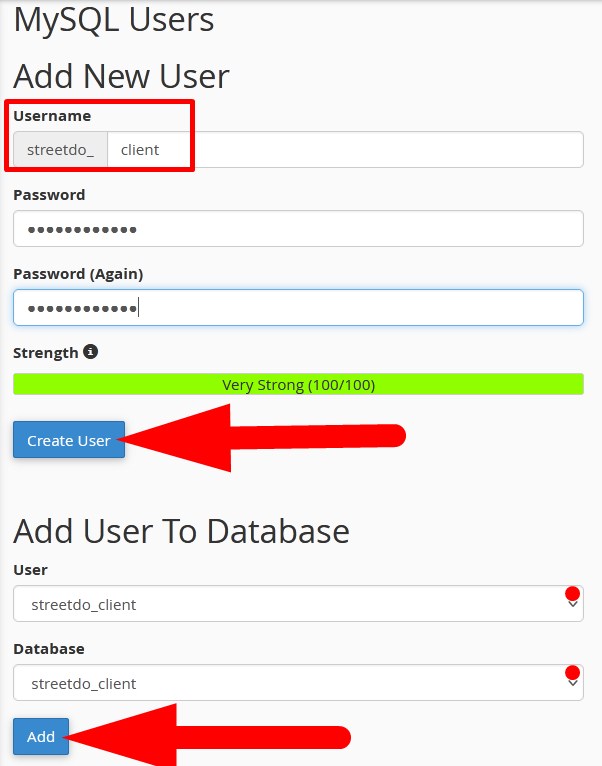
Create Database - Now, create User and Add User to Database. You can check the article creating MySQL database in cPanel.

Create User and Add User to Database - Now, go to browser and enter the domain with the location of osCommerrce installation directory as URL. For example, www. domain.com or www.domain.com/oscommerce
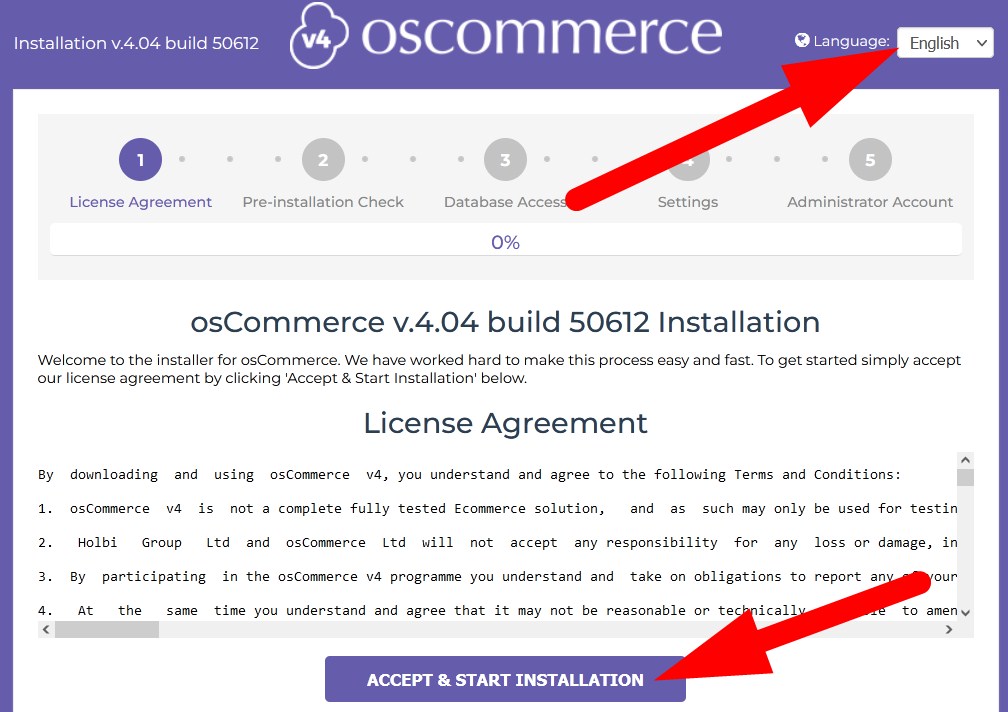
- Select the Language and ACCEPT & START INSTALLATION.

- You will be directed to Pre-Installation Check page. Click over PROCEED.
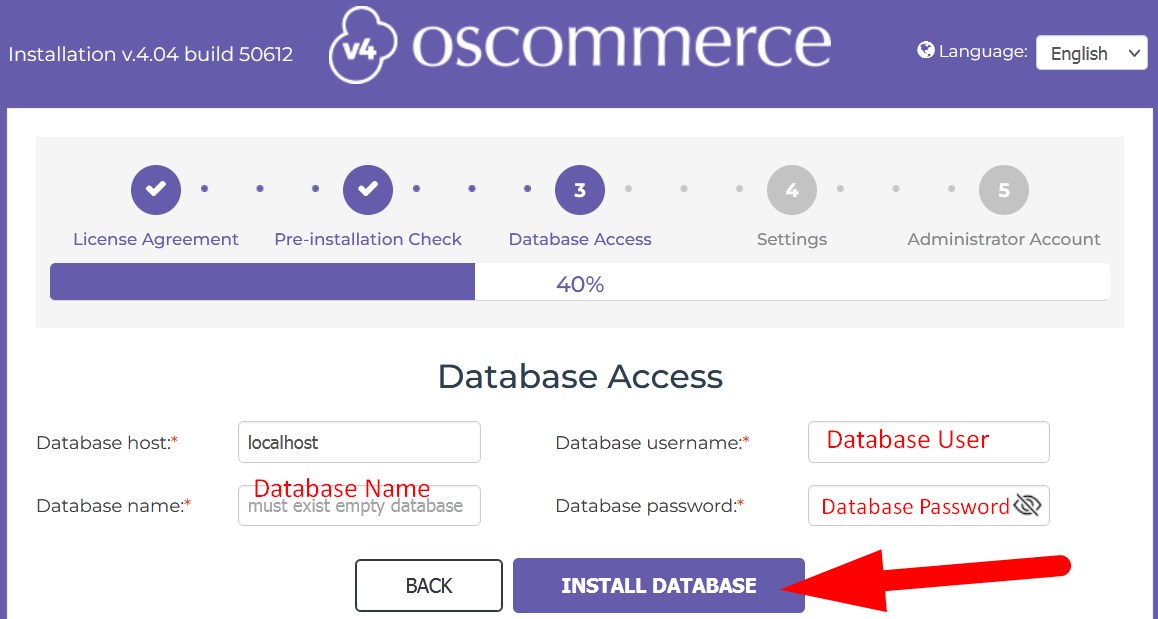
- On the next page, enter the credentials related to Database which you have created inside cPanel. Refer to below given image.

Install Database - Click INSTALL DATABASE.
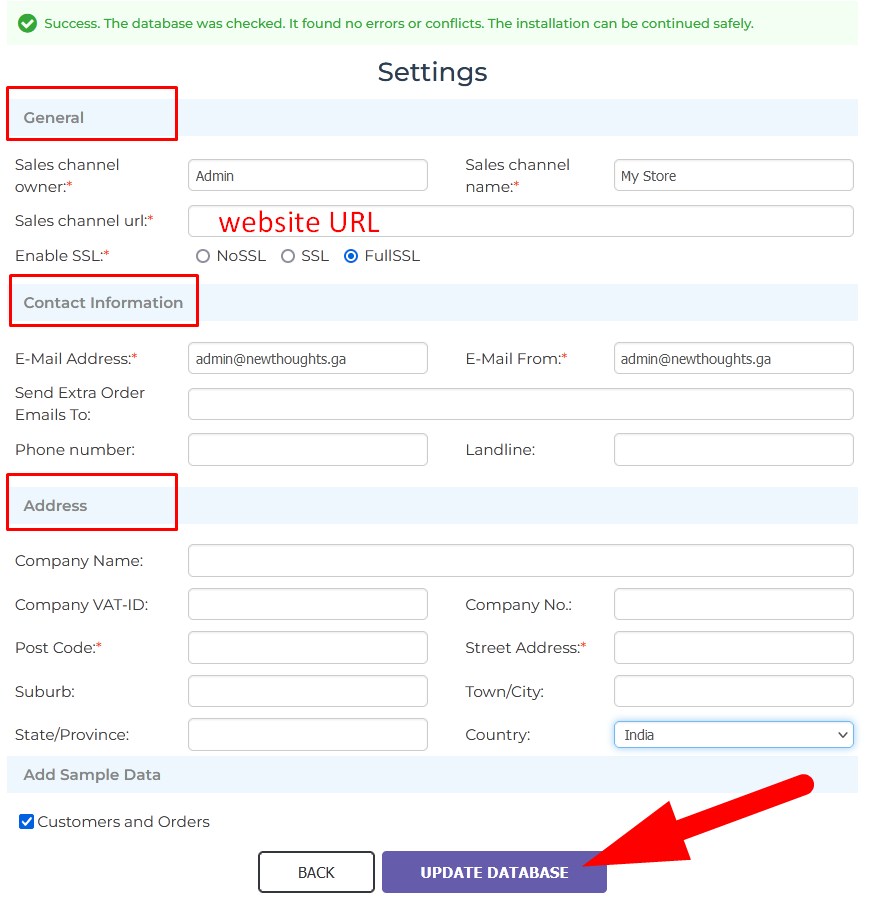
- You will be directed to Settings page where you have to enter the credentials related to your website. Refer to below given image.

Update Settings - Click over UPDATE DATABASE.
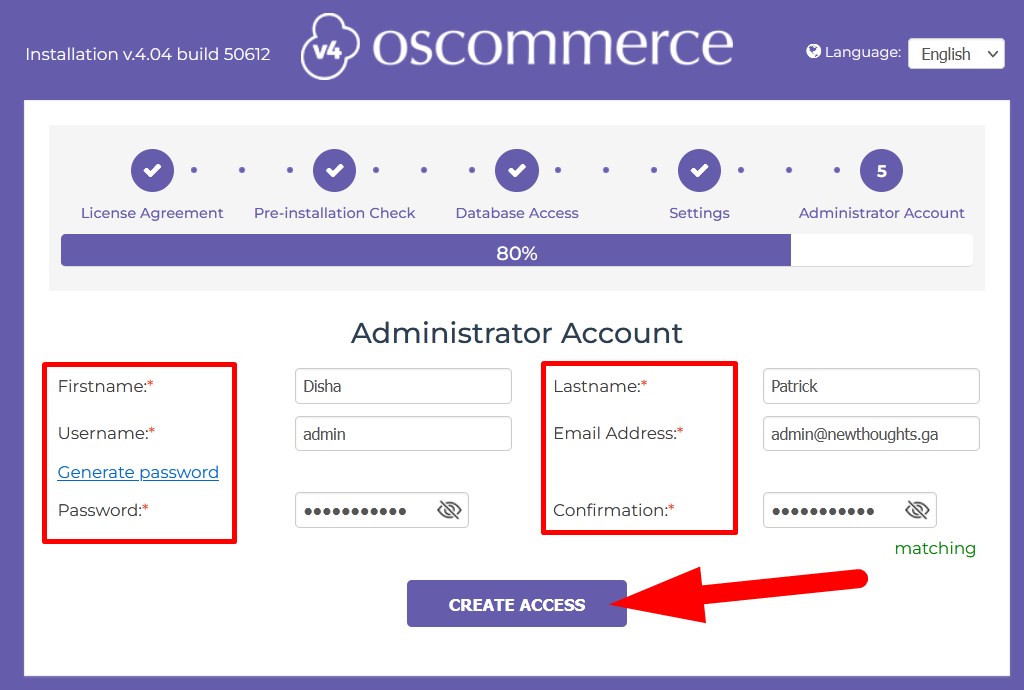
- You will now be directed to the page where you have to set up the Administrator account to access osCommerce dashboard page.
- Enter the credentials as directed in below given image.

Create Admin Account - Click over CREATE ACCESS.
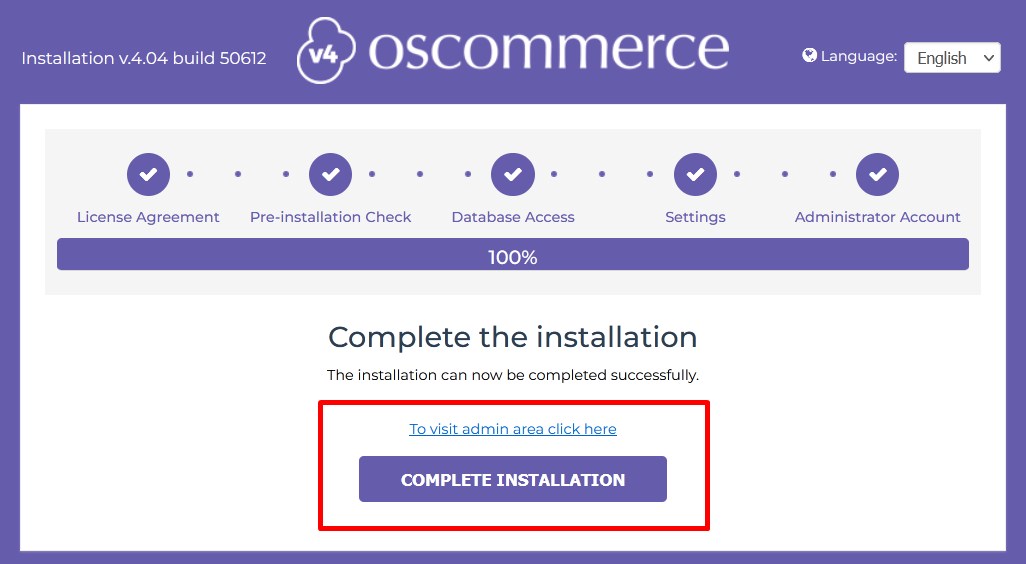
- You will be directed to the final page from where you can COMPLETE INSTALLATION and visit admin area.
- When you click over Complete Installation, you will be directed to set up website page. Click over Admin section on the page to switch to admin Login page.


- Enter the email and password that you have set while installation and Sign Up and you will be successfully logged in to Admin area.

osCommerce Dashboard
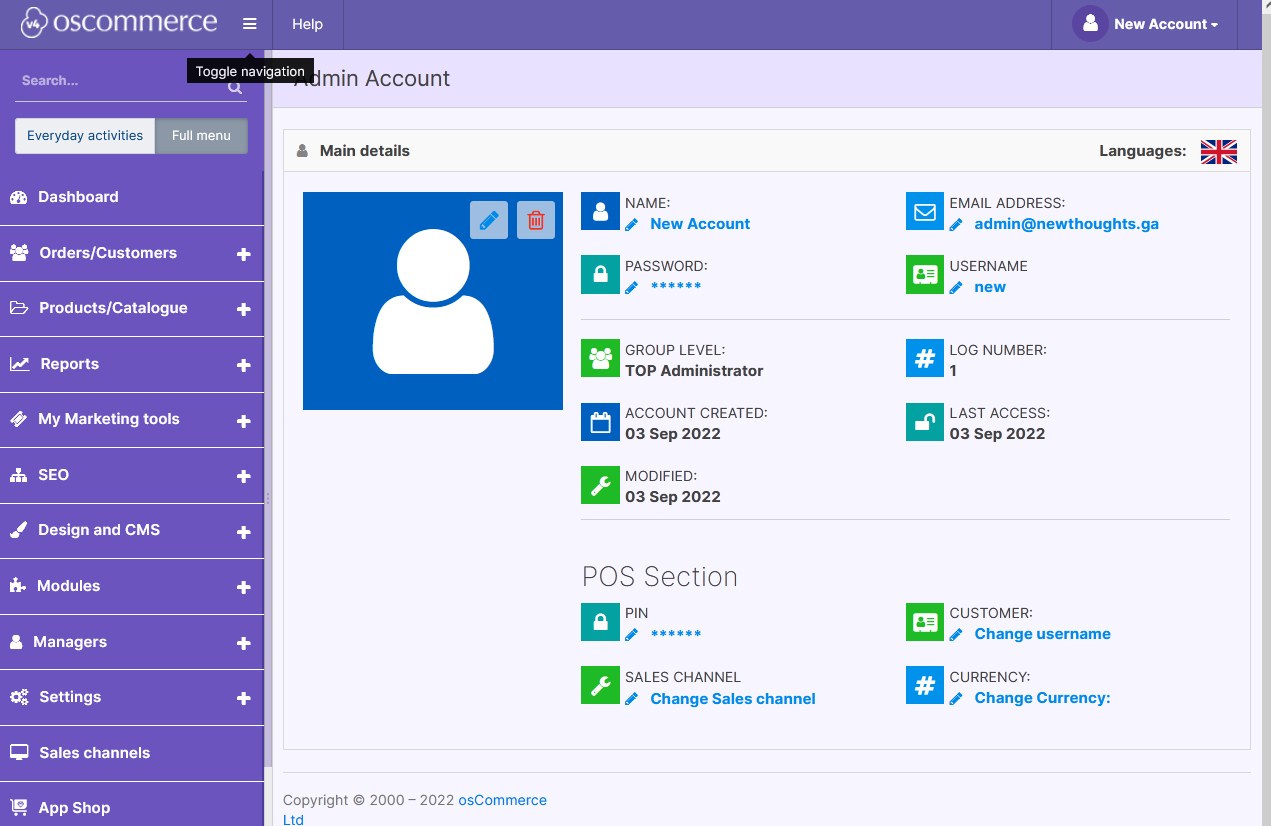
You will be successfully logged in to your osCommerce dashboard.
That’s It !
Hope the article better describes the procedure to install osCommerce manually in cPanel. Do share it with your colleagues if you find it working. Also share your suggestions and drop your queries to start the discussion on the related topic. Lets connect on social media with the below links.
Facebook Page: https://facebook.com/redserverhost Twitter Page: https://twitter.com/redserverhost.com


