In the hosting services of REDSERVERHOST, users get various specific features including unlimited FTP & Email accounts, sub-domains, Free SSL, One-click installer etc. Besides this, user also get featured cPanel that has more features to create website and manage its data.
In this tutorial, we will discuss about a feature SitePad Website Builder which is available with all the services of REDSERVERHOST and how can you create a simple static website with it. You can check out the video tutorial on the same.
- Login to your cPanel account.
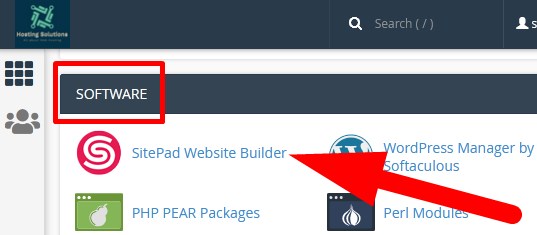
- Go inside SOFTWARE section and select SitePad Website Builder.

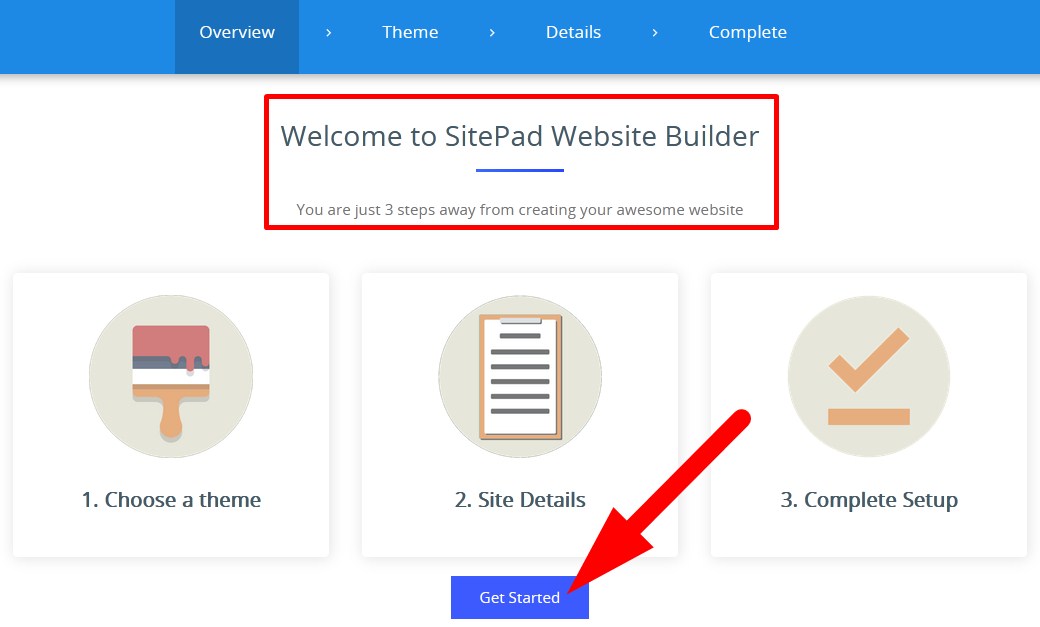
SitePad Website Builder in cPanel - On the next page, you will see the directions which you have to follow to create website with SitePad. Click over Get Started and proceed.

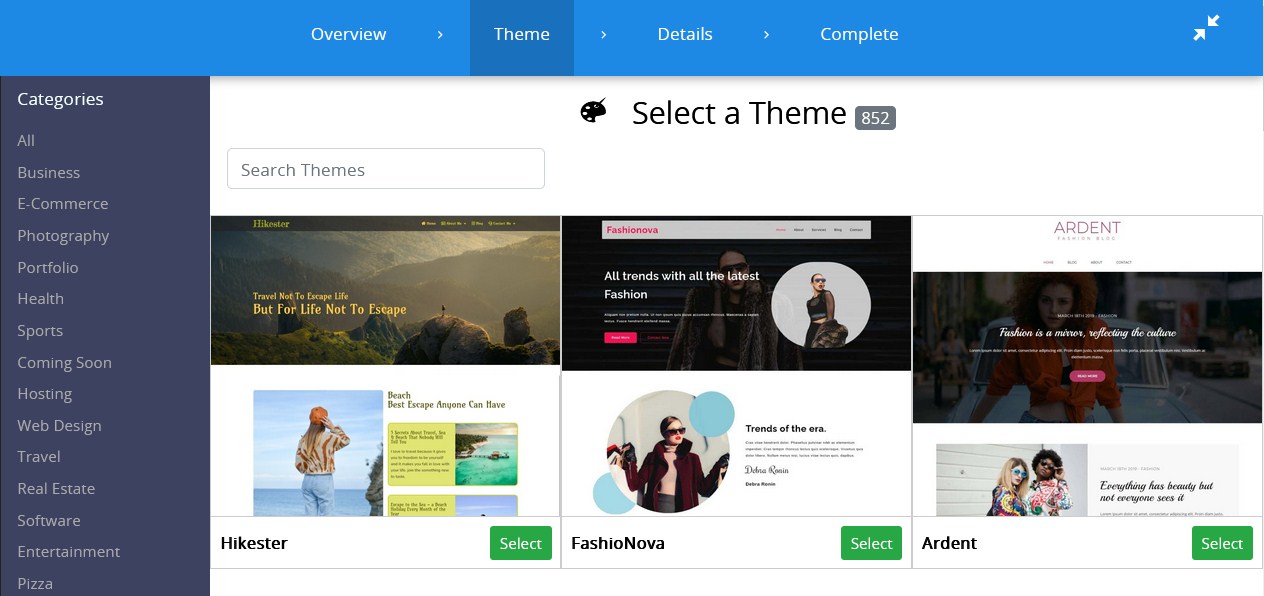
Start with SitePad - On the next page, Select a Theme as per your choice and proceed.

Select a Theme - You will be directed to next page where you have to enter your site details. Enter the credentials as directed below.
- Site Details: Enter the credentials as directed.
- Site Address: Select the Protocol, Domain and directory to create the website address.
- Admin Email: In this section, enter the details of website admin.
- Site Title: Enter the name which will appear on your website.
- Description: Brief description of your website.
- Site Language: Select the language of your website.

Enter Details related to Website
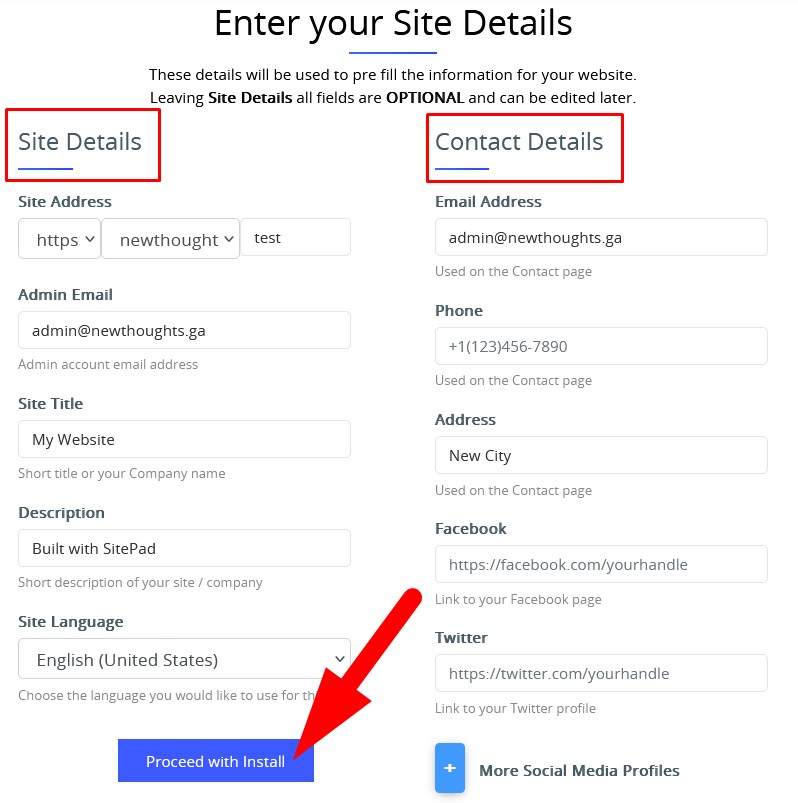
- Contact Details: Enter the details as directed.
- Email Address: Enter the email which will appear on your website.
- Phone: Contact number to display on website.
- Address: Address at which your visitors found you manually.
- Facebook: Facebook Profile or Page related to your website.
- Twitter: Twitter account to which your visitors connect with you.
- More Social Media Profiles: Click over it to add other social media platforms.
- Click over Proceed with Install to install website on the selected domain.
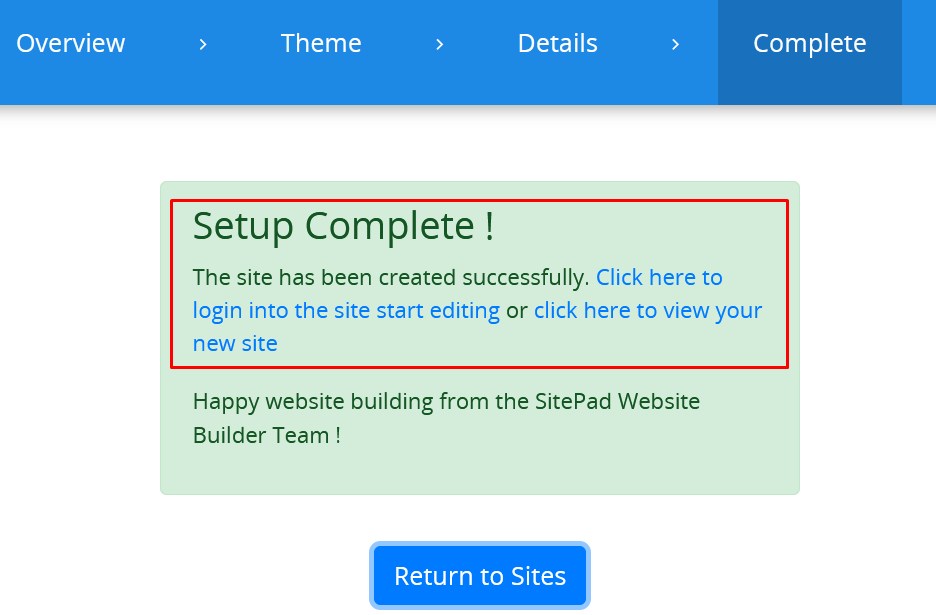
Now, you will be directed to the confirmation page. From here, you can visit or edit your website.
That’s It !
Hope the article better describes the procedure to Publish Simple Static Website via SitePad Website Builder. Do share it with your colleagues if you find it working. Also share your suggestions and drop your queries to start the discussion on the related topic. Lets connect on social media with the below links.
Facebook Page: https://facebook.com/redserverhost Twitter Page: https://twitter.com/redserverhost.com


