How to Move a WordPress website from One folder to Another? [STEP BY STEP]☑️
At some point of time you may need to move your WordPress website to a new folder. So today in this article we will show you how to move your WordPress website from one folder to another. You can also watch this short video tutorial on how to move your WordPress website from one folder to another.
If you don’t want to watch the video tutorial, skip and proceed with the text version mentioned below.
Follow the steps to move your WordPress website from one folder to another:
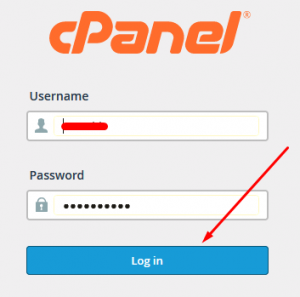
Step::1 Login to your cPanel account
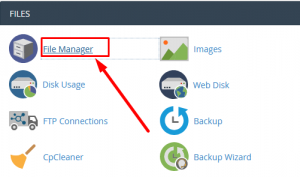
Step::2 Open the File Manager under FILES section.
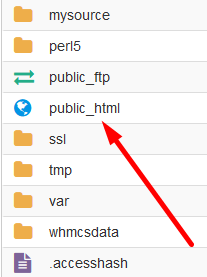
Step::3 Now double click on public_html to open. You can see many files and folders inside your public_html.
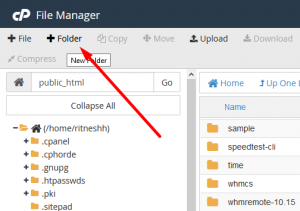
Step::4 Before you proceed, it’s essential to create a new folder, so click on the +Folder icon present at the top
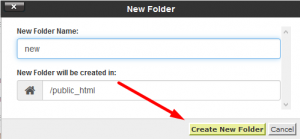
Step::5 Write the new Folder name in the New Folder Name section and click on Create New Folder
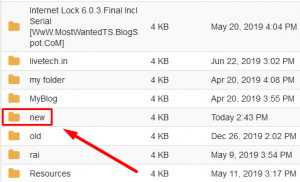
Step::6 Now, refresh the page, and you can see the folder named “new.”
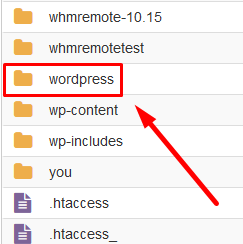
Step::7 Now, go to your WordPress installation directory
Step::8 Select all the files and folders present
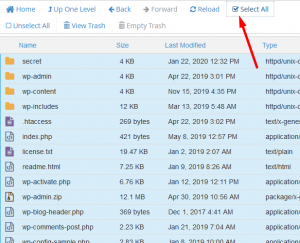
Step::9 After selecting, click on the Move icon from the main navigation menu.

Step::10 A popup appears where you need to fill in the path. As you already know, the “new” folder is in the public_html directory; you require to add “public_html/new” as the path.
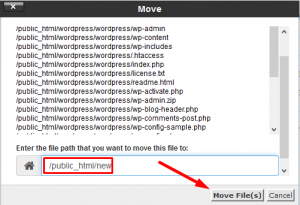
Step::11 Click on the Move File(s) button. Depending on the size of the files and folders, the data will be moved.
You have moved the complete WordPress installation from one location to another, and it means the main URL needs some modification. Your old URL was https://www.example.com, but the new URL should be https://www.example.com/new
To do so, follow the steps given below:
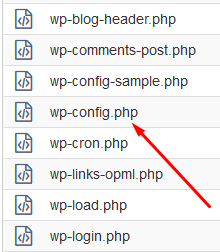
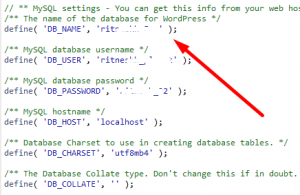
Step::12 Go the “new” folder and find wp-config.php file to know the database name
Step::13 Once you get the database name, go to your cPanel homescreen
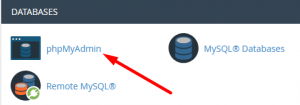
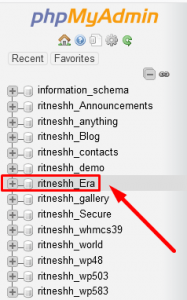
Step::14 Navigate to phpMyAdmin in DATABASES section
Step::15 Click on the respective Database name and then tap on Export
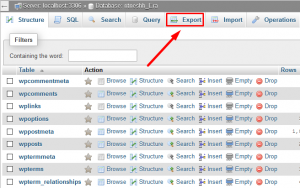
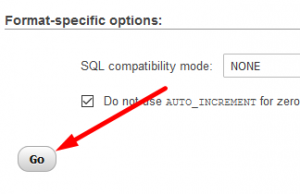
Step::16 Then click on Go button to save the SQL file in your local PC
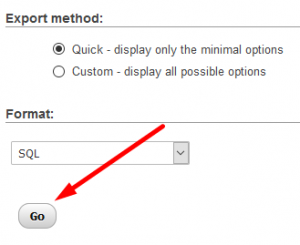
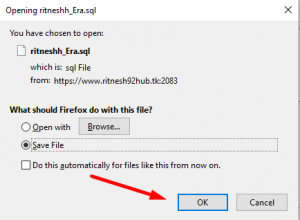
Step::17 Now find that SQL file and edit it using Notepad++ text editor
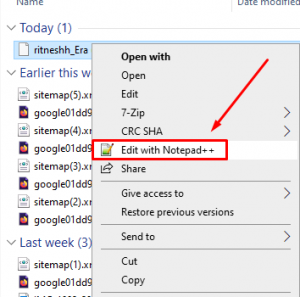
Step::18 Replace the old URL with the new URL
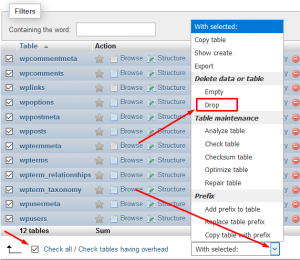
Step::19 Once it is done go back to phpMyAdmin and select all the table from the respective database and right click your mouse and click on Drop option to delete the tables.
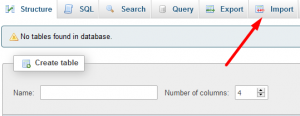
Step::20 Once you see a message that No Tables found in Database, click on Import tab
Step::21 Click on the browse tab to import the SQL file from your local PC to server.
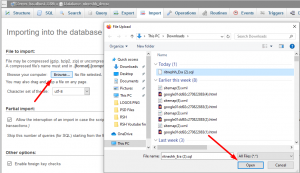
Step::22 Once the SQL file get uploaded click on Go button and you’re done.
Try checking your website, if everything works, congrats, you have successfully moved your WordPress site to a new folder.
Congratulations, you have just moved your WordPress site from one folder to another!
That’s all, You are done!!!
For more information, kindly follow us on social media like Twitter and Facebook and for video tutorials, subscribe to our YouTube channel –https://youtube.com/redserverhost.com
Facebook Page- https://facebook.com/redserverhost
Twitter Page- https://twitter.com/redserverhost.com
If you have any query, feel free to let us know via the comments section below.
Thanks for Reading!!!
Tags: cheap linux hosting, buy linux hosting, cheap reseller hosting, buy reseller hosting, best reseller hosting, cheap web hosting, cheapest web hosting, cheapest reseller hosting, cheap reseller host, cheap linux host, cheapest linux hosting, best linux hosting, best web hosting


